Update the application
Update the application
You have just deployed onto the AWS Elastic Beanstalk environment. Let’s assume that your manager has just informed you that a change to the application is required by the business owner, and you need to make a code change, build a new WAR file and push that to the Beanstalk application environment.
AWS Elastic Beanstalk has a rich variety of ways you can do this, but if you are new to Elastic Beanstalk you are likely tempted to use the manual method. While this might work for low volumes of change, you also need to consider that documentation will need to be written so that any operations staff can correctly apply the updates.
A preferred method would be to automate the deployment, but how would you automate deployments to Elastic Beanstalk?
To solve this problem we move to the command line and use a tool specifically created to automate the deployments of Beanstalk applications.
- Update project TravelBuddy
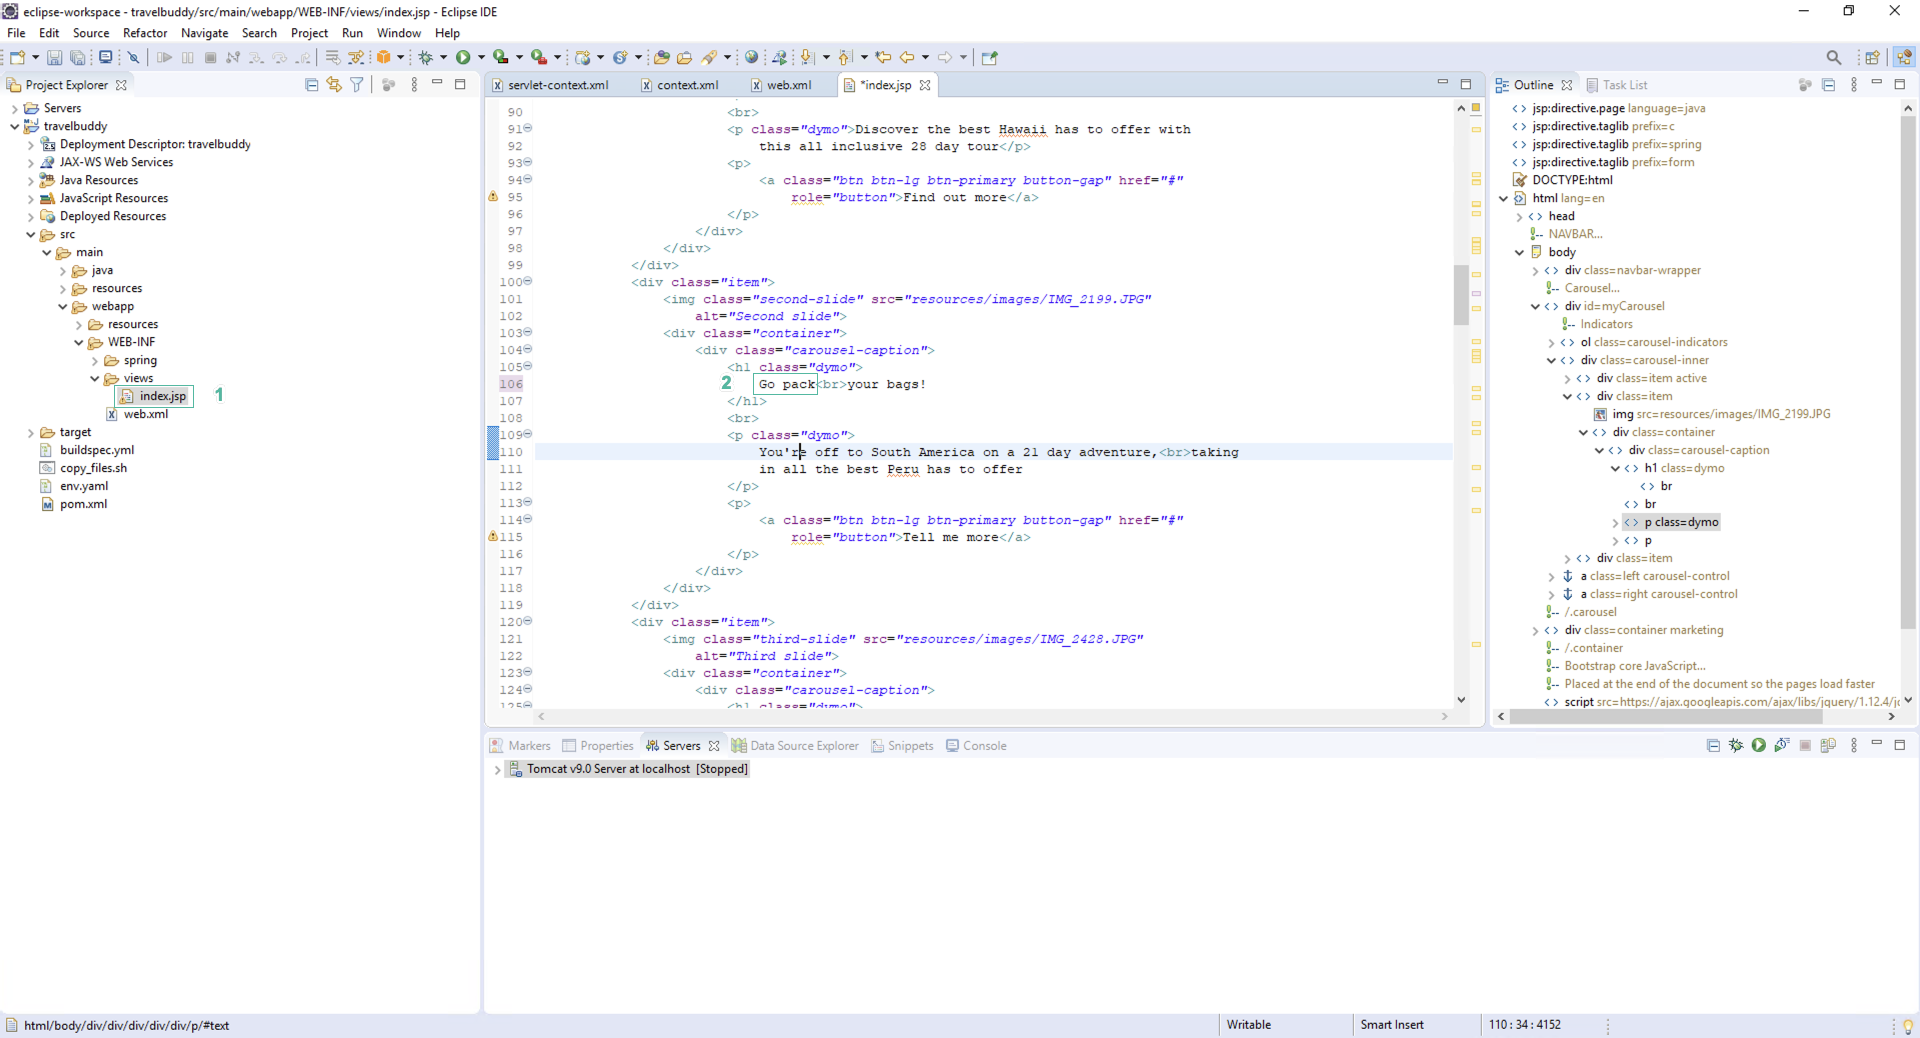
- In the Eclipse IDE, open the file TravelBuddy/src/main/webapp/WEB-INF/views/index.jsp
- Search for the text Alpaca and change to Go pack
- Save the file
- In the Eclipse IDE, Use the Ctrl+Alt+Shift+T keyboard shortcut to open the terminal
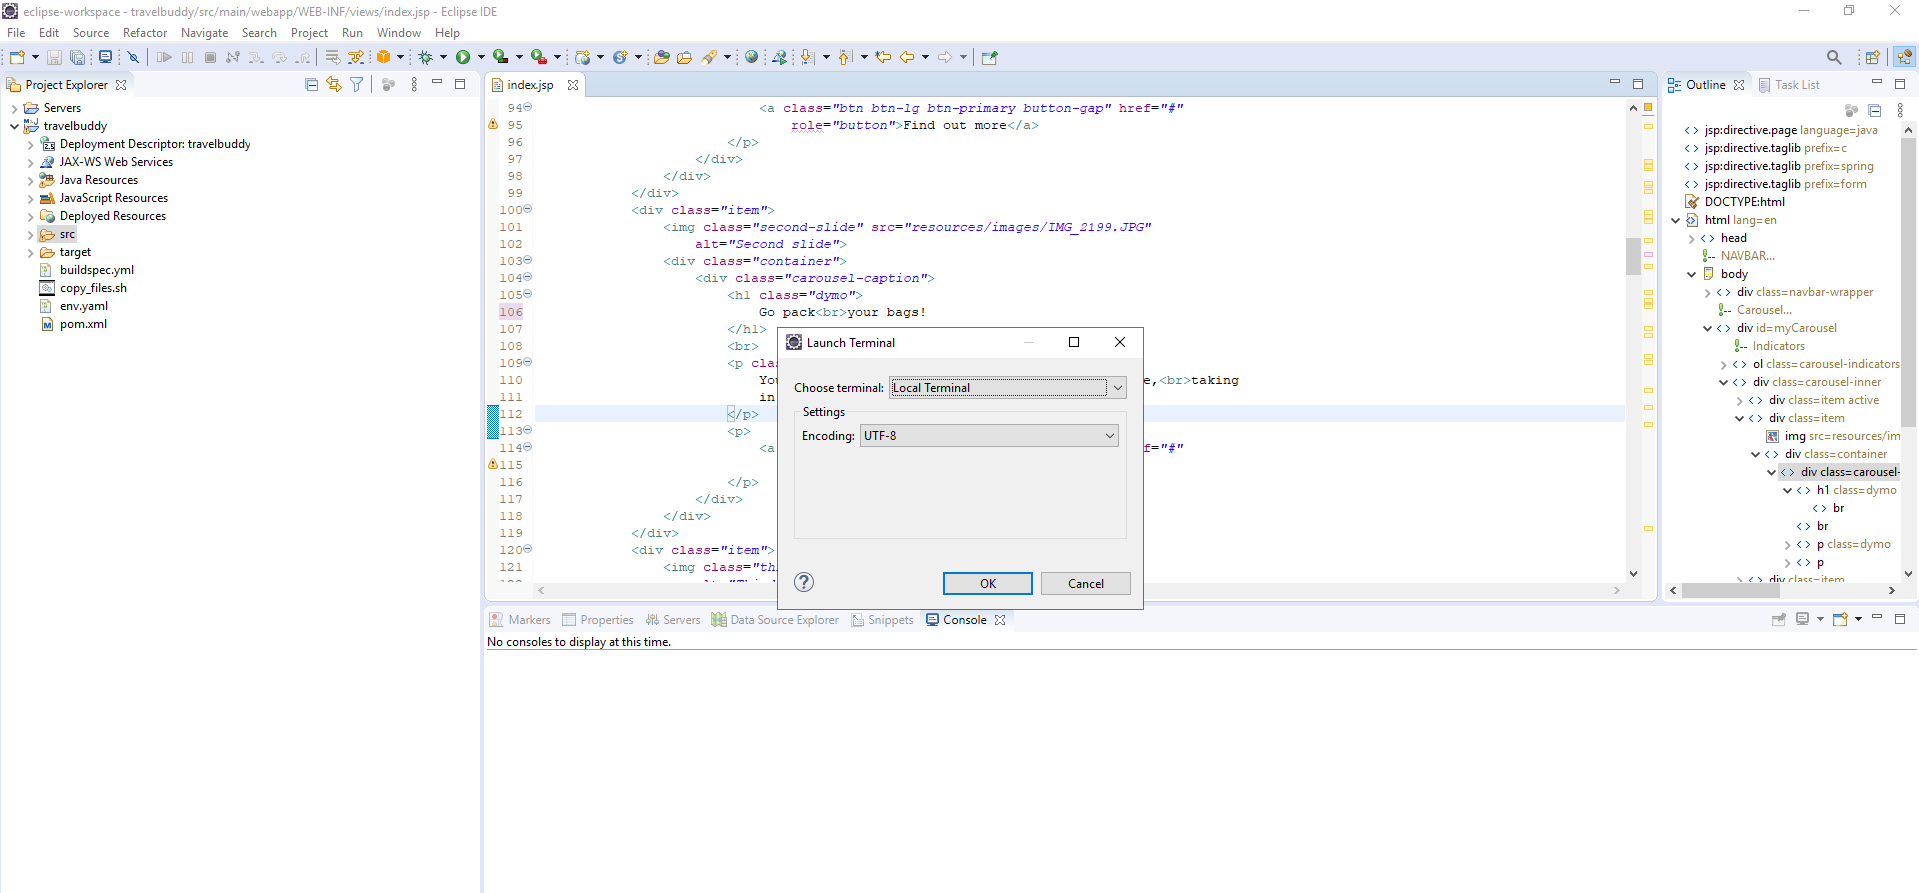
- In the Launch Terminal section
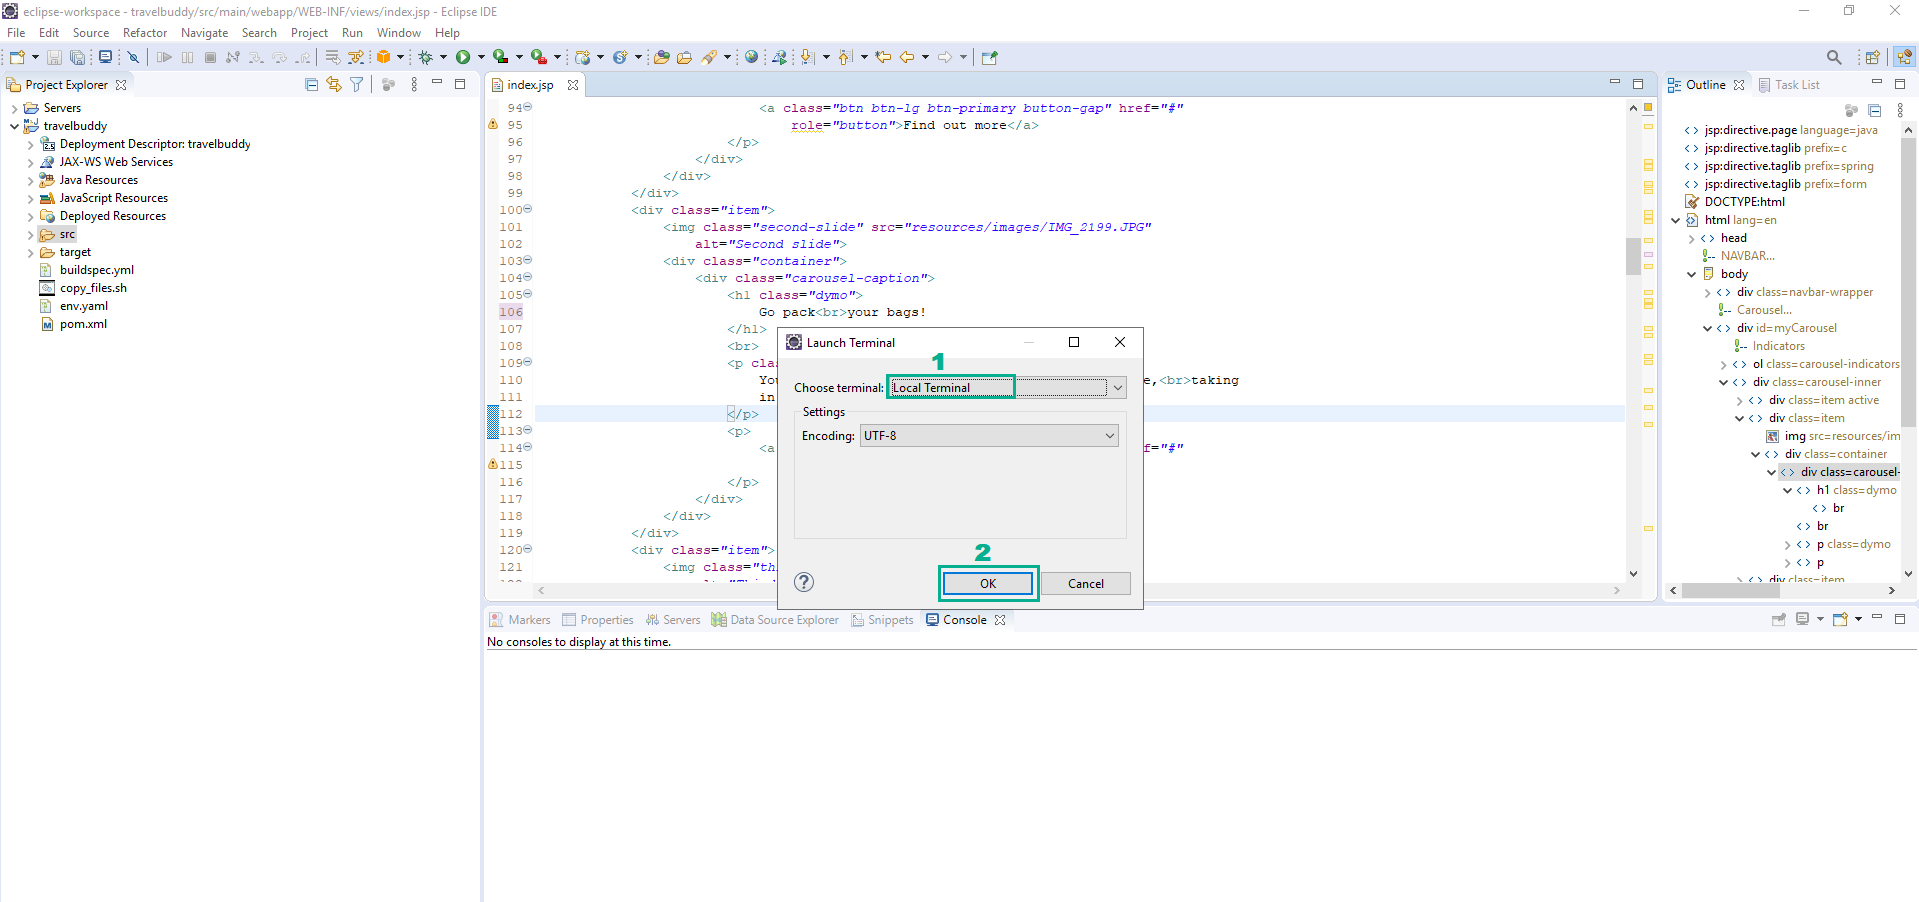
- In the Choose terminal section, select Local Terminal
- Click OK
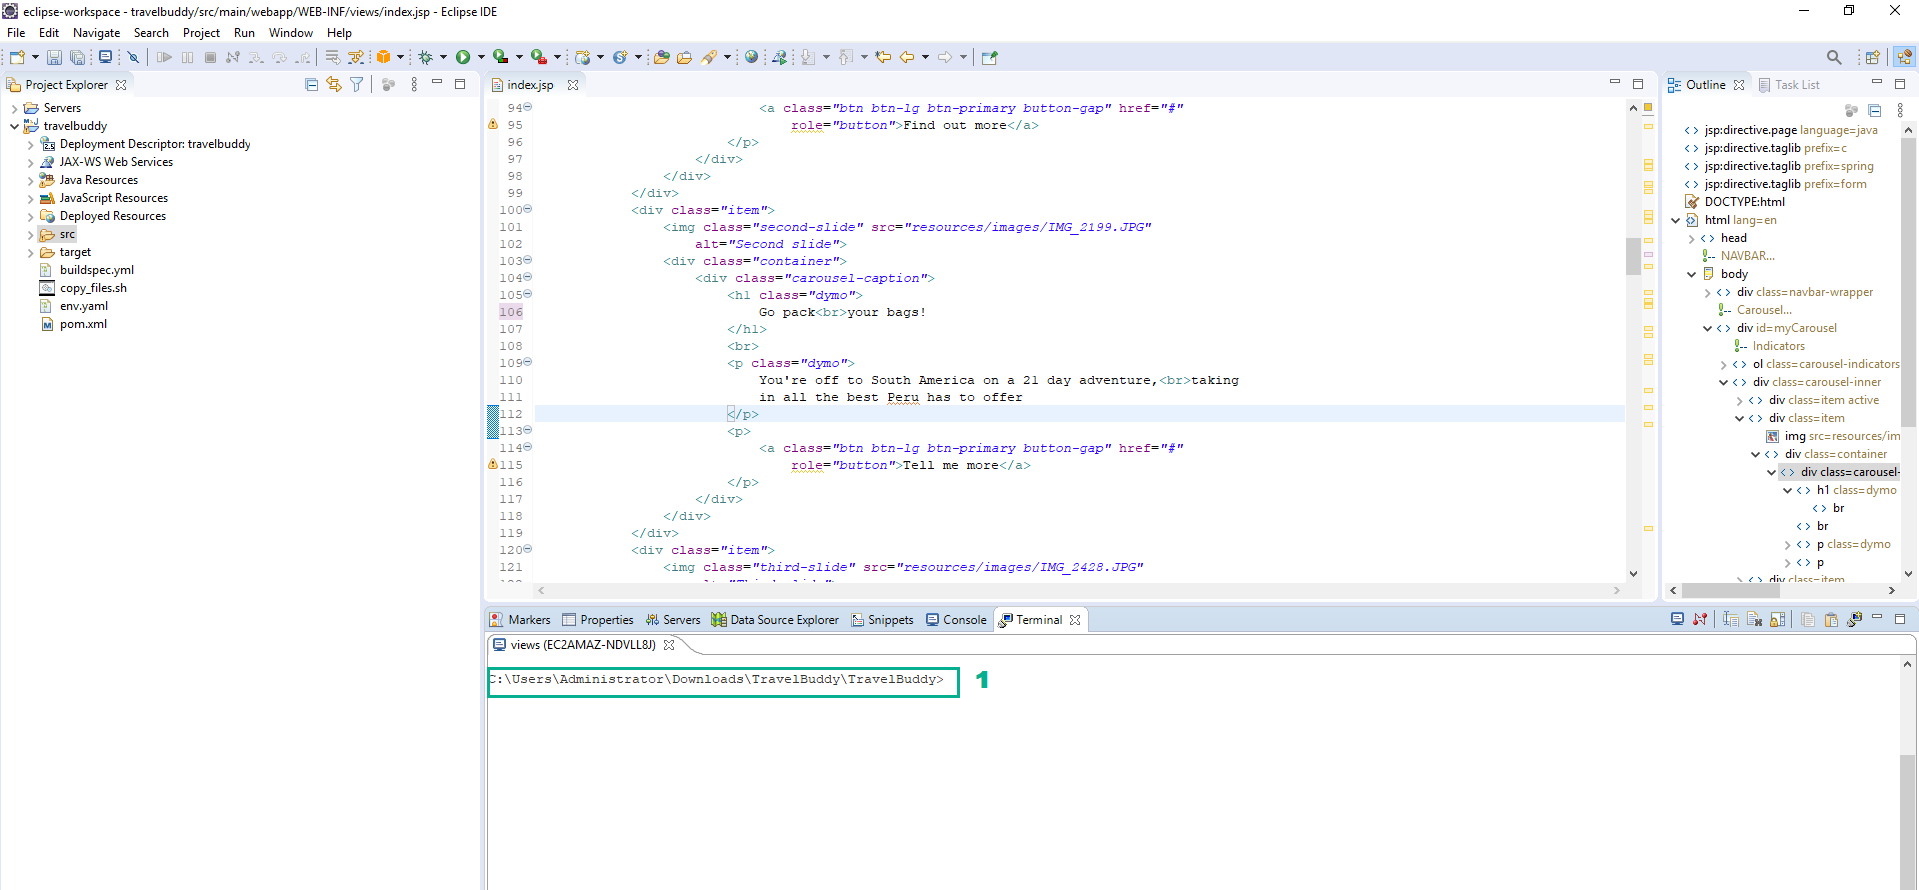
- In the terminal, Change your directory to folder TravelBuddy project
- Execute the below command to Build a new deployable version of the application using Maven.
mvn package

- Execute the below command to Switch to the deployable contents directory and initialise the contents for Elastic Beanstalk deployment
cd target\\travelbuddy
eb init --profile devaxacademy
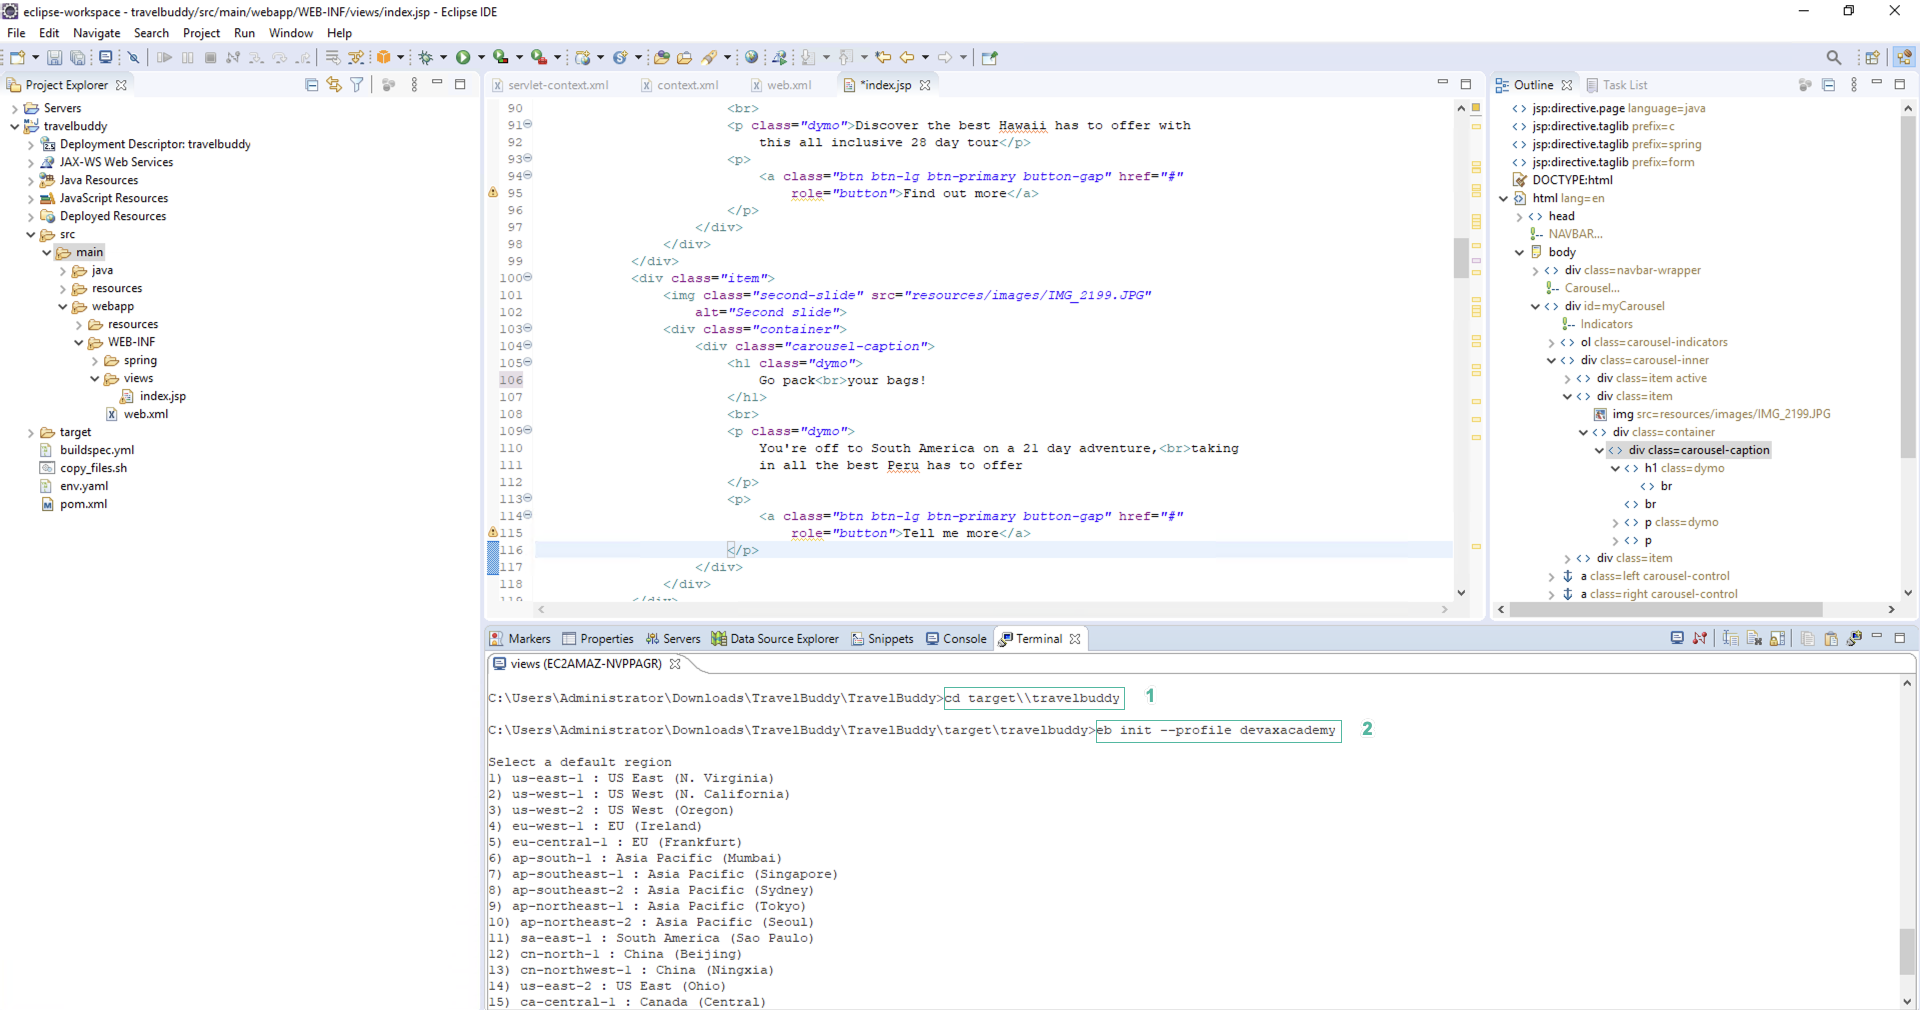
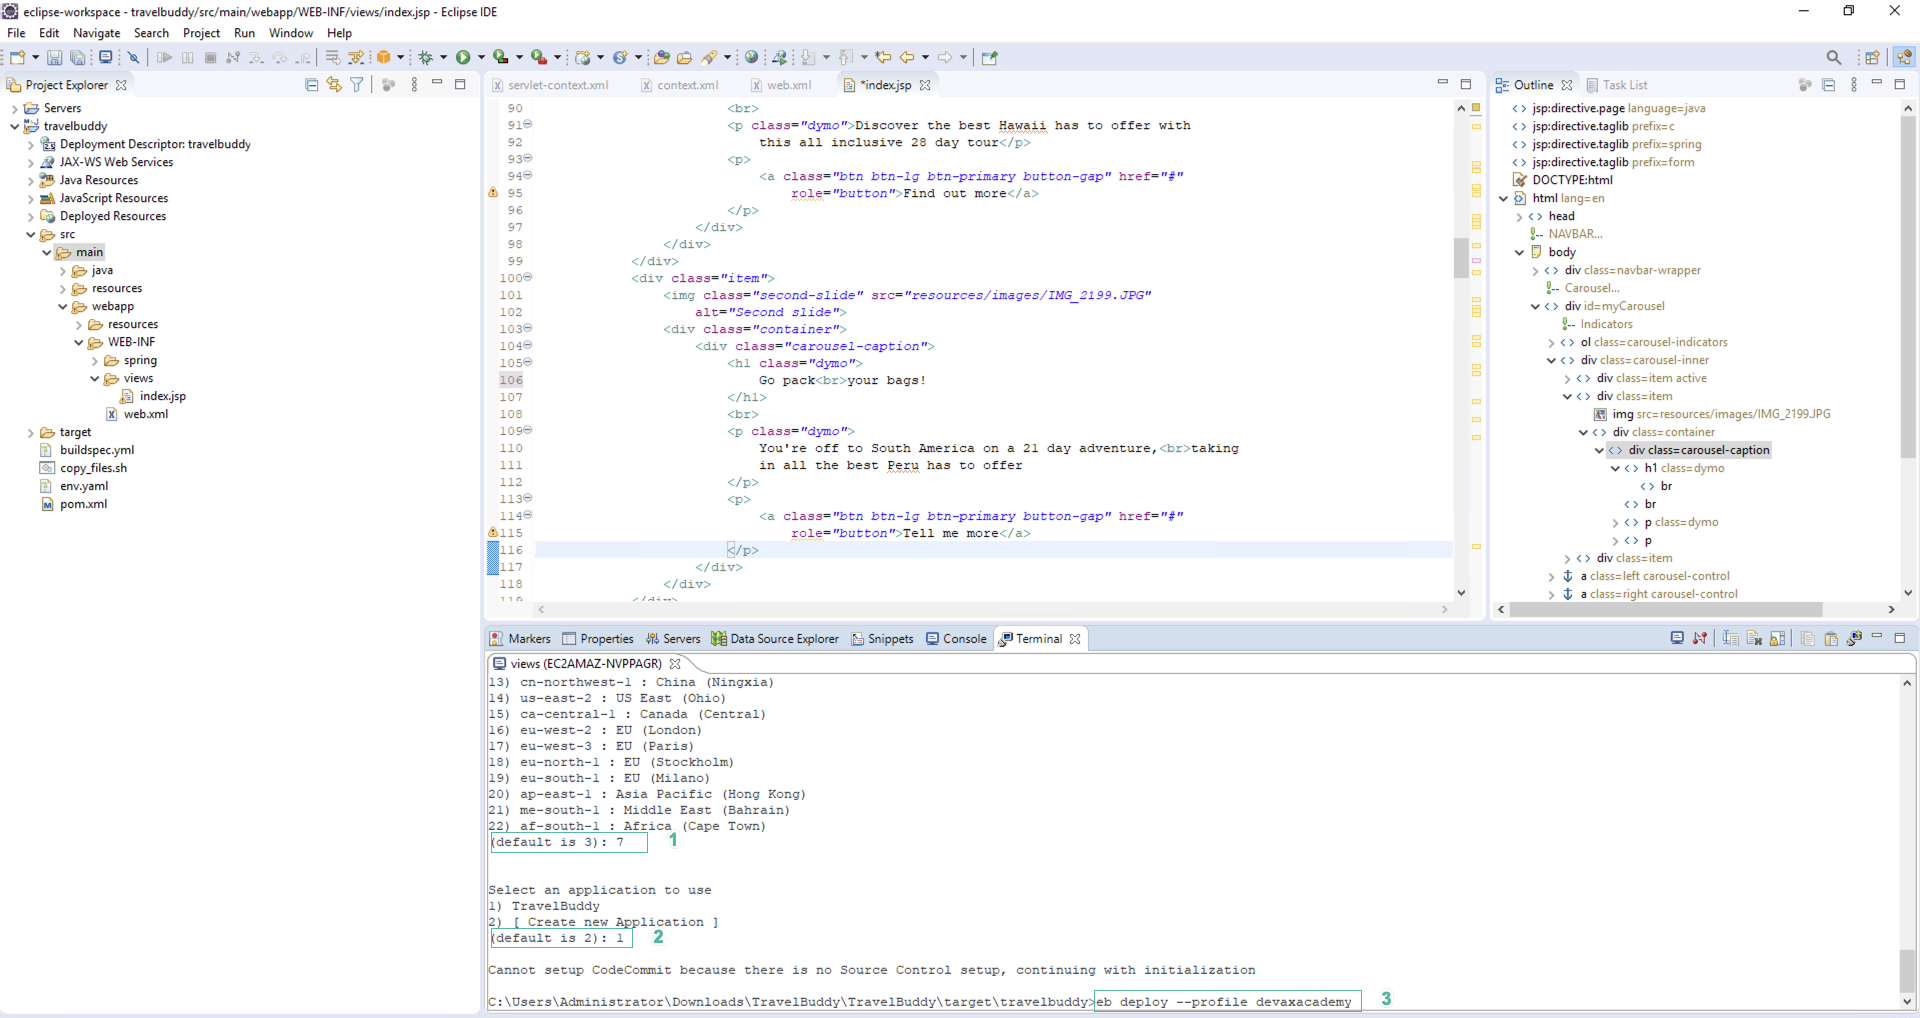
- For Select a default region, enter the appropriate number to match the region you are using and hit enter.
- For Select an application to use, enter the appropriate number to match the TravelBuddy and hit enter. If you receive a message Cannot setup CodeCommit because there is no Source Control setup, continuing with initialization, you can safely ignore the message.
- Execute the command below to upload your newly built deployment to your Beanstalk environment.
eb deploy --profile devaxacademy
Now, wait for the deployment to complete. You can monitor the progress in the terminal window as the artefact is uploaded, and then Elastic Beanstalk updates the environment. You will also see the progress of the update reflected in the AWS Elastic Beanstalk console, once the upload is complete. When the update finishes, verify the change you made to the index.jsp page is now present in the publicly-visible website.