Deploy Application to ElasticBeanstalk
Deploy to ElasticBeanstalk
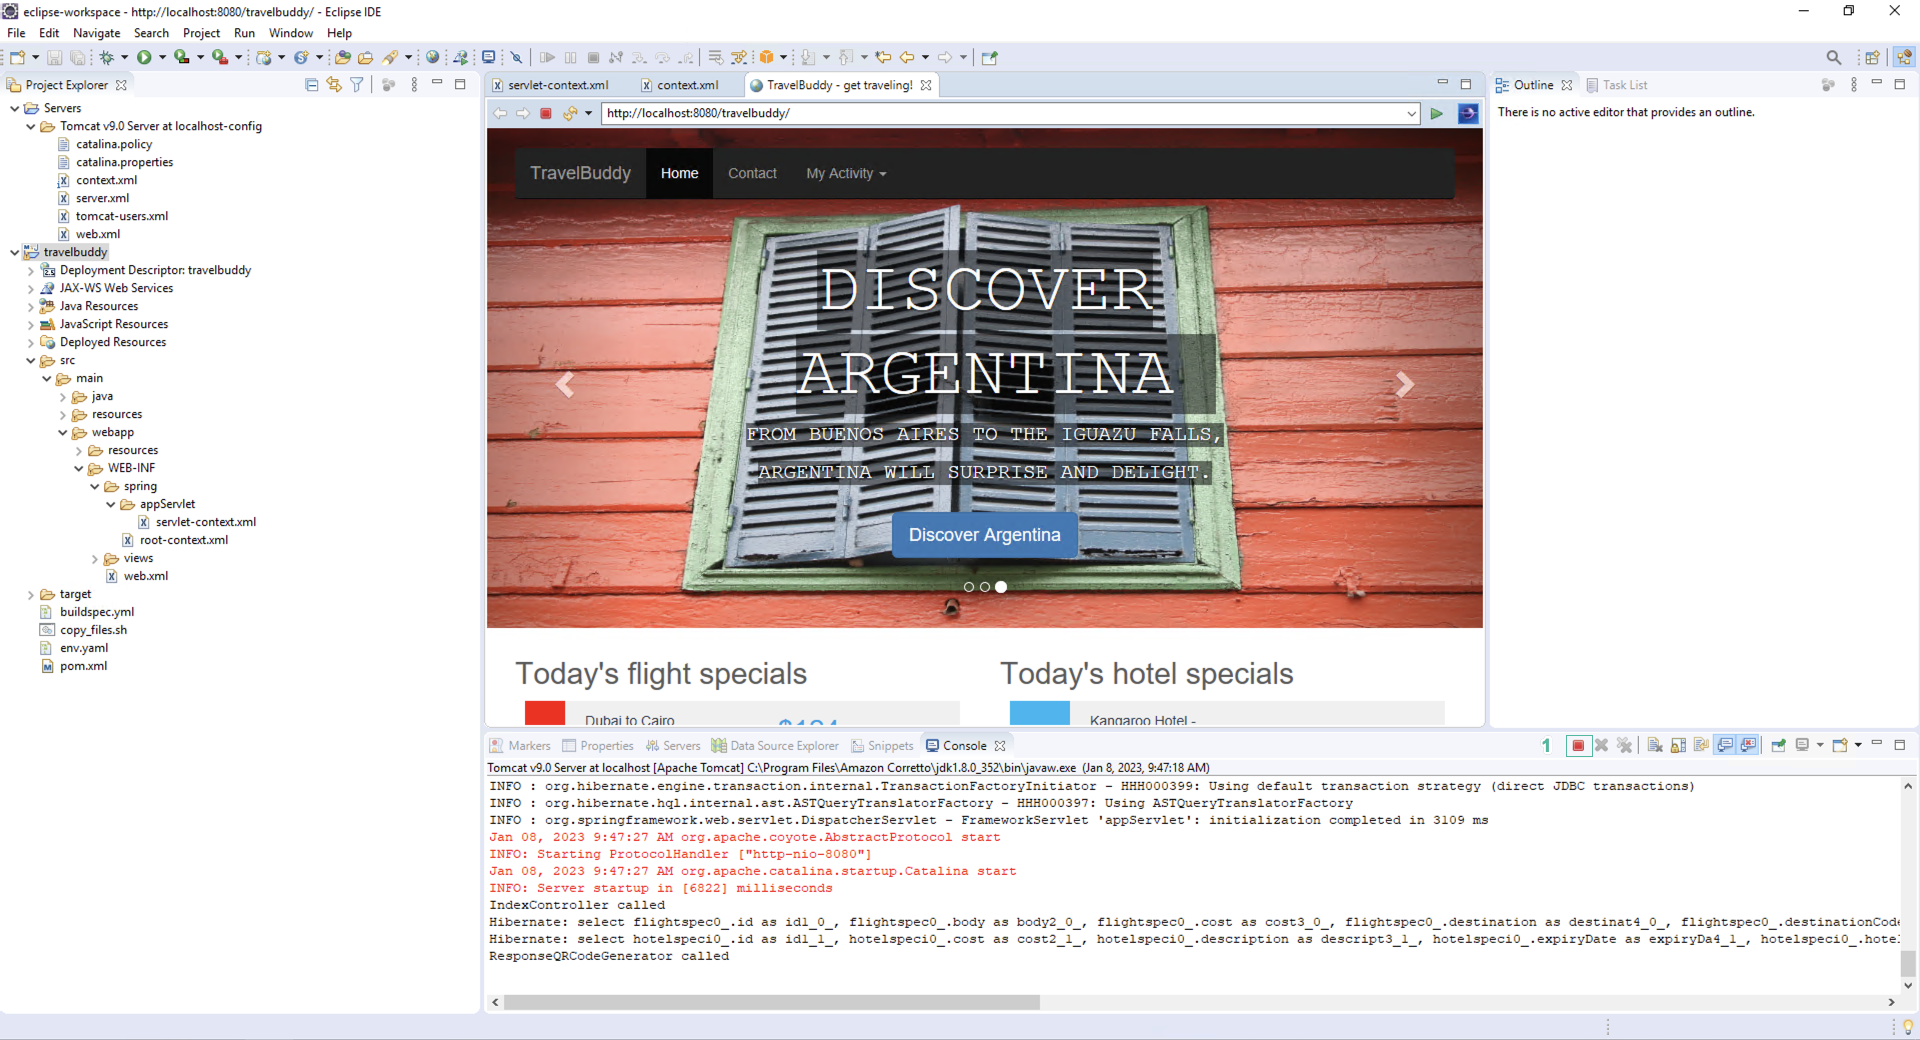
Now that we know the app runs, you will create a new environment in AWS using Elastic Beanstalk and host our TravelBuddy web application there so that it can be accessed by users on the Internet. Elastic Beanstalk removes the burden of provisioning and managing web-based applications. Your application can be migrated to Elastic Beanstalk without any modification, so this is the easiest way to migrate the existing application.
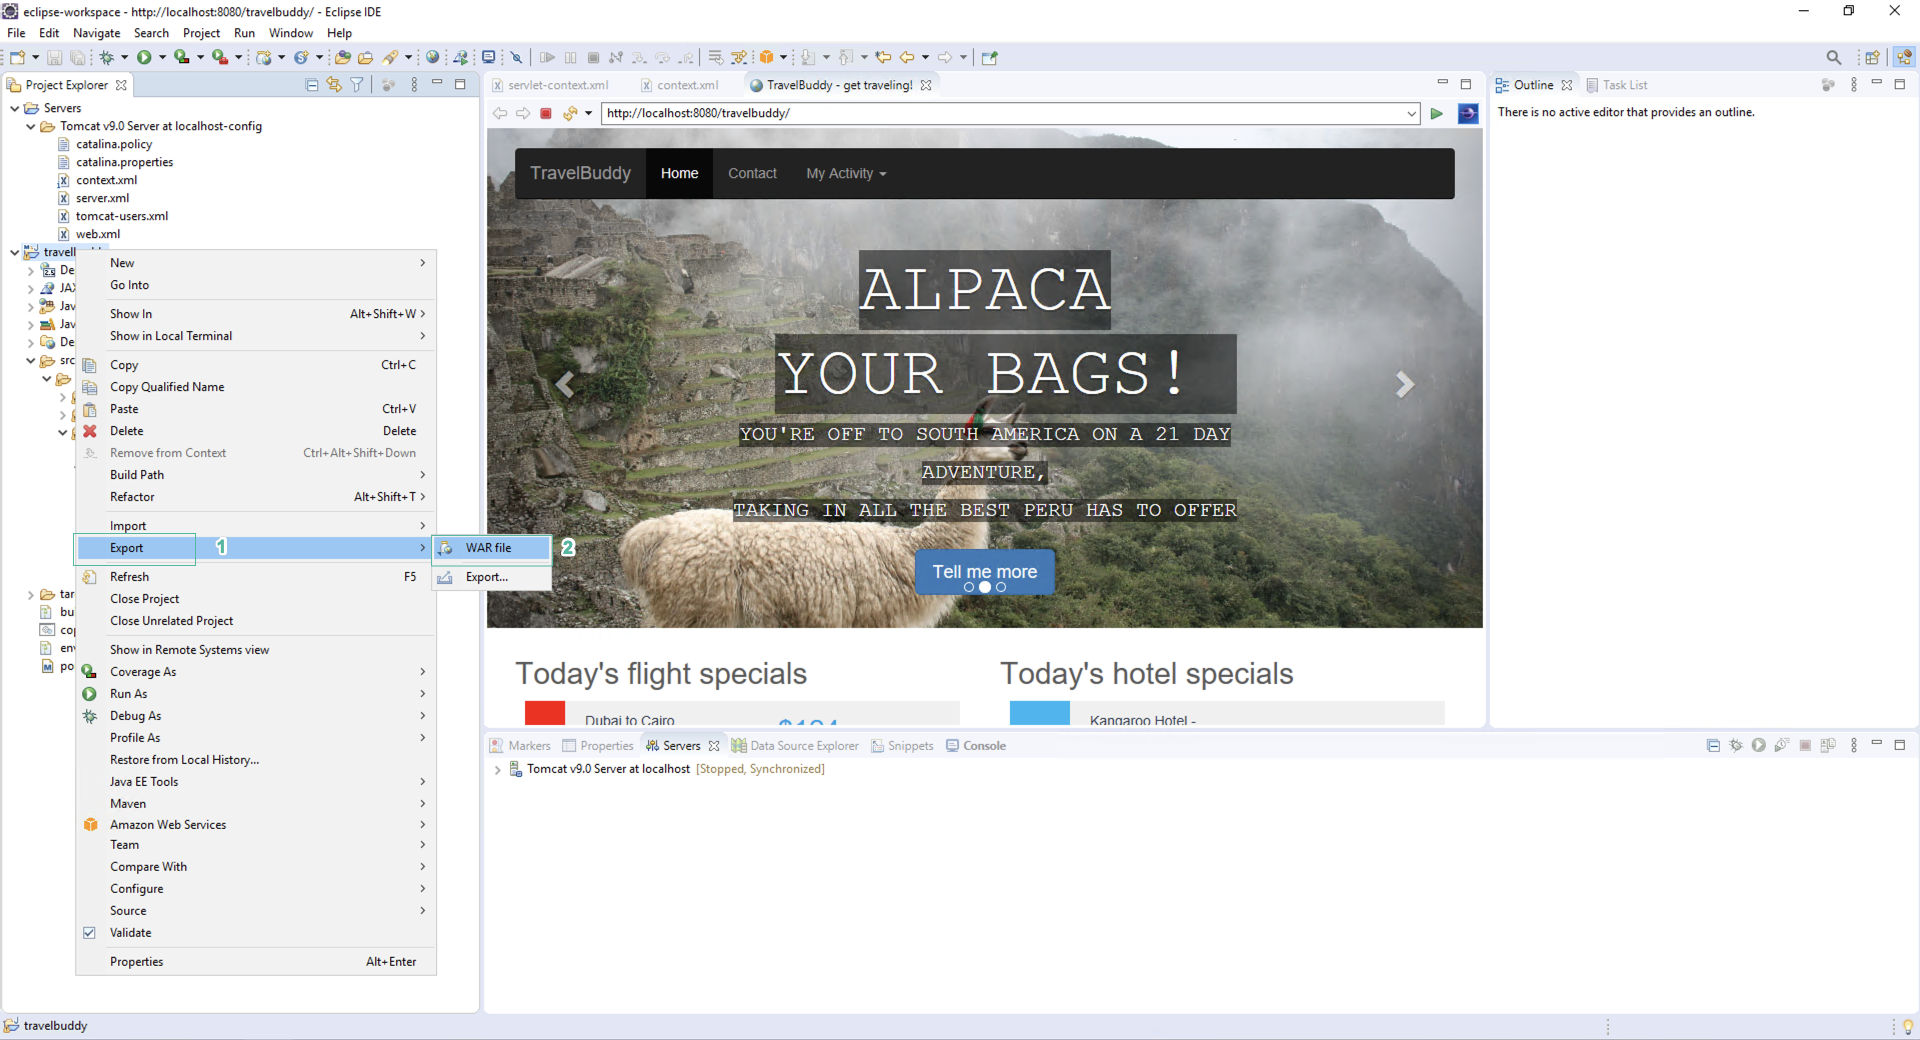
Build a WAR file
- Stop the Tomcat server running locally
- Click teminate icon
- Right click on the folder project
- Click Export
- Click WAR file
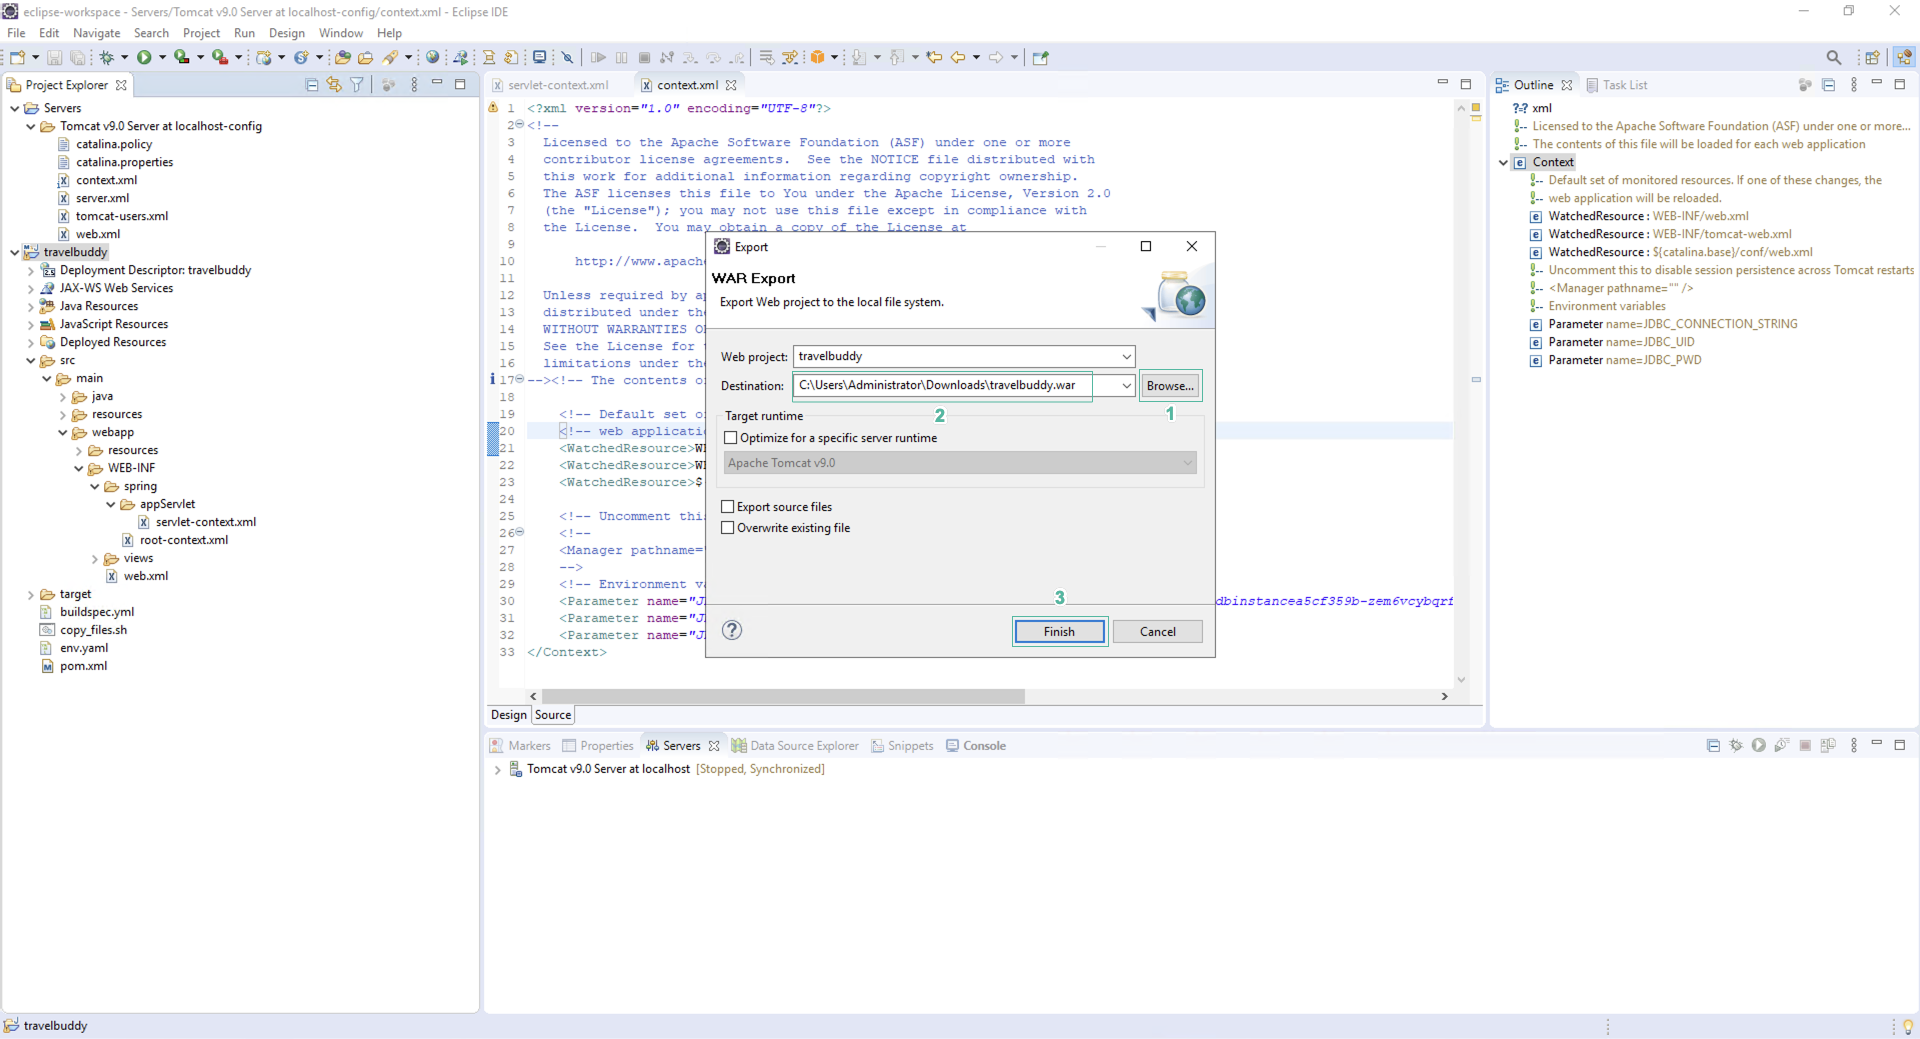
- In the WAR Export section
- Click Browser
- Select a suitable location to store the WAR file. You will need to access this file again.
- Click Finish
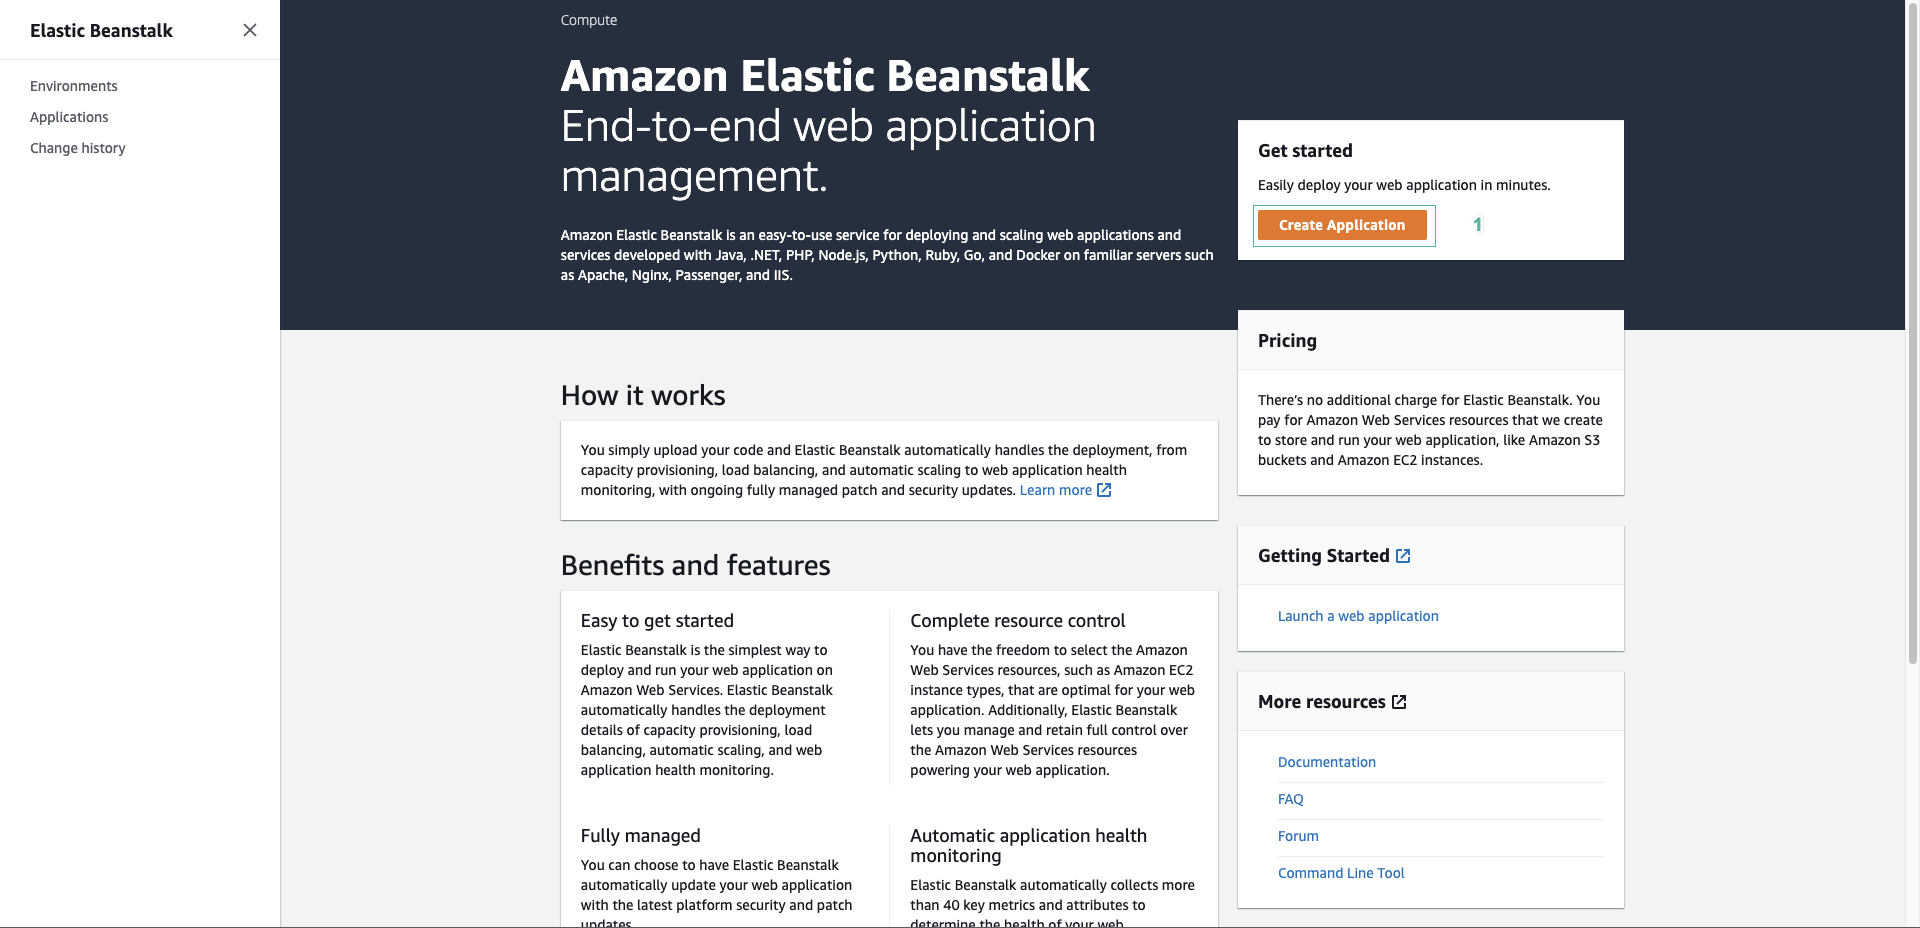
Create the Elastic beanstalk application
- Click Create Aplication.
- In the Application name section, type
TravelBuddy
- Select Tomcat is platform
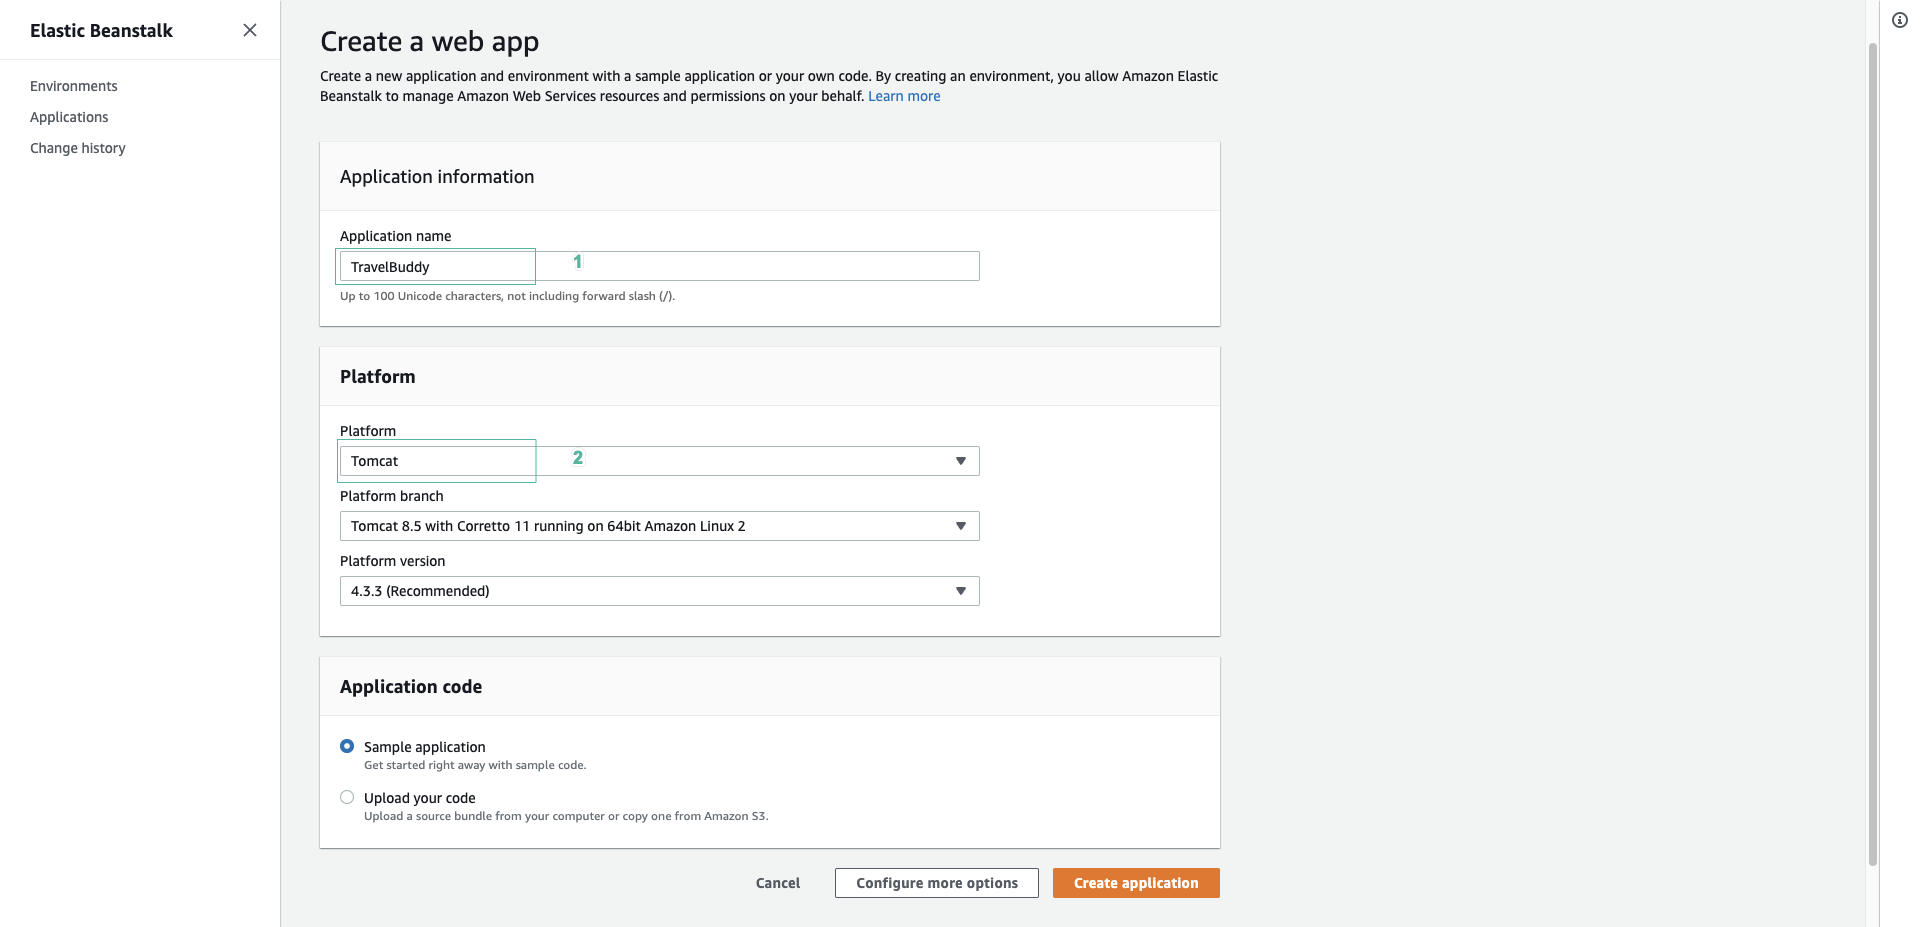
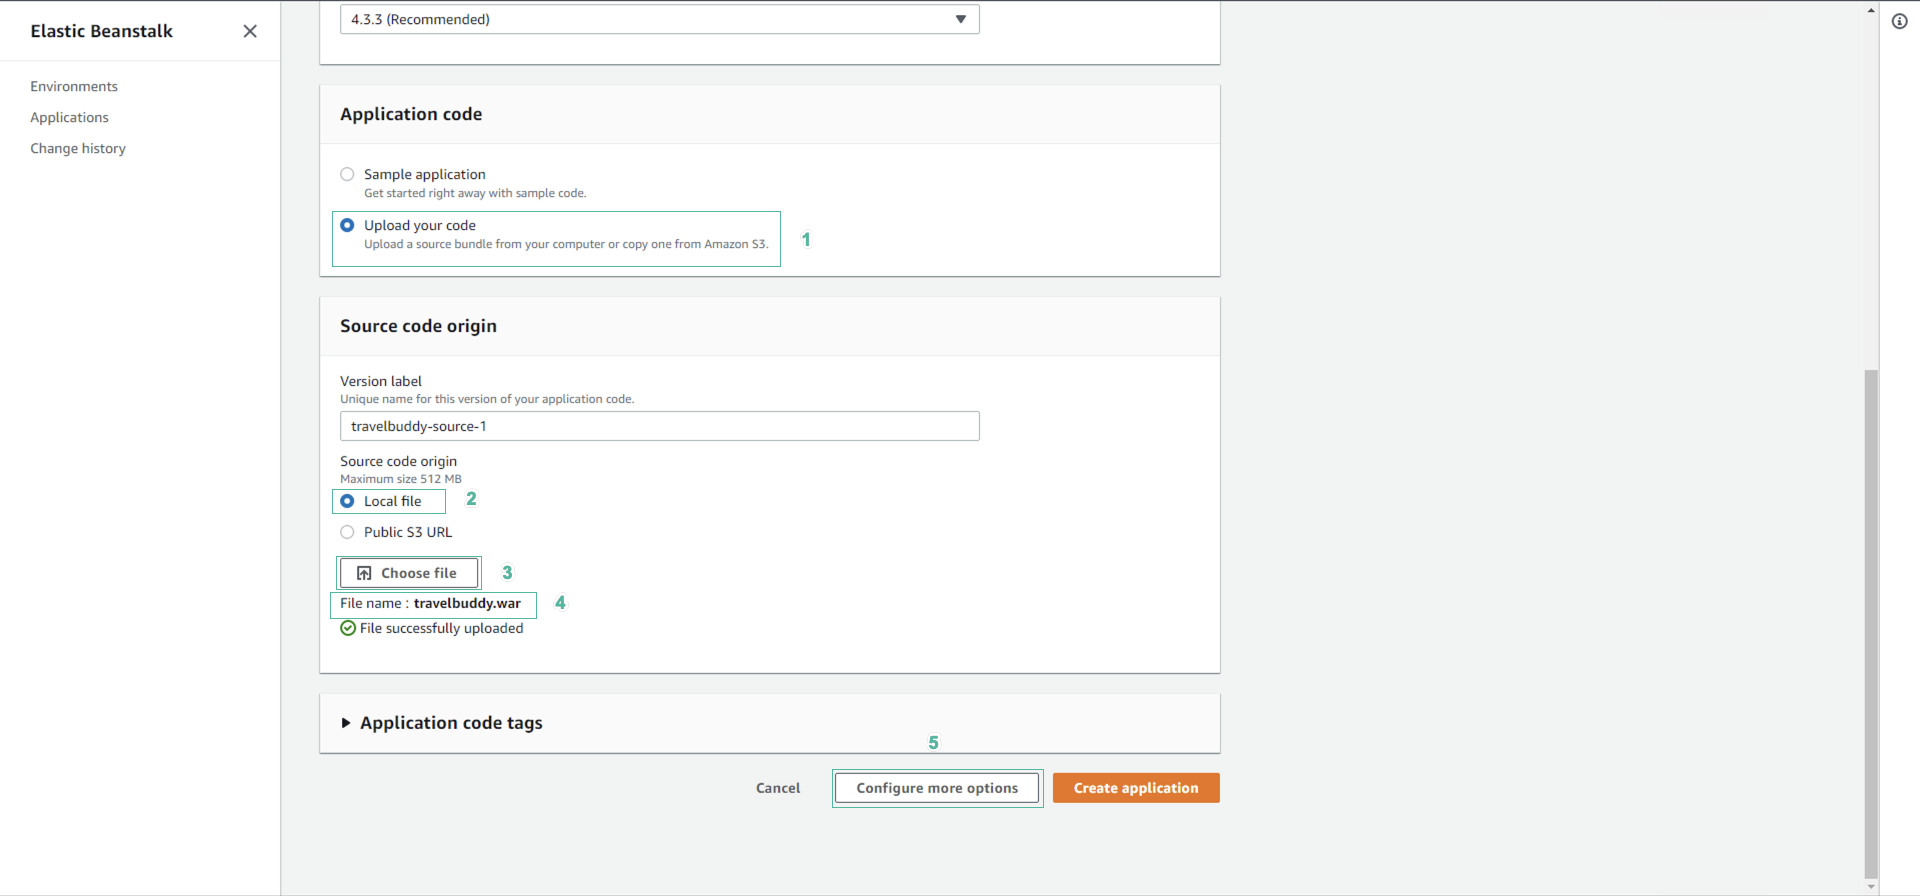
- In the Application code section, select Upload your code
- In the Source code origin section
- Select Local file
- Click Choose file
- Select file travelbuddy.war we created
- Click Configure more options
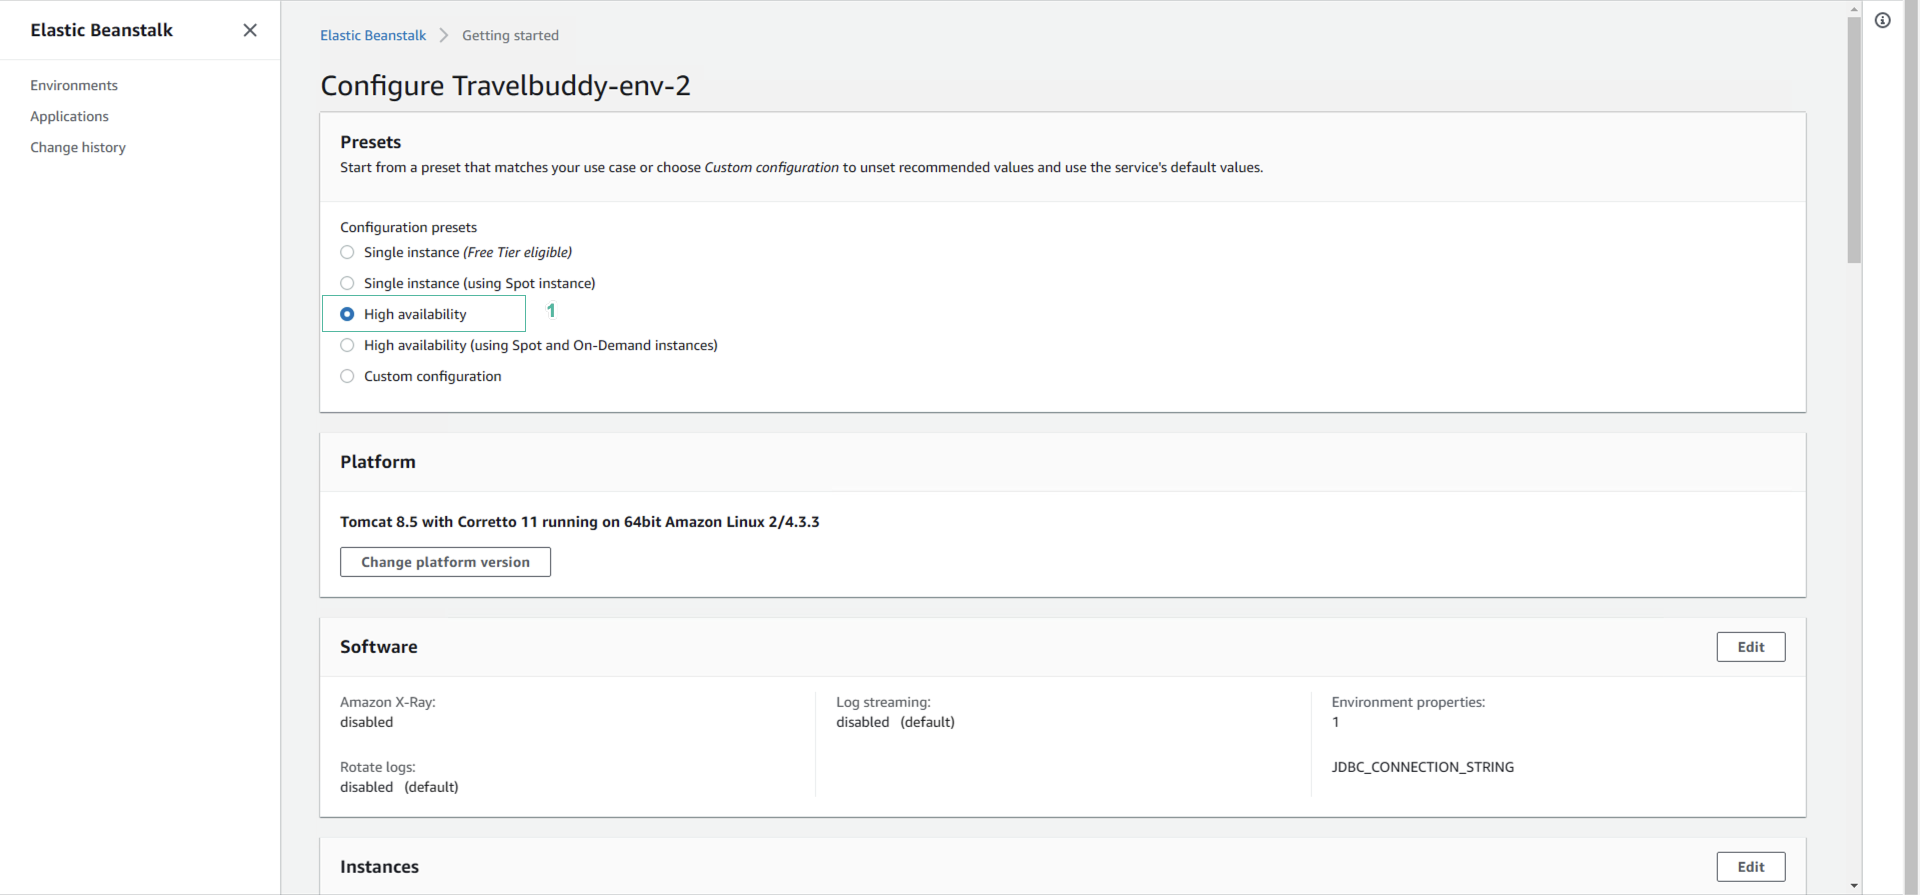
- In the Presets section, Click High availability
- In the Network section, Click Edit
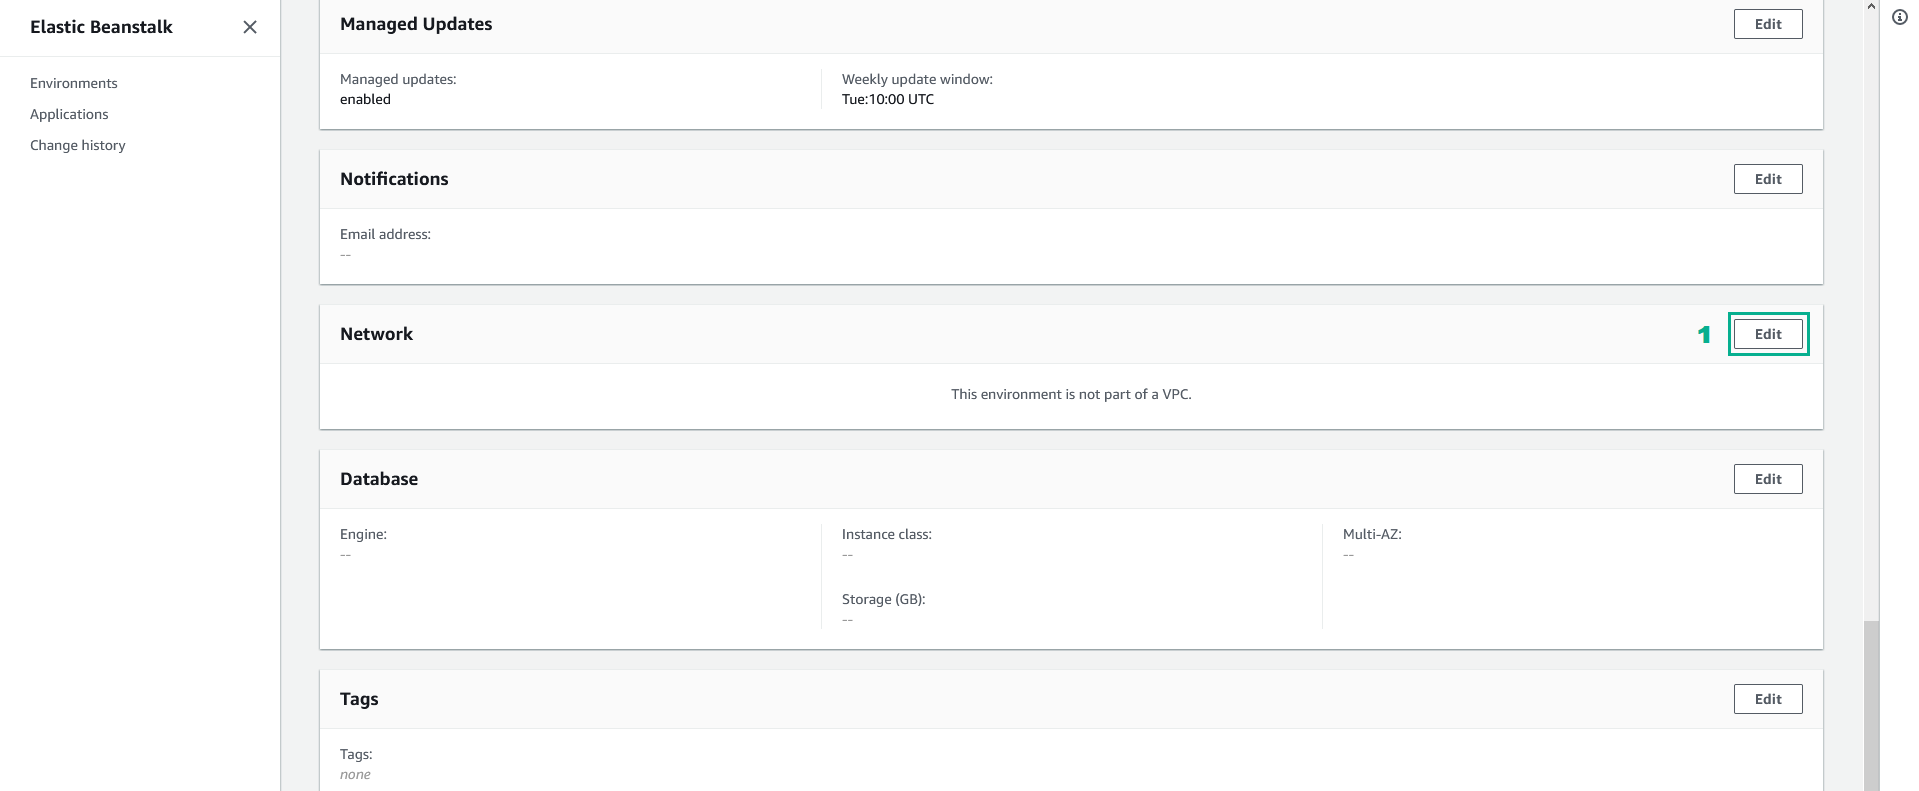
- In the VPC section, select CdkStack/DevAxNetworkVPC
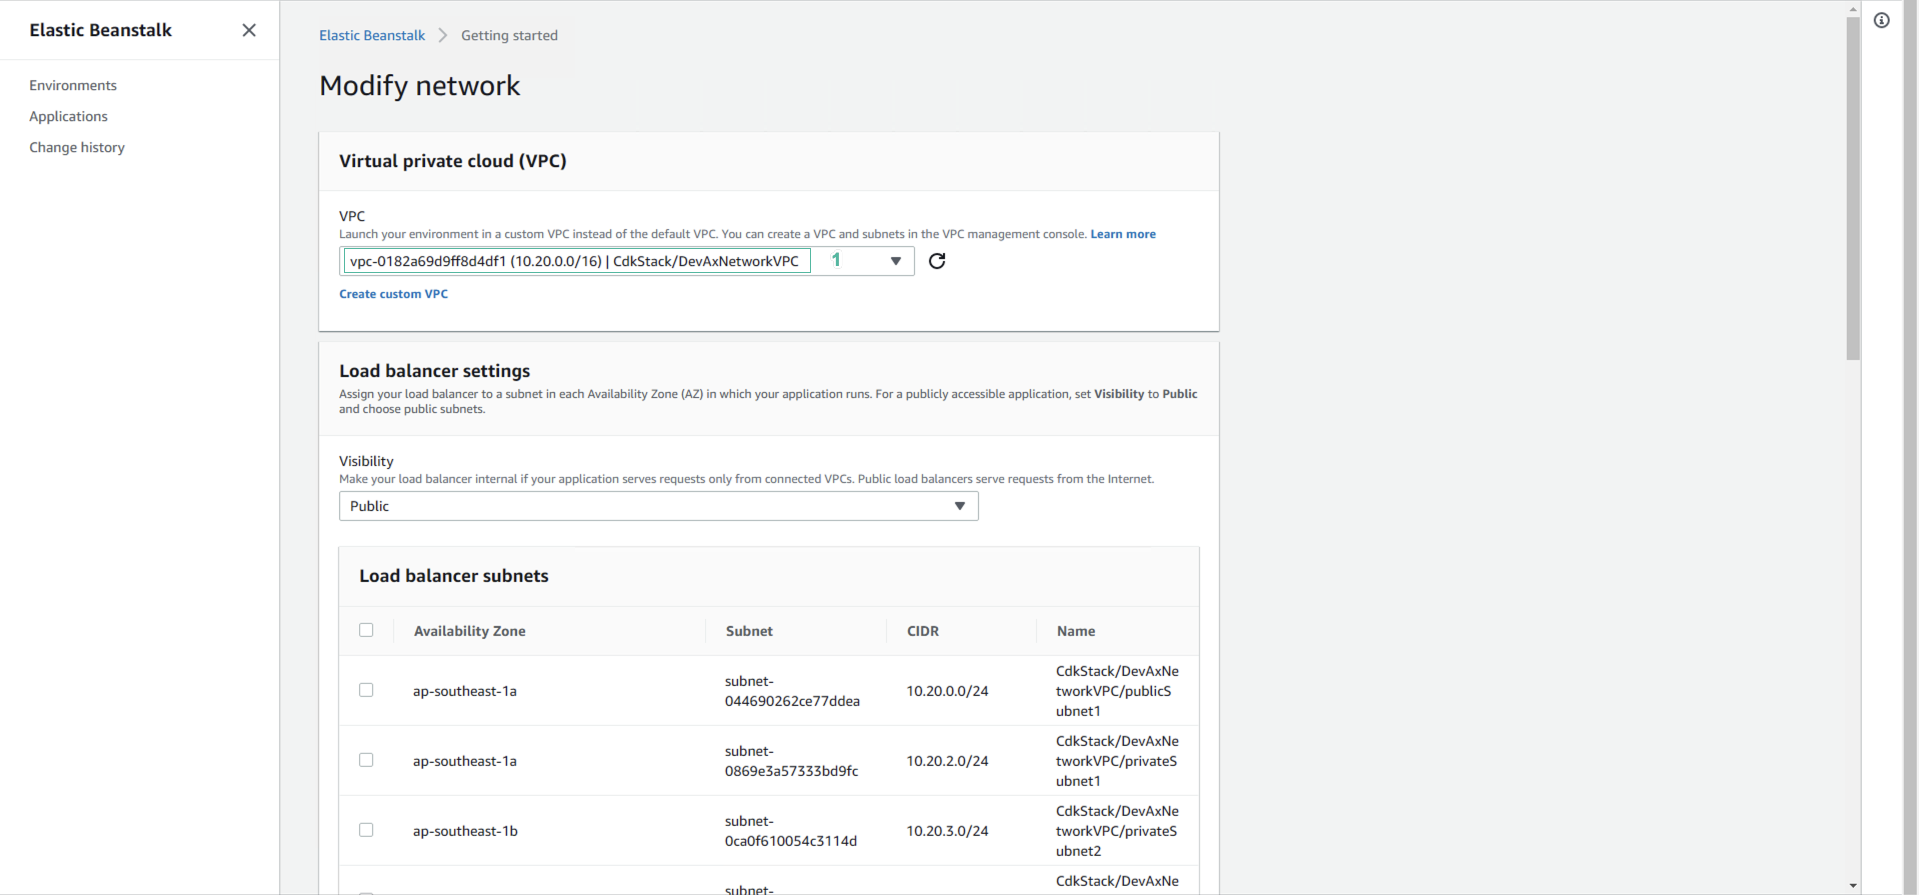
This will change the configuration to support multiple web servers behind an Elastic Load Balancer and implement auto-scaling.
- In the Load balancer settings section
- Select Public for Visibility
- In the Load balancer subnets section, select 2 Public Subnets
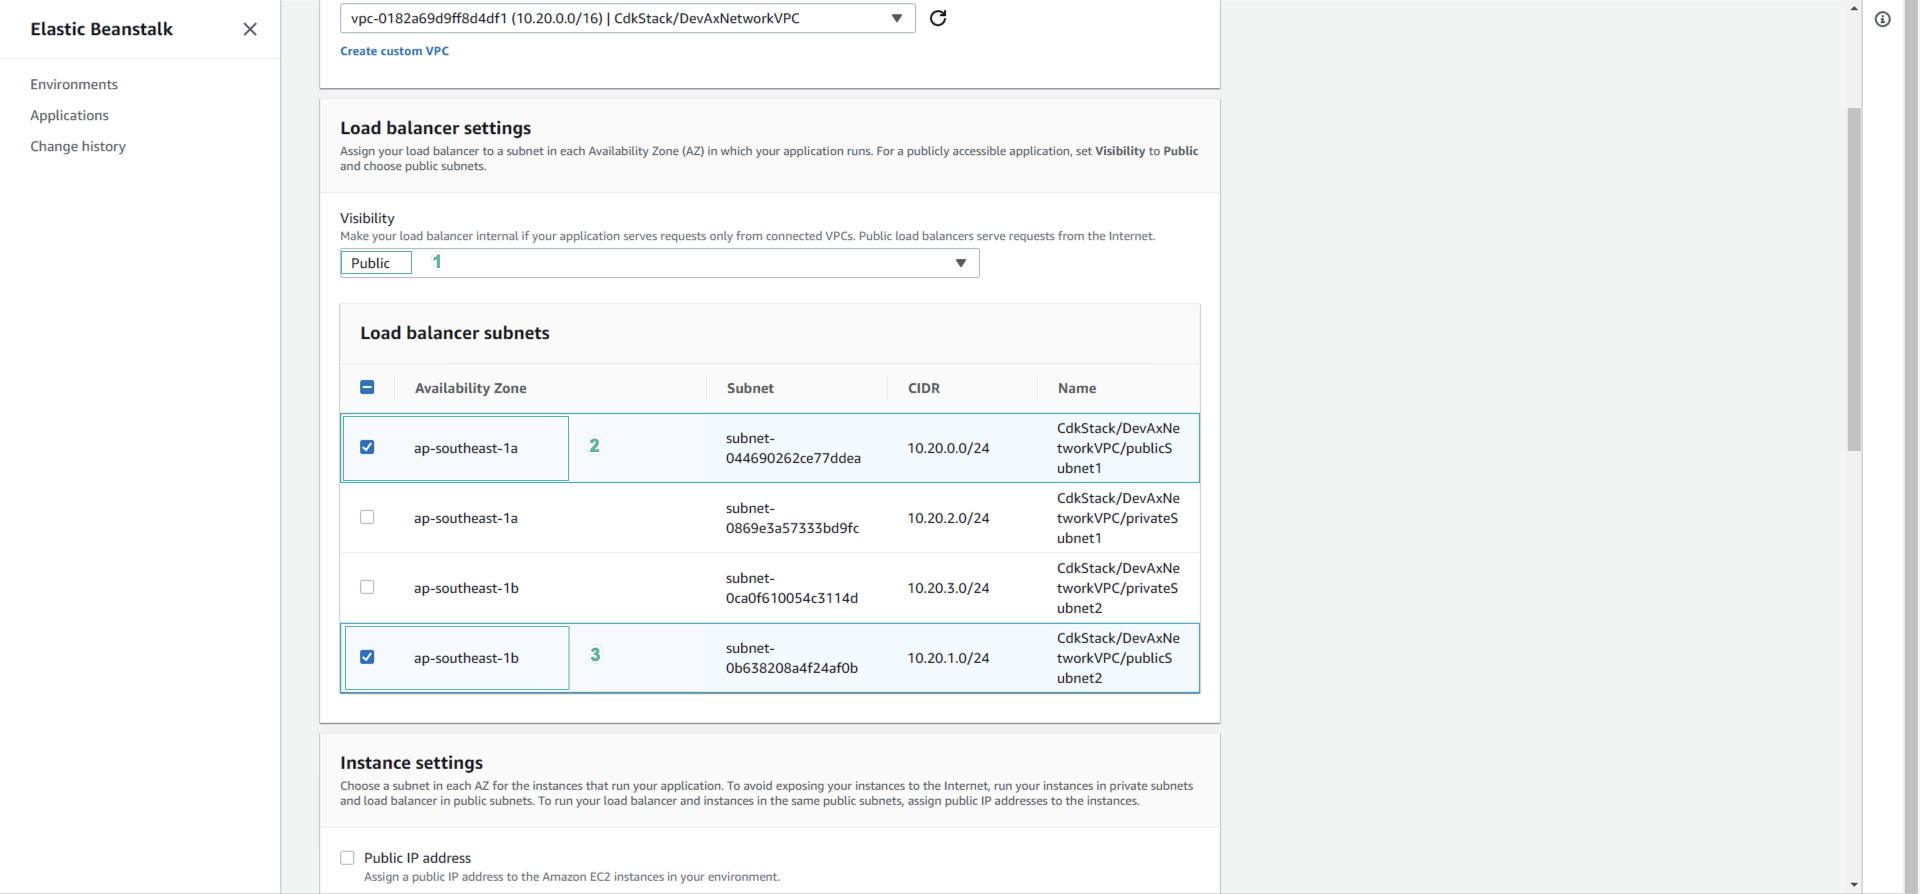
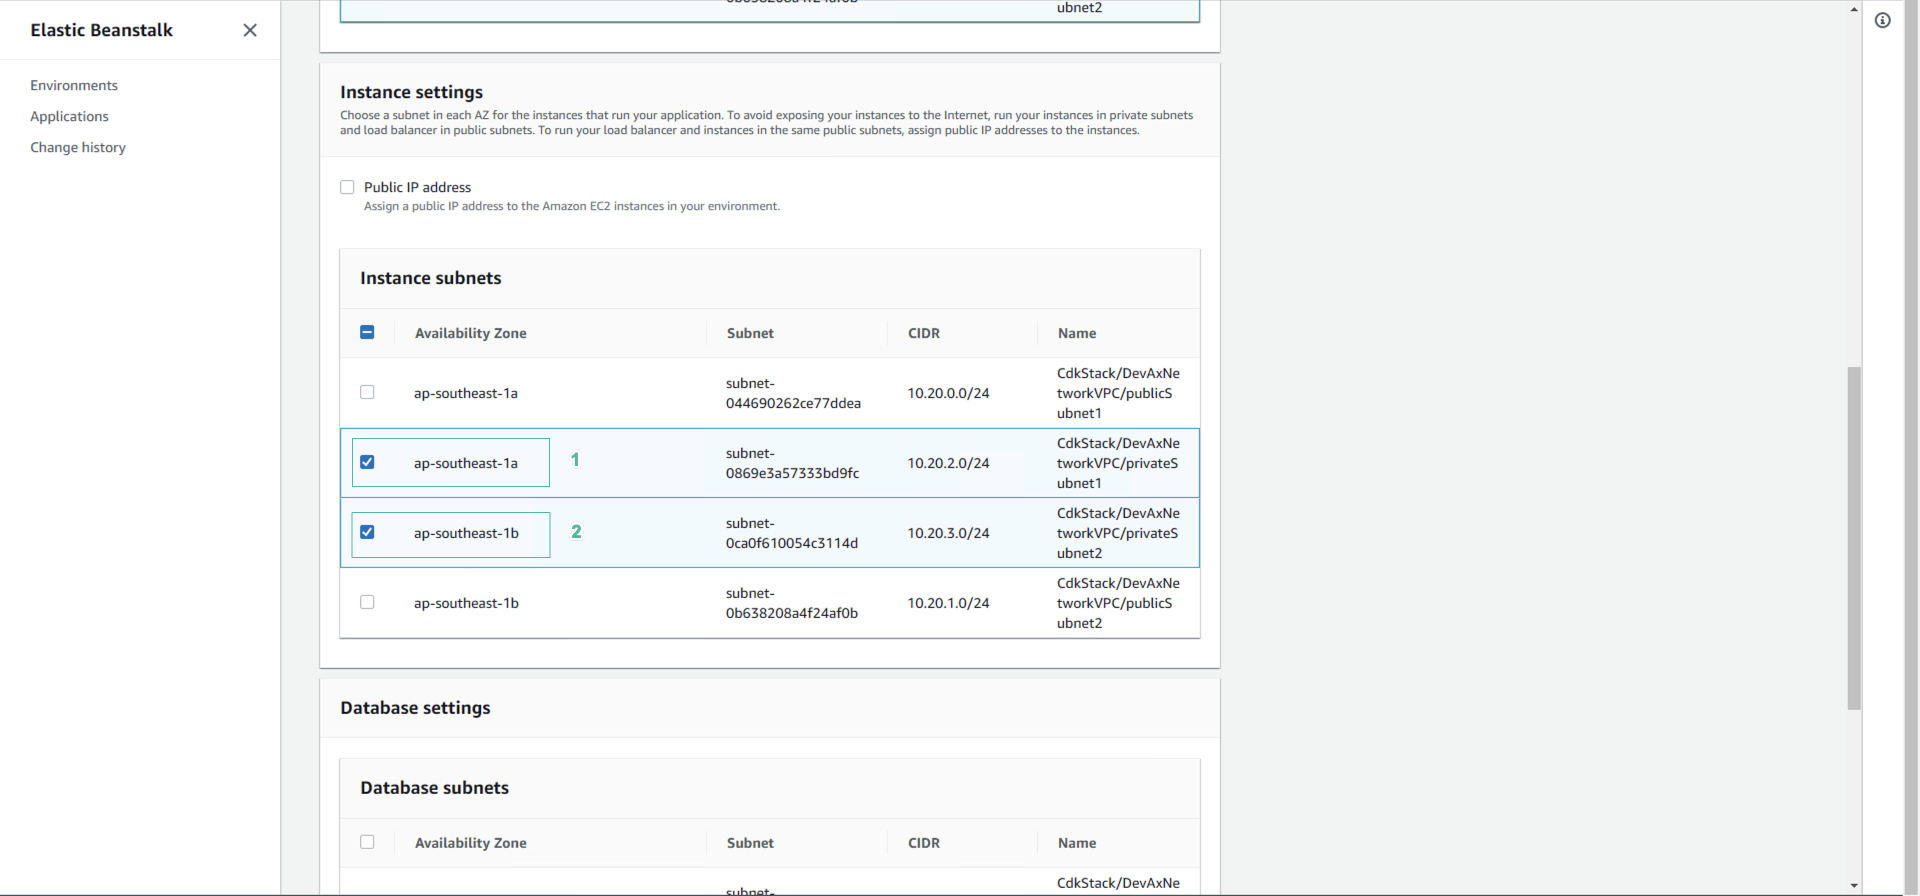
- In the Instance subnets section, select 2 Private subnets.
- Drag the screen down, then Click Save
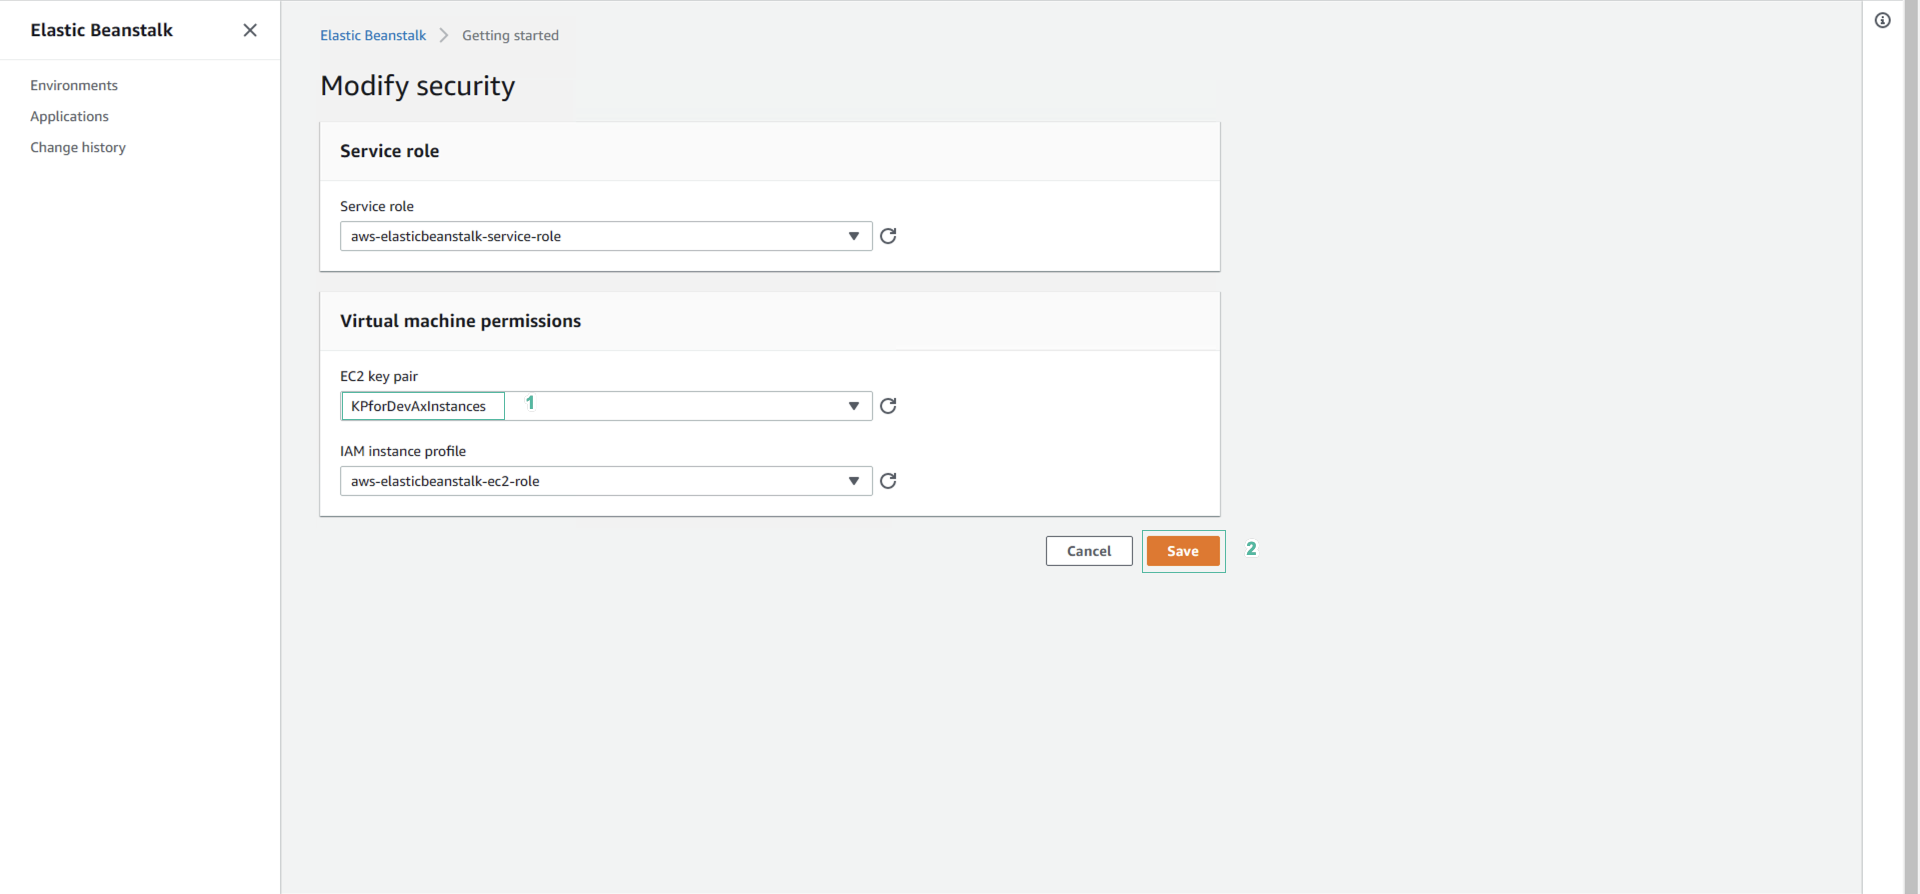
- In the Security section, Click Edit
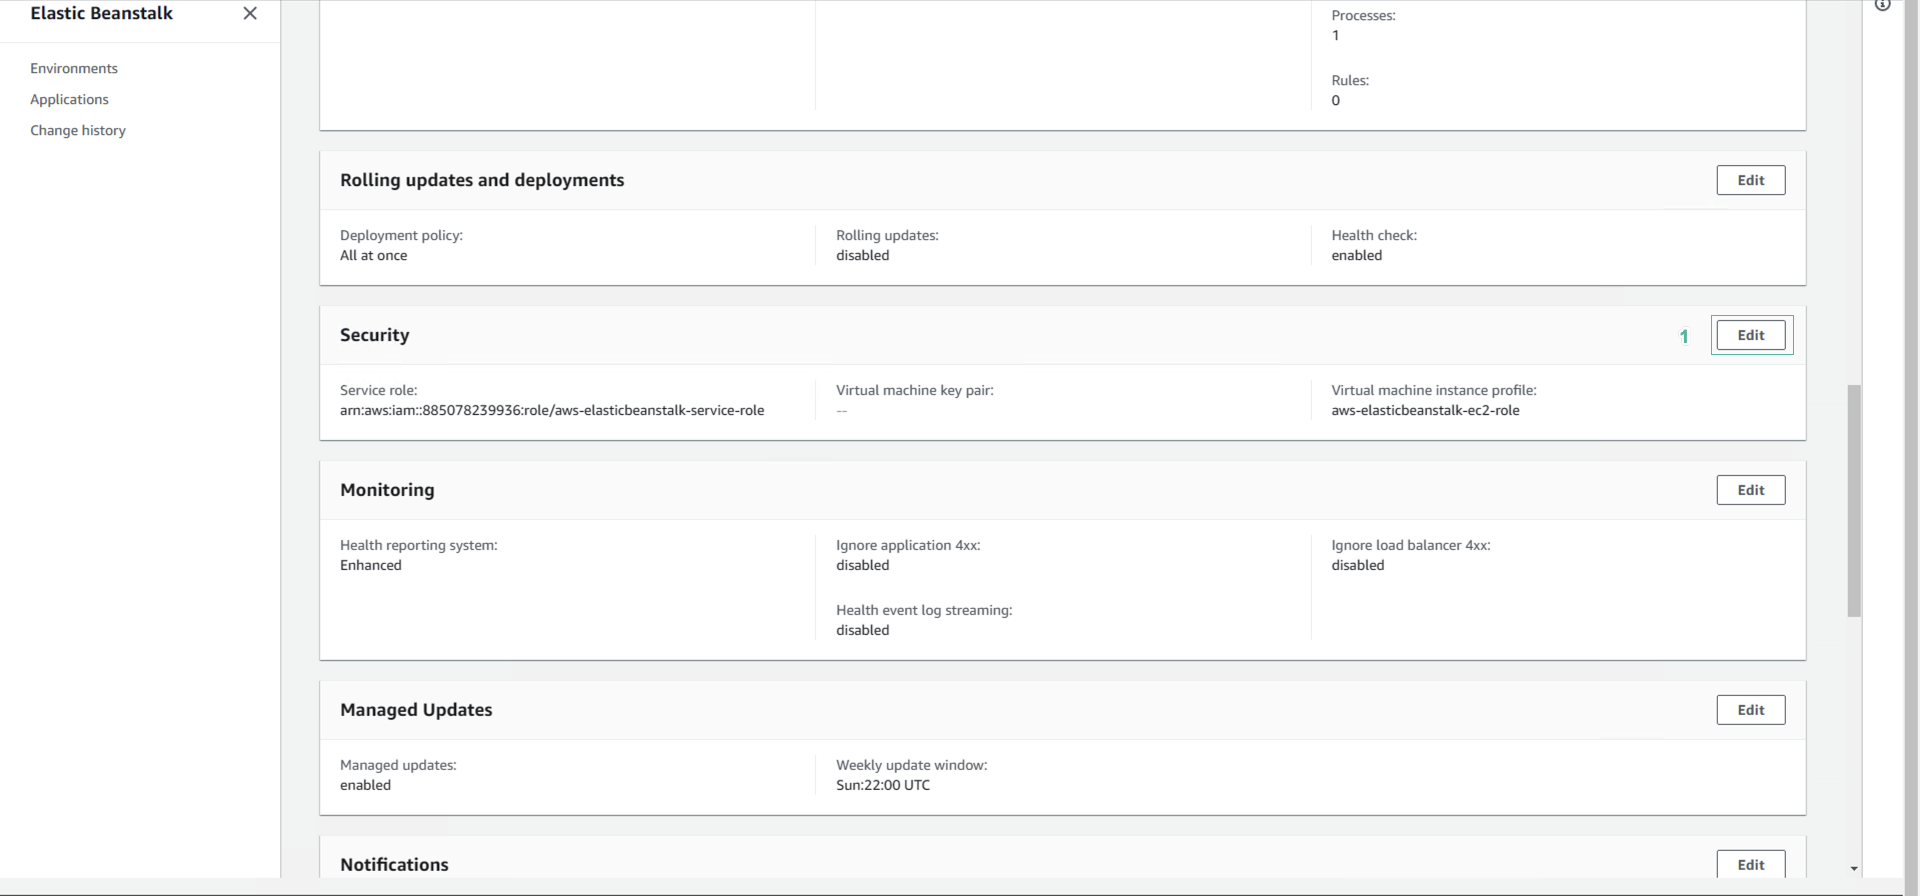
- In the EC2 key pair section, select key pair KPforDevAxInstances
- Click Save
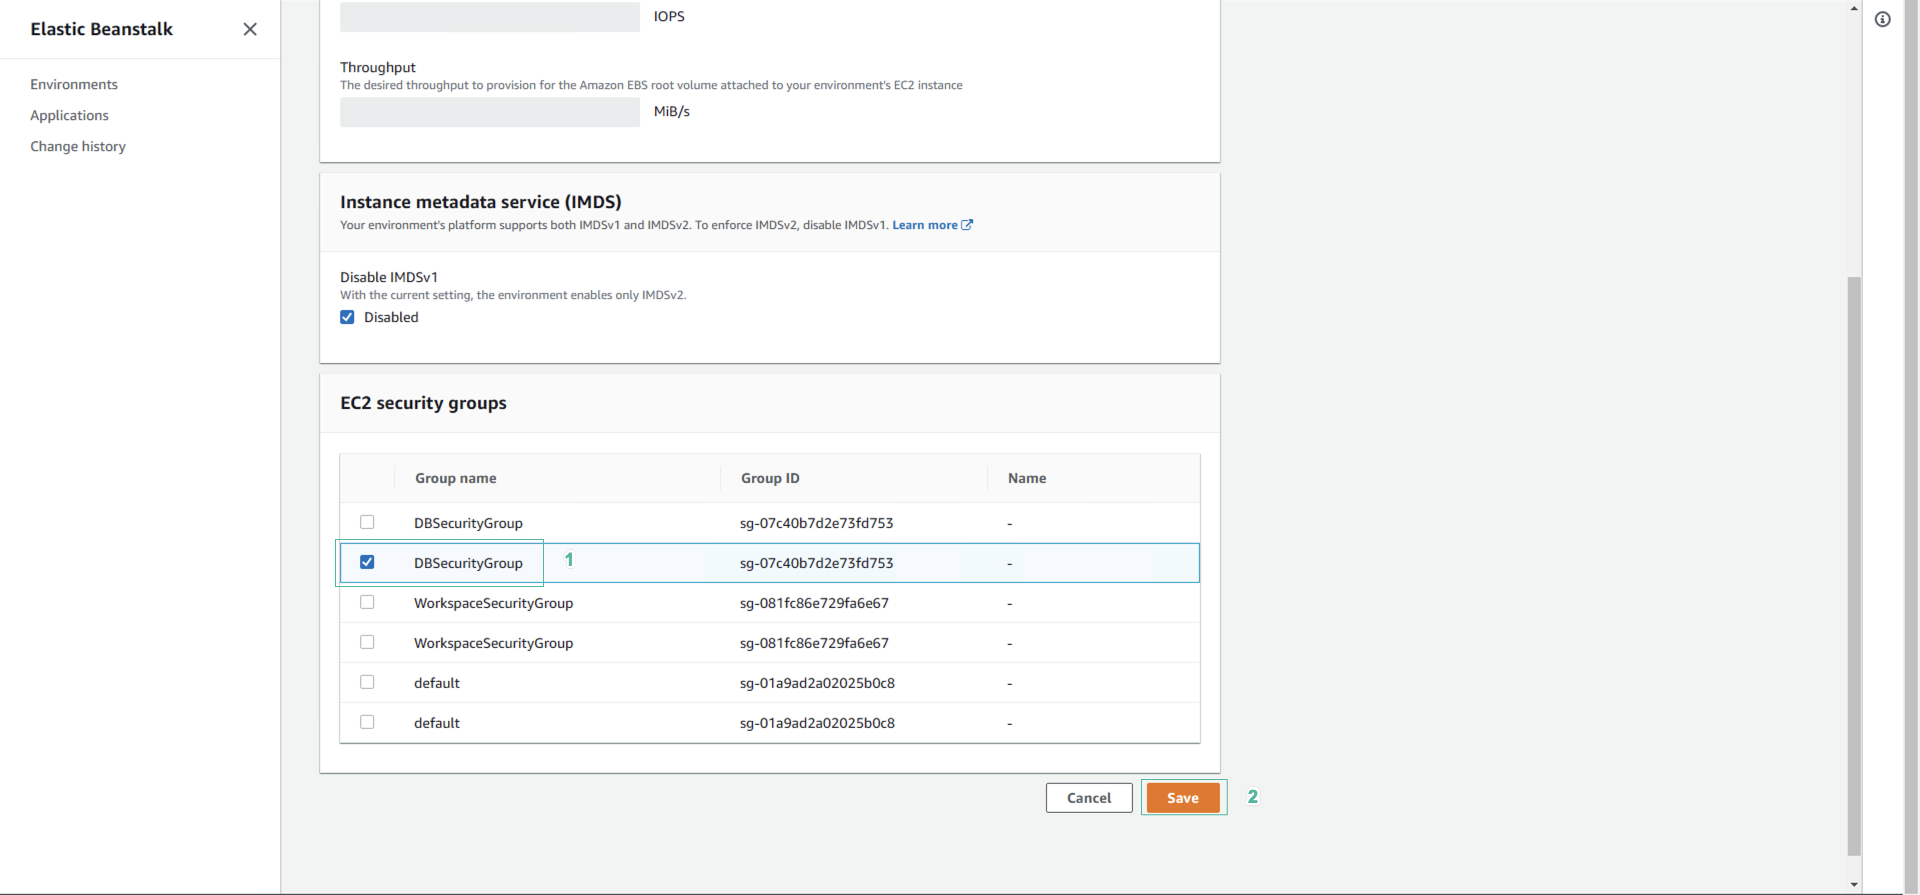
- In the Instances section, Click Edit
- In the EC2 security groups section, select the security group named DBSecurityGroup
- Click Save
- In the Capacity section, Click Edit
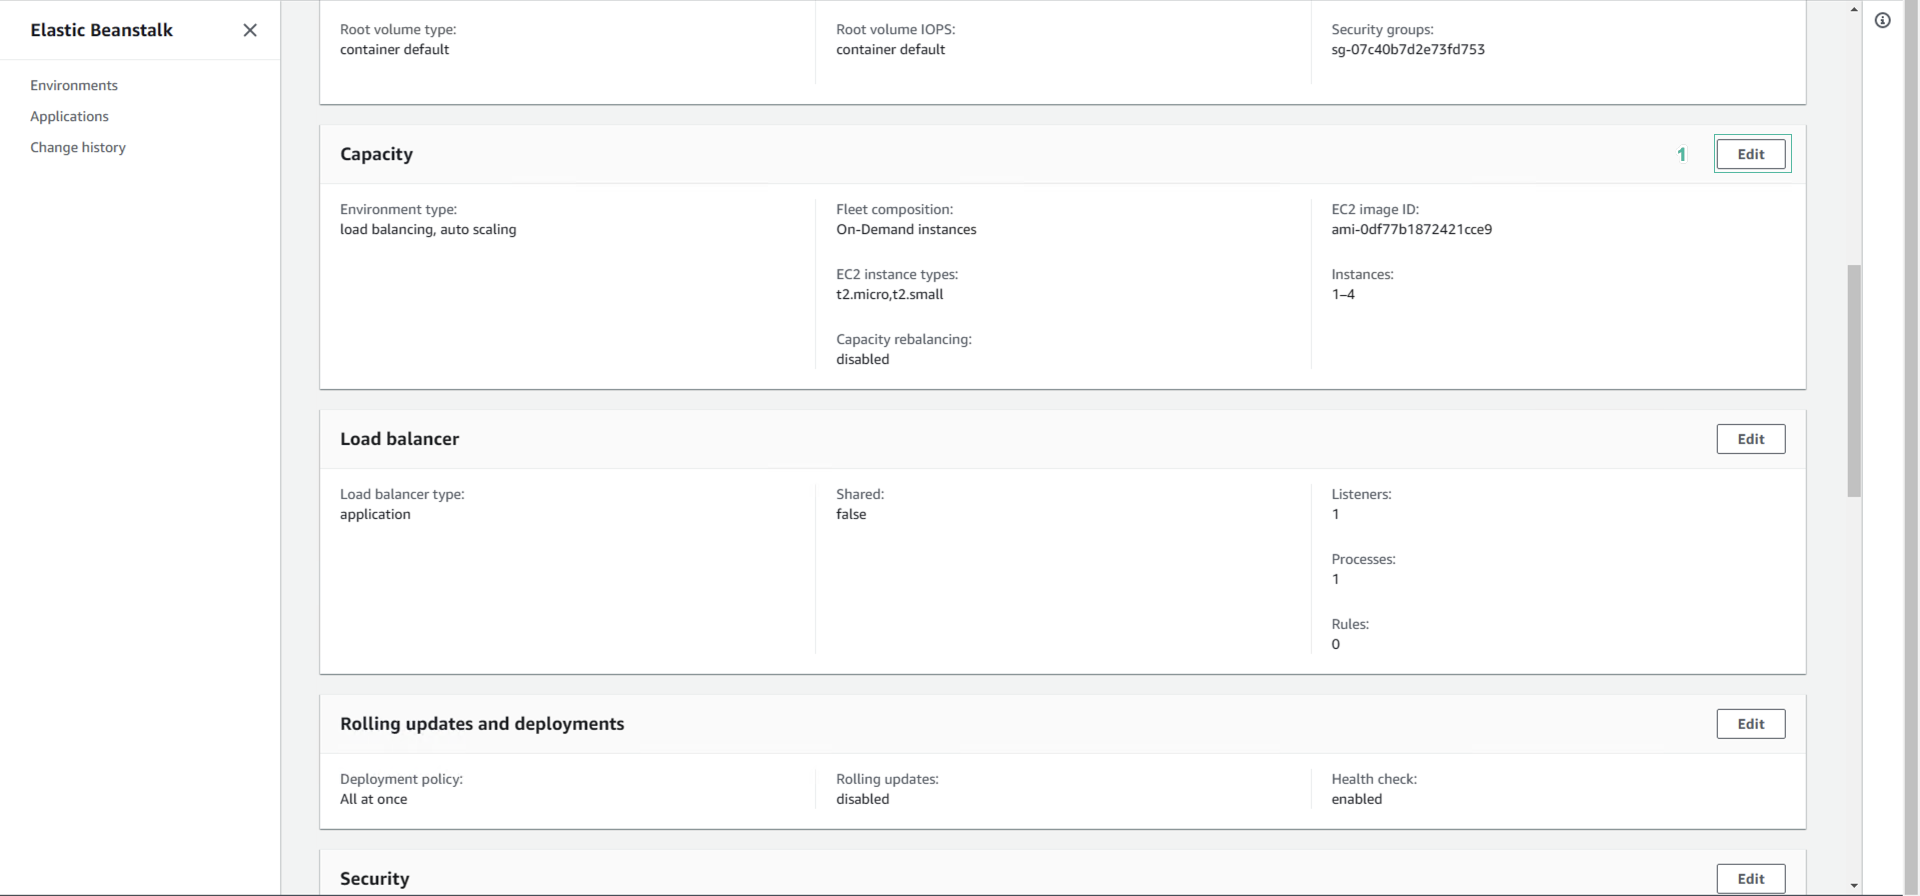
- In the Instance type section, select t3.medium
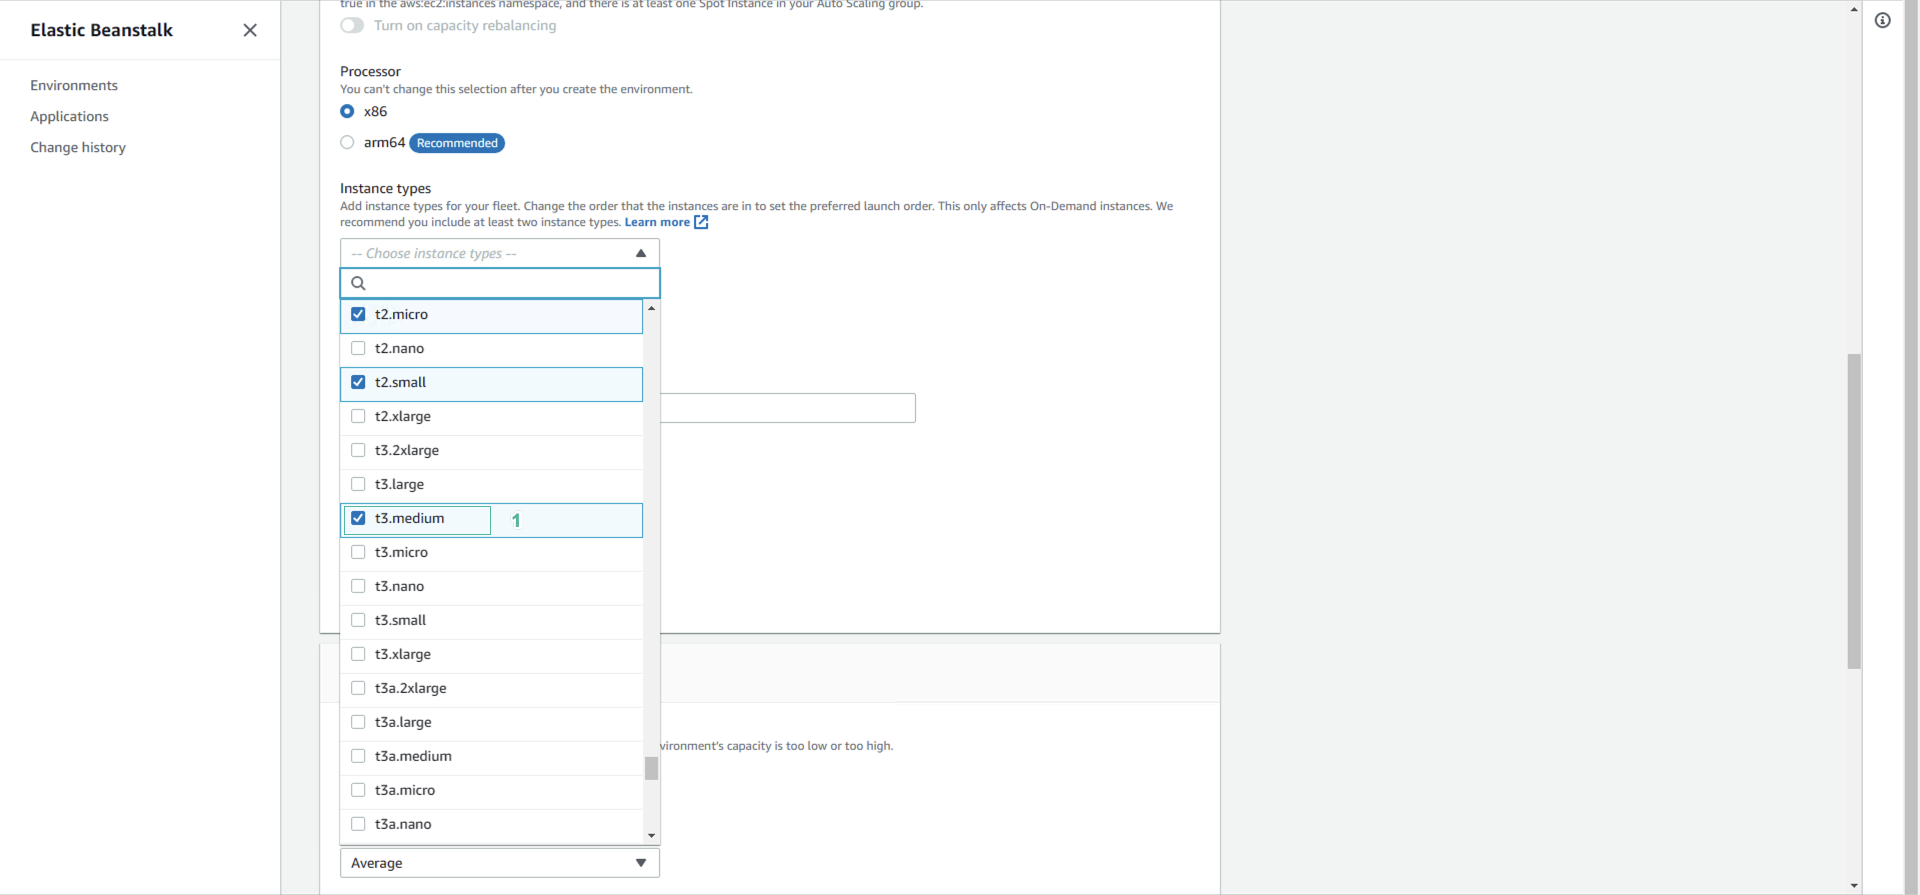
- Drag the screen down, then Click Save
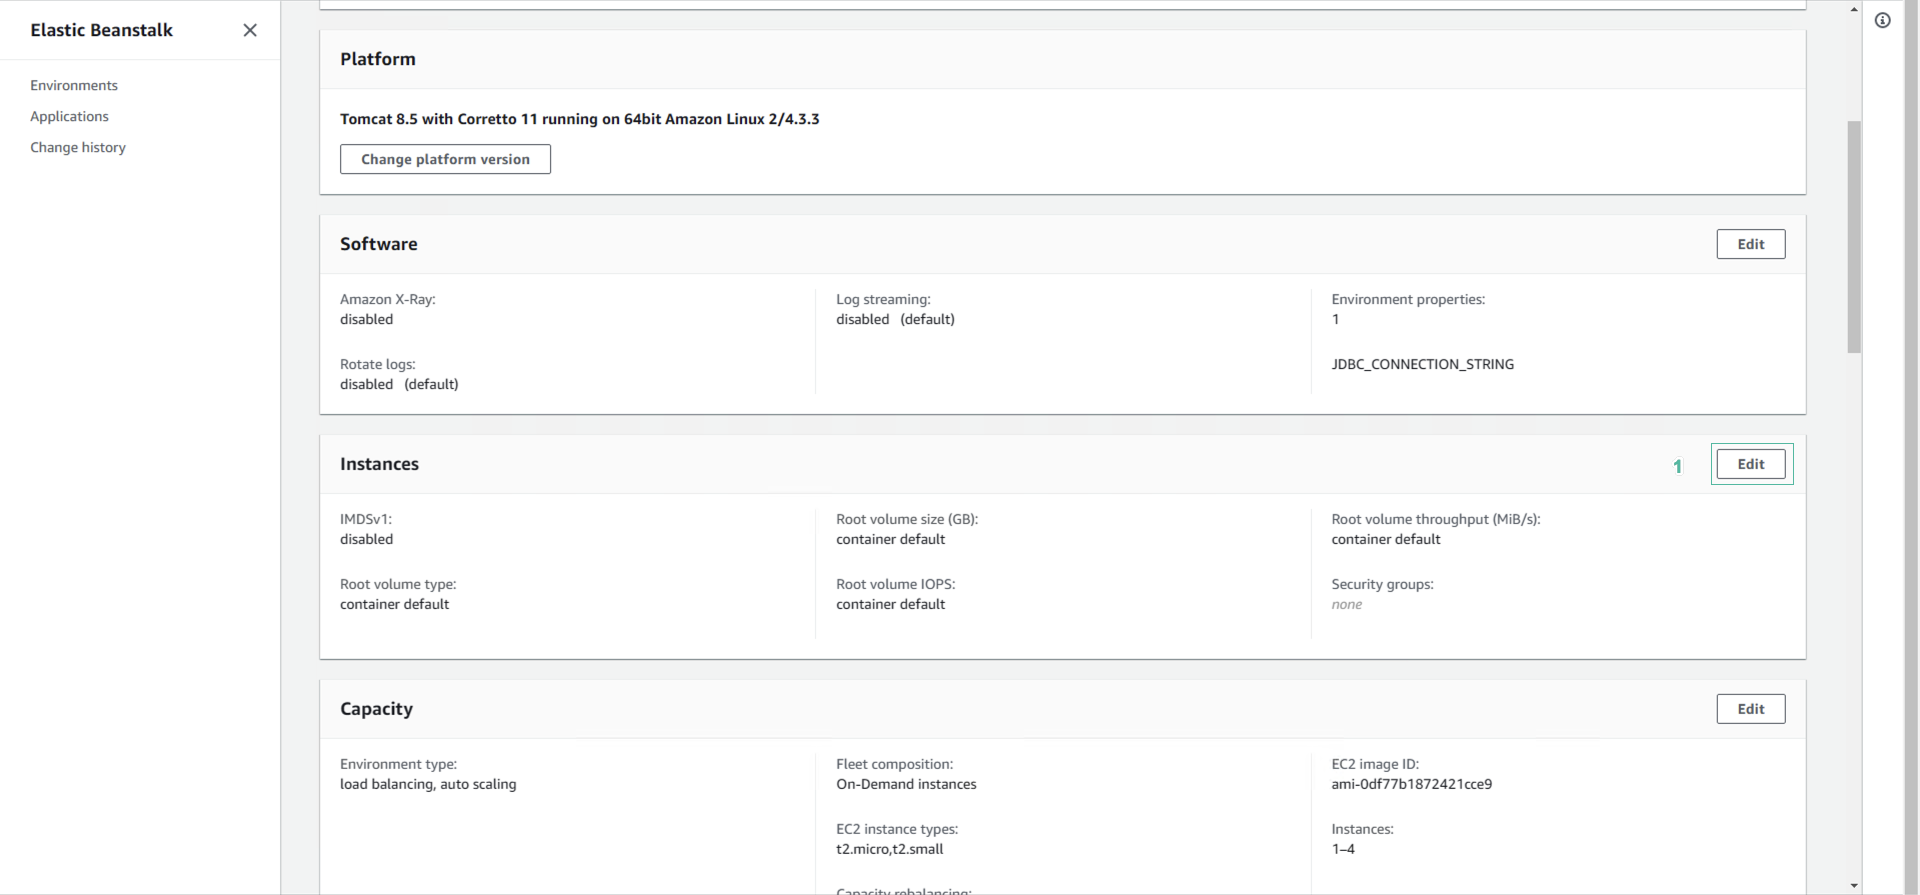
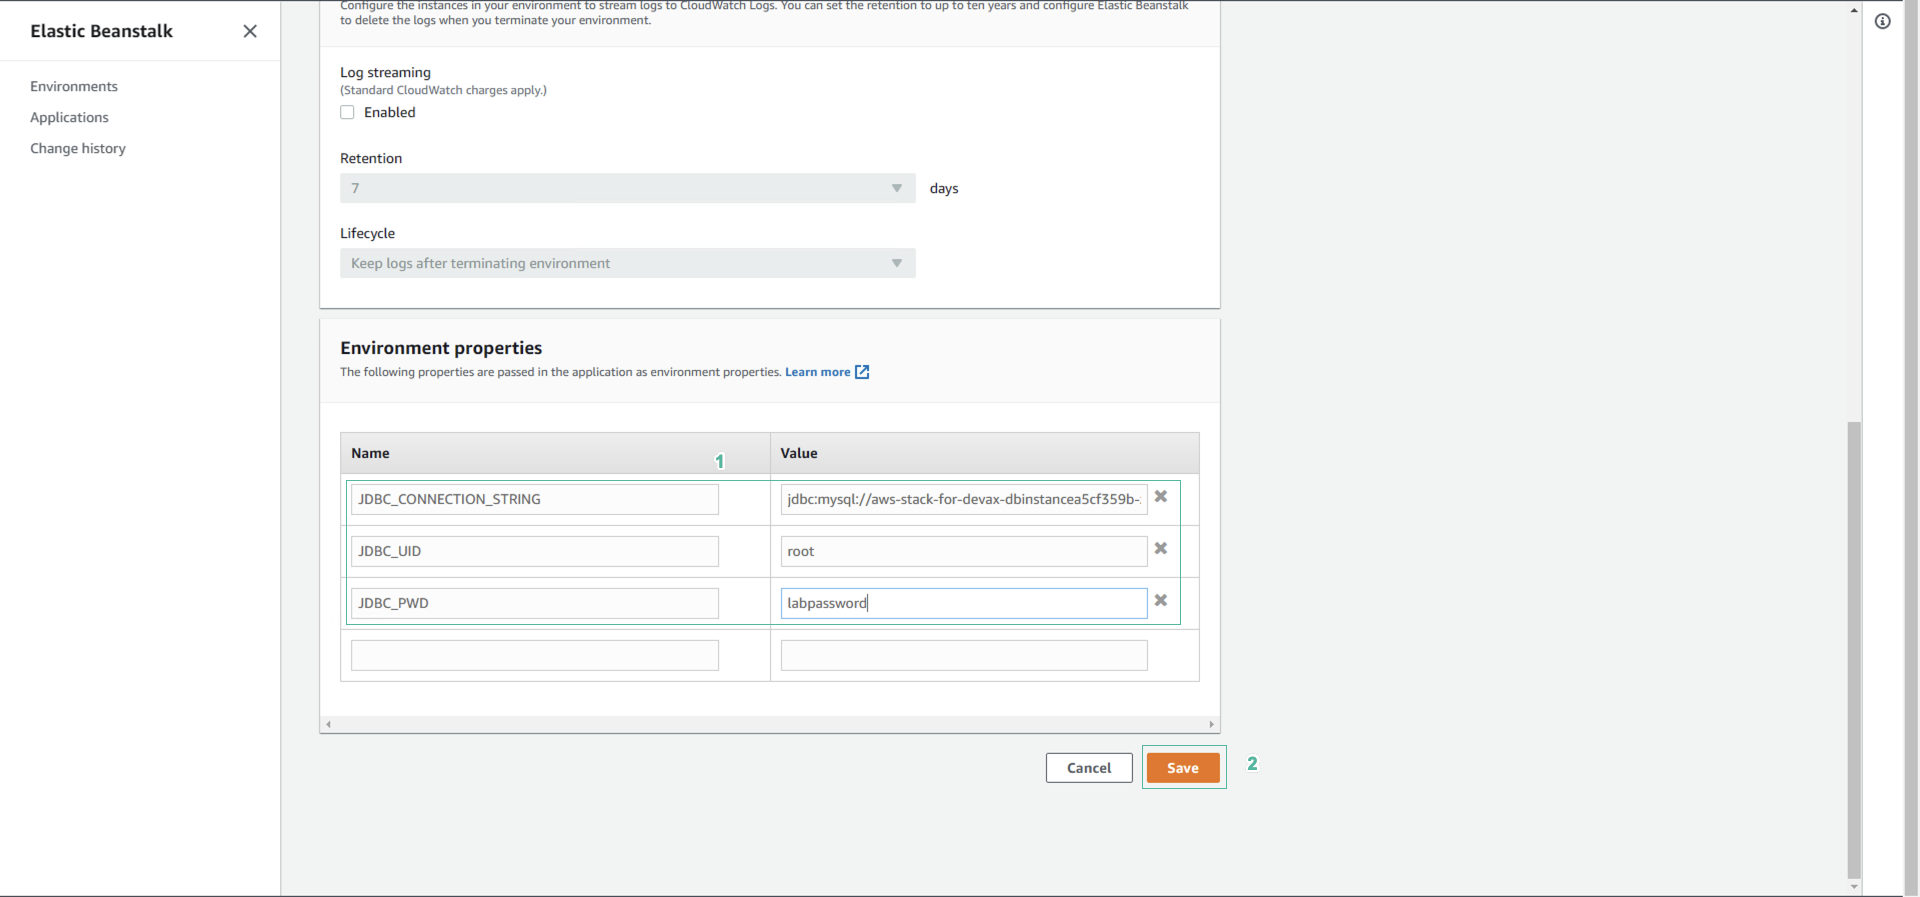
- In the Software section, Click Edit
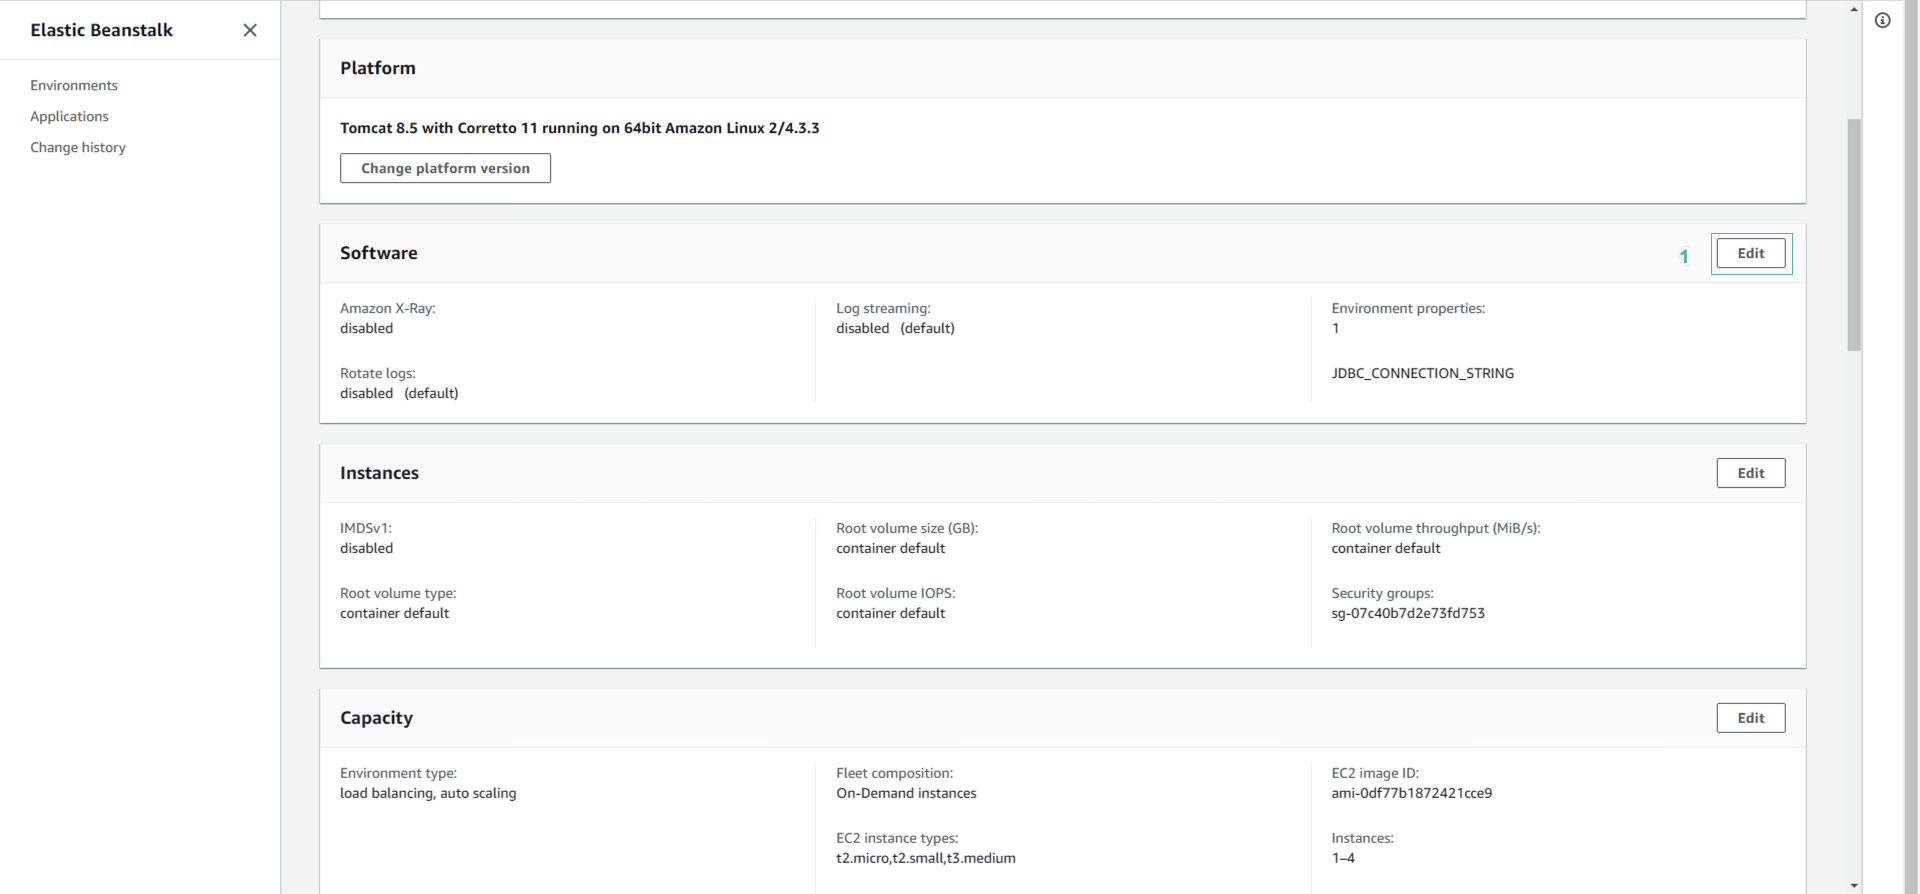
- In the Environment properties table, add the information like the below table
Name Value JDBC_CONNECTION_STRING jdbc:mysql://[RDSEndpoint]:3306/travelbuddy?useSSL=false JDBC_UID root JDBC_PWD labpassword
- Click Save
-
Drag the screen down, then Click Create app
Elastic Beanstalk will now proceed with creating the new Environment to run your TravelBuddy website. This will take a few minutes while an Elastic Load Balancer, EC2 instance, Launch configuration, Security Groups and more are created for you by AWS Elastic Beanstalk.
-
Once the deployment is complete
- Click Environments
- We will see the URL of TravelBuddy app
