Test locally by Eclipse IDE
Test locally by Eclipse IDE
In this section, we will open the project and update the database connectivity configuration, then launch the project in the local development environment to test that the project is building and connecting to the database correctly.
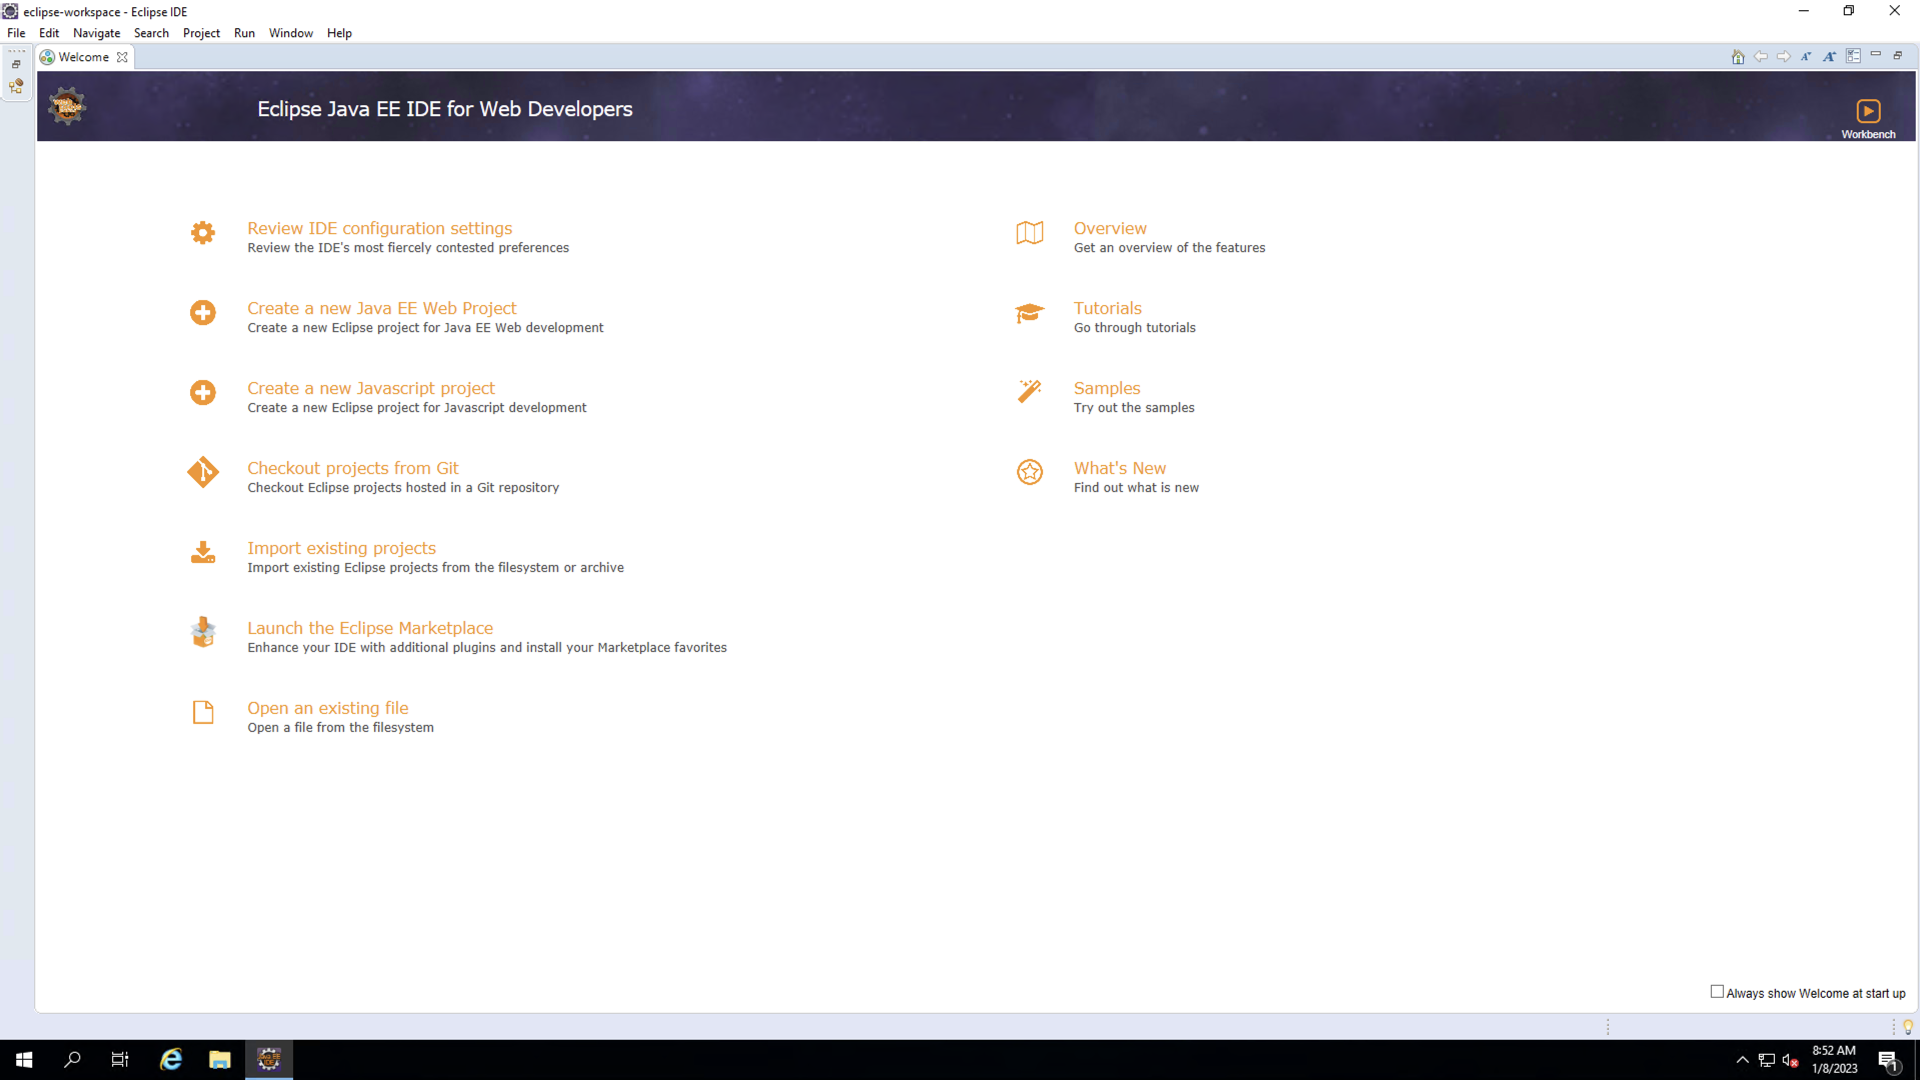
- Open IDE Eclipse
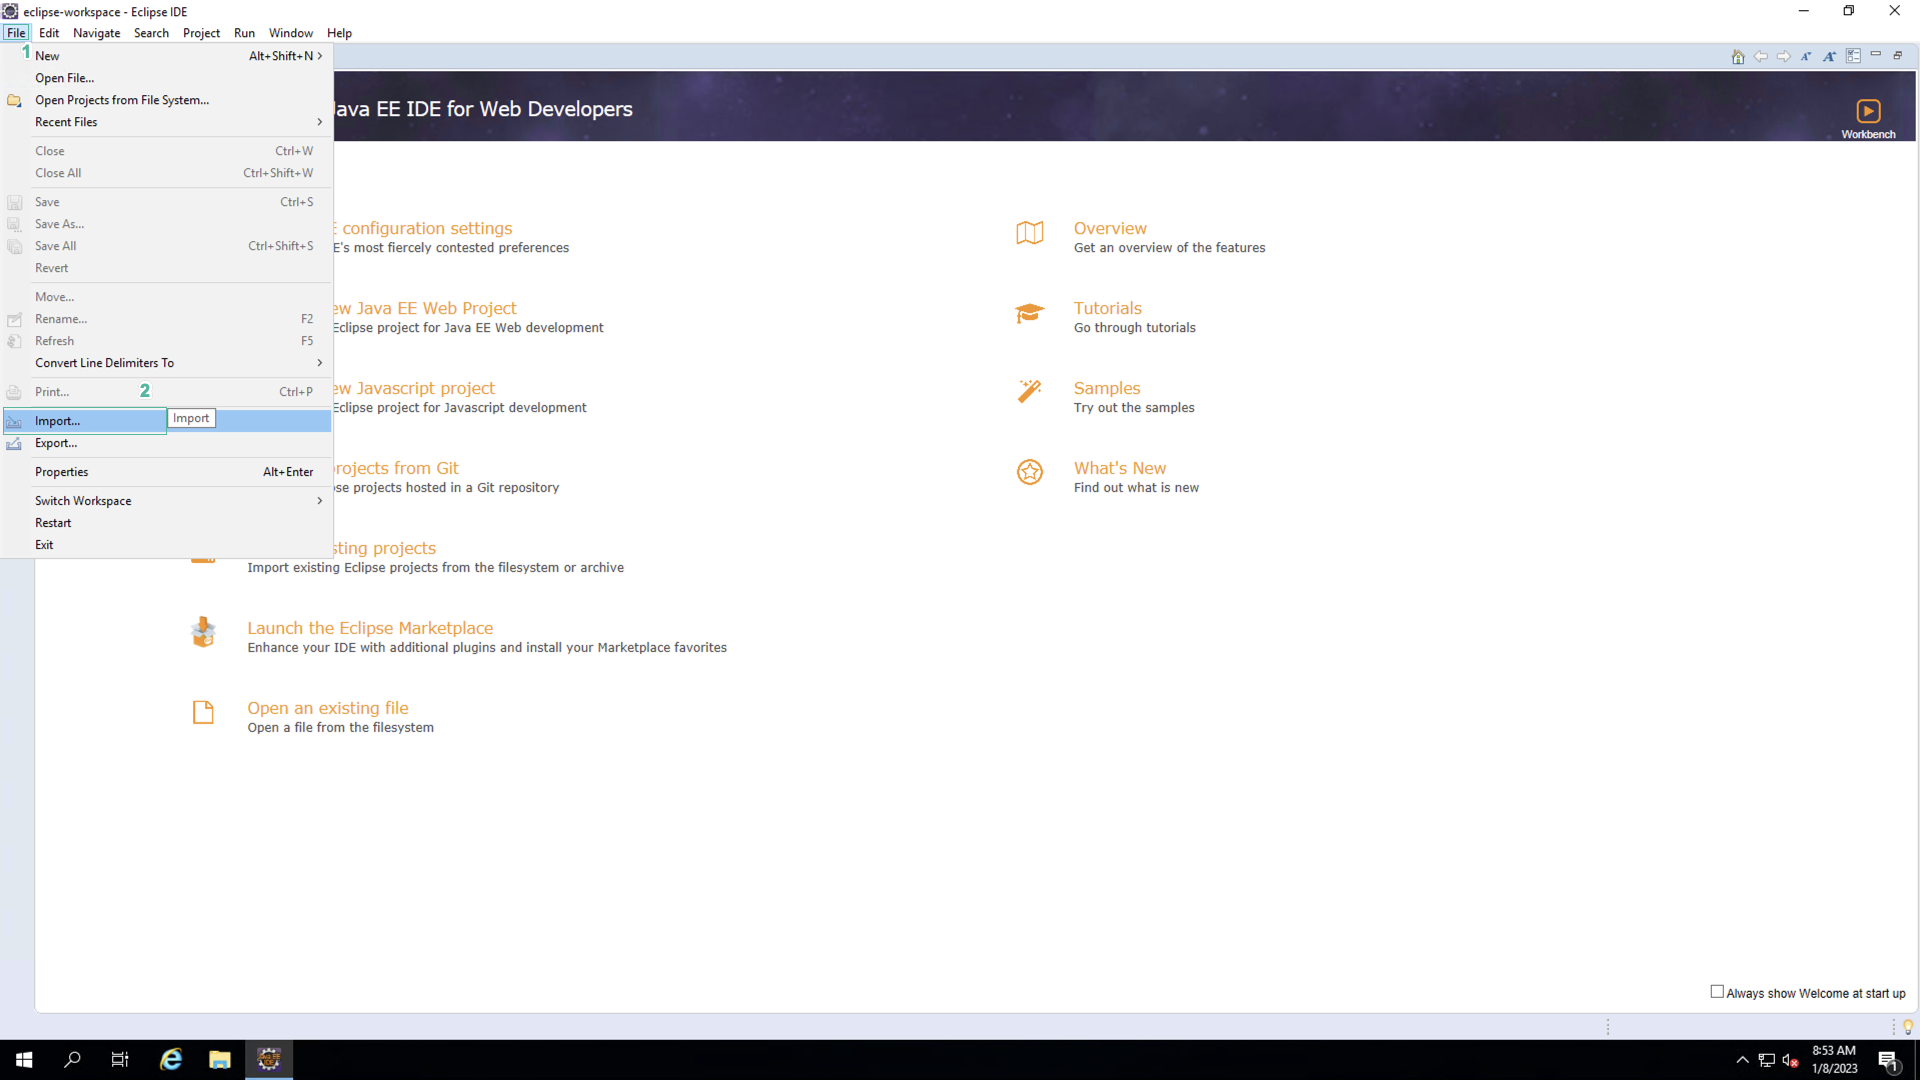
- In the Menu section, Click File
- Click Import…
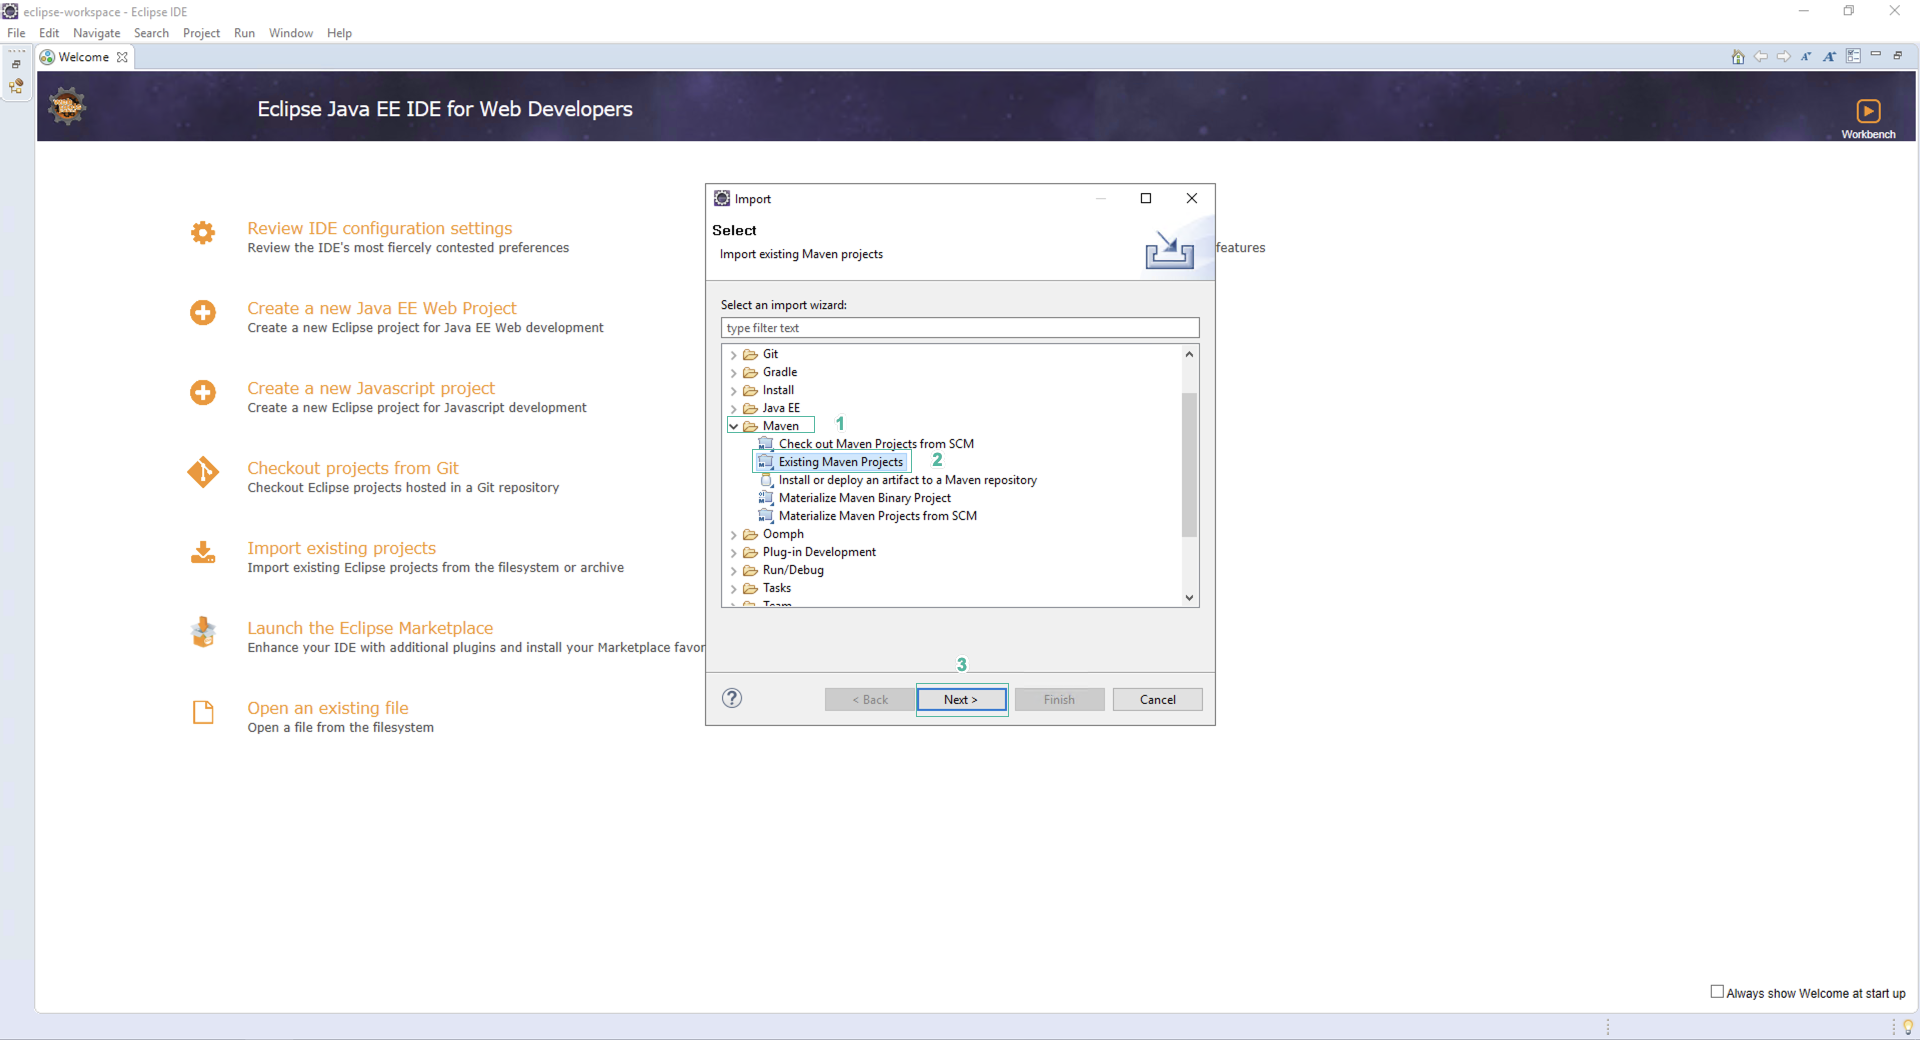
- In the Import section, Click Maven
- Click Existing Maven Projects
- Click Next
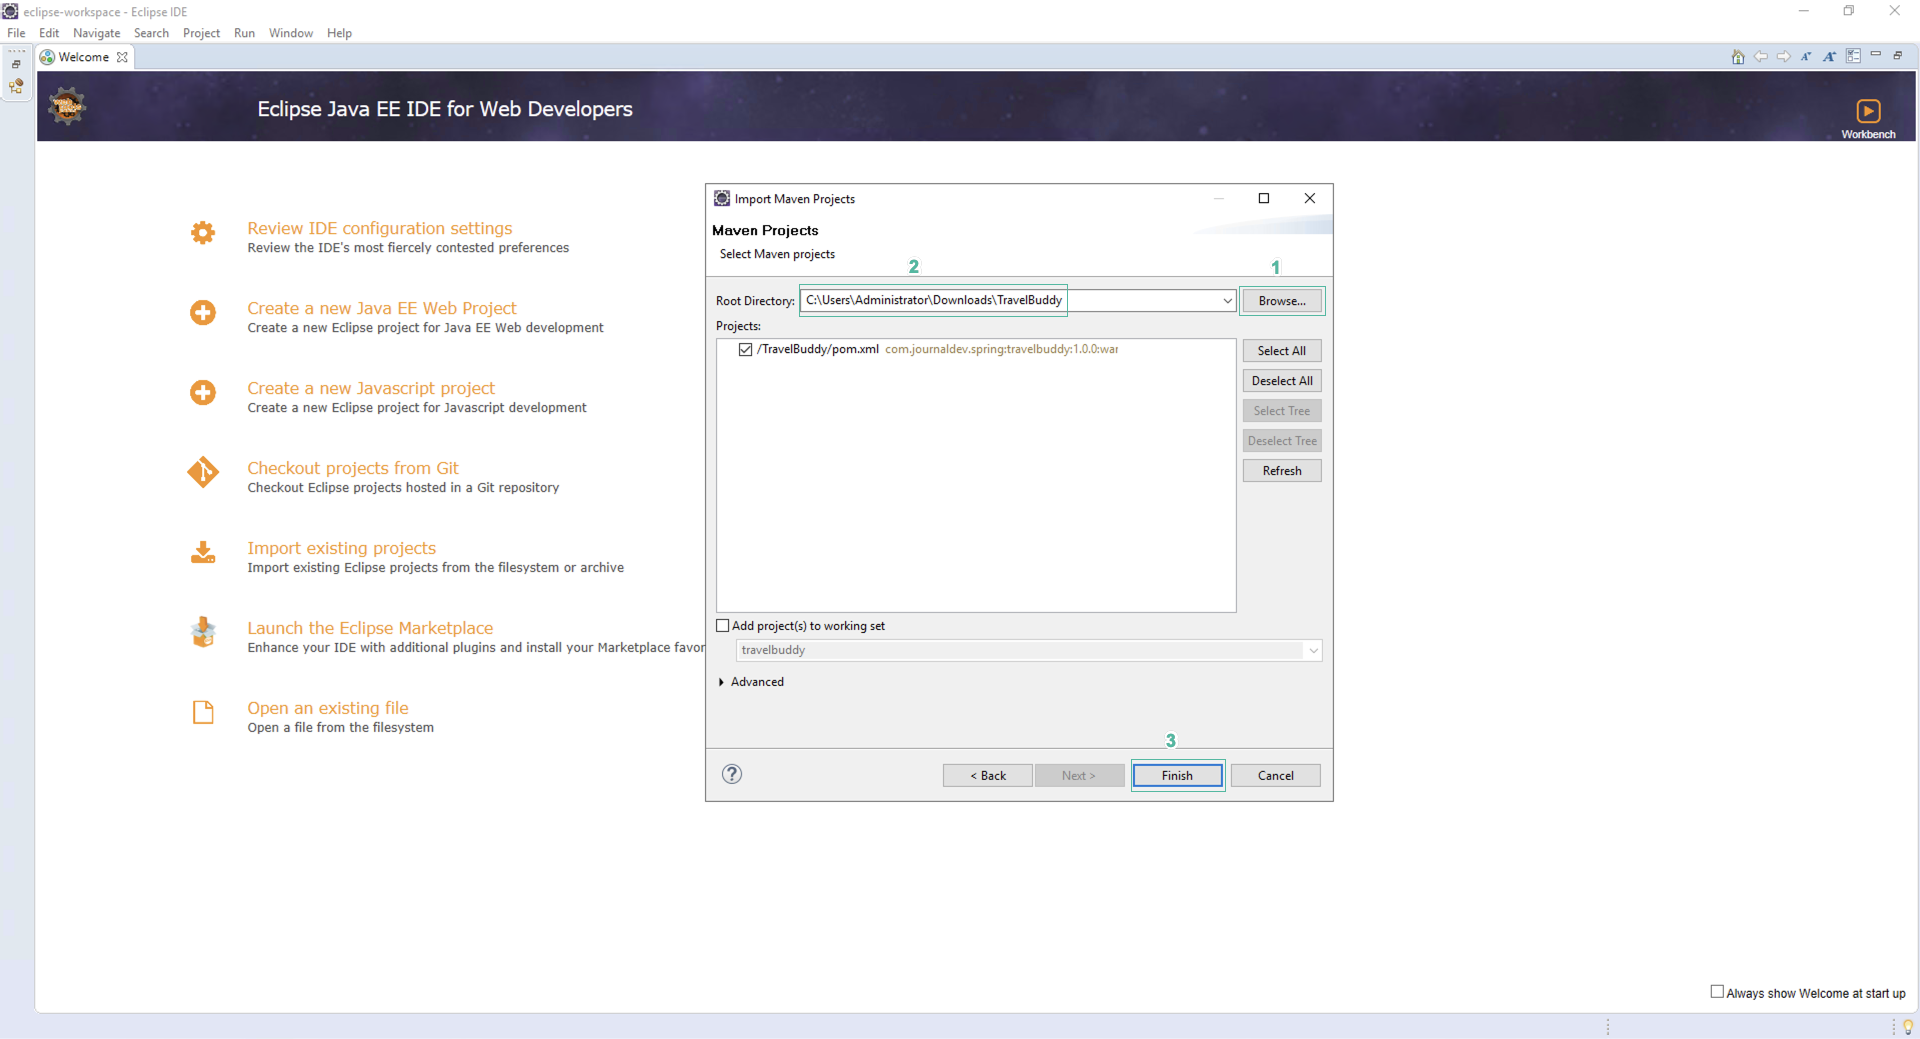
- In the Import Maven Projects section
- Click Browse
- Select folder TravelBuddy
- Click Finish
You will need to wait for Maven to pull down all the required project packages. The completion percentage will be displayed in the bottom right corner.
- Click Source
- Locate the code below
<beans:bean id="dataSource" class="org.apache.tomcat.jdbc.pool.DataSource"
		destroy-method="close">
		<beans:property name="driverClassName" value="com.mysql.jdbc.Driver" />
		<beans:property name="url" value="${JDBC_CONNECTION_STRING}" />
		<beans:property name="username" value="${JDBC_UID}" />
		<beans:property name="password" value="${JDBC_PWD}" />
		<beans:property name="jdbcInterceptors" value="com.amazonaws.xray.sql.mysql.TracingInterceptor" />
</beans:bean>
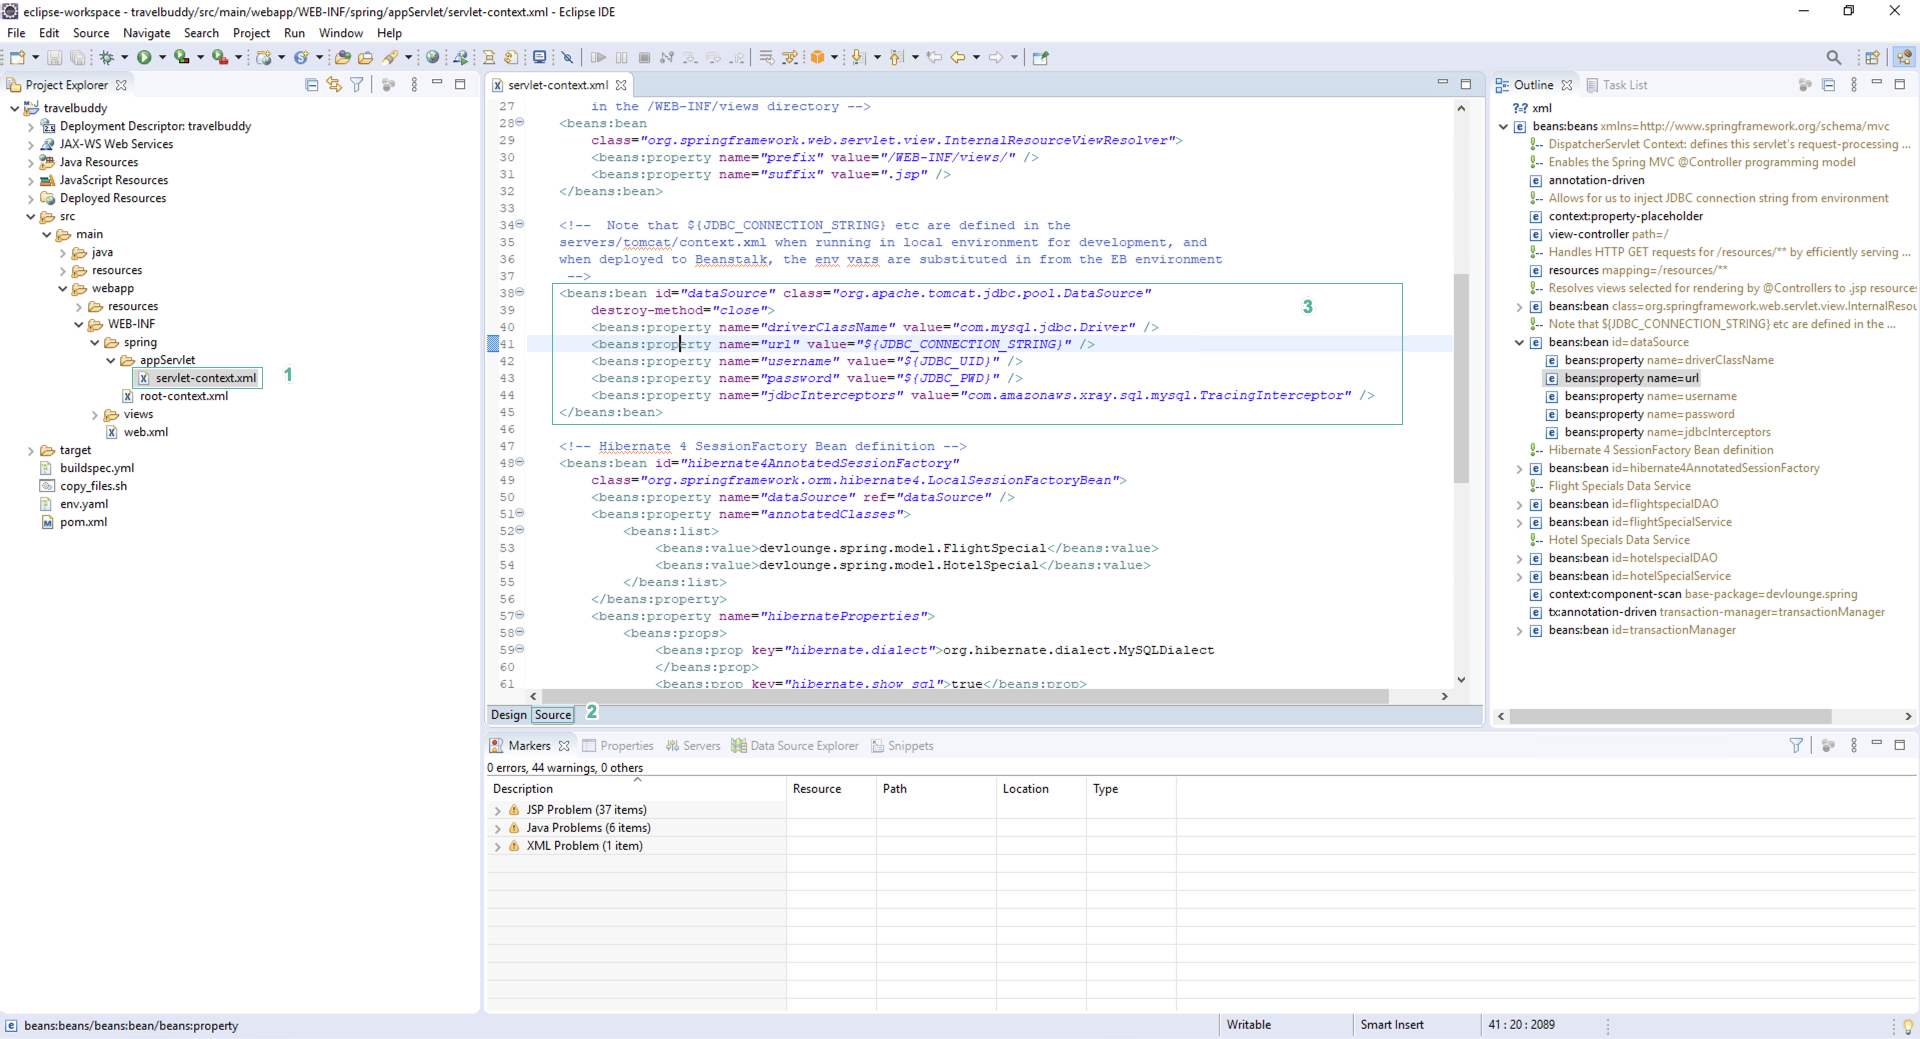
Do not edit this code, but note that this code uses environment variables to configure the server and username/password to a MySQL database. When you execute this code on the server, these environment variables allow you to, at execution time, access the correct server.
You must set these environment variables or the application will fail.
In this lab you will set these variables to allow local execution with remote access to the RDS instance running the TravelBuddy database. Later after you transfer to the application to AWS Elastic Beanstalk, you will learn how to set these variables as configuration parameters in the Elastic Beanstalk environment.
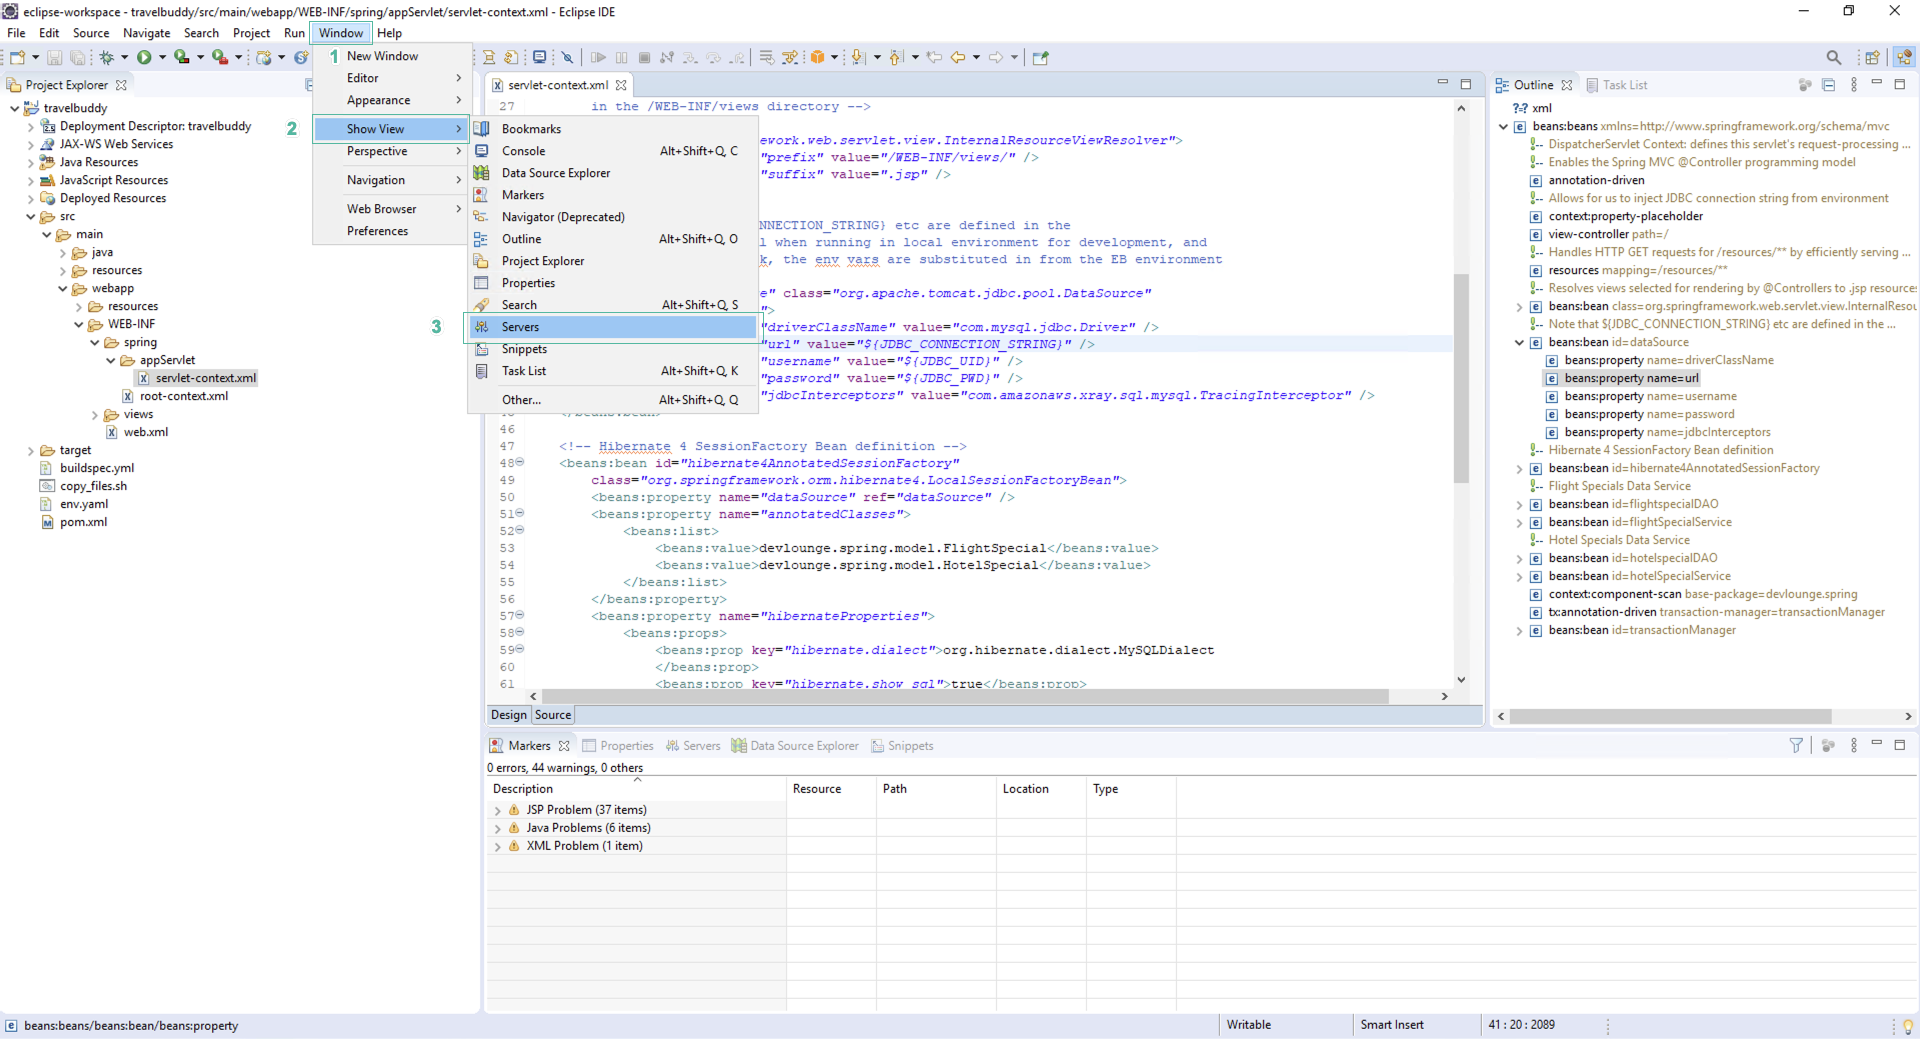
- Click Show view
- Click Servers
You may need to use the Other… feature to select the Servers view if it is not offered in the initial listing.
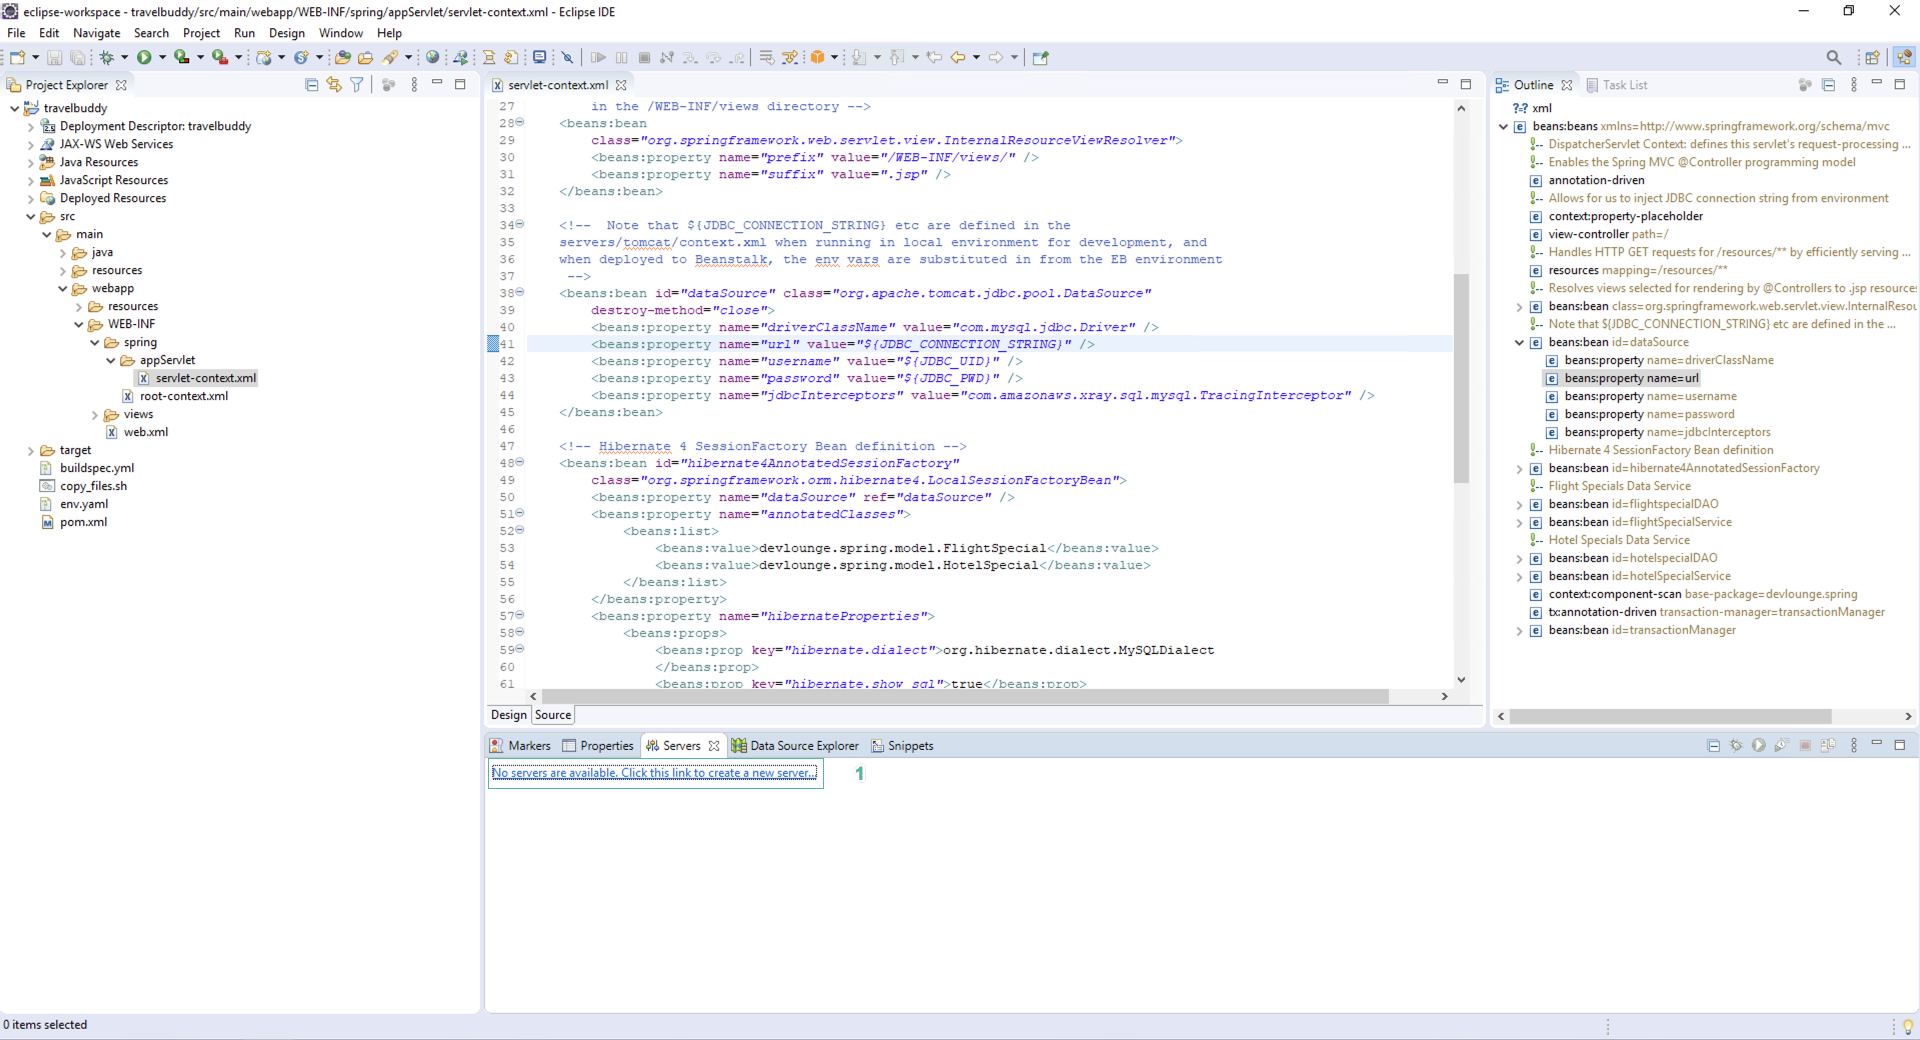
- In the Servers section
- Click No servers are available. Click this link to create a new server…
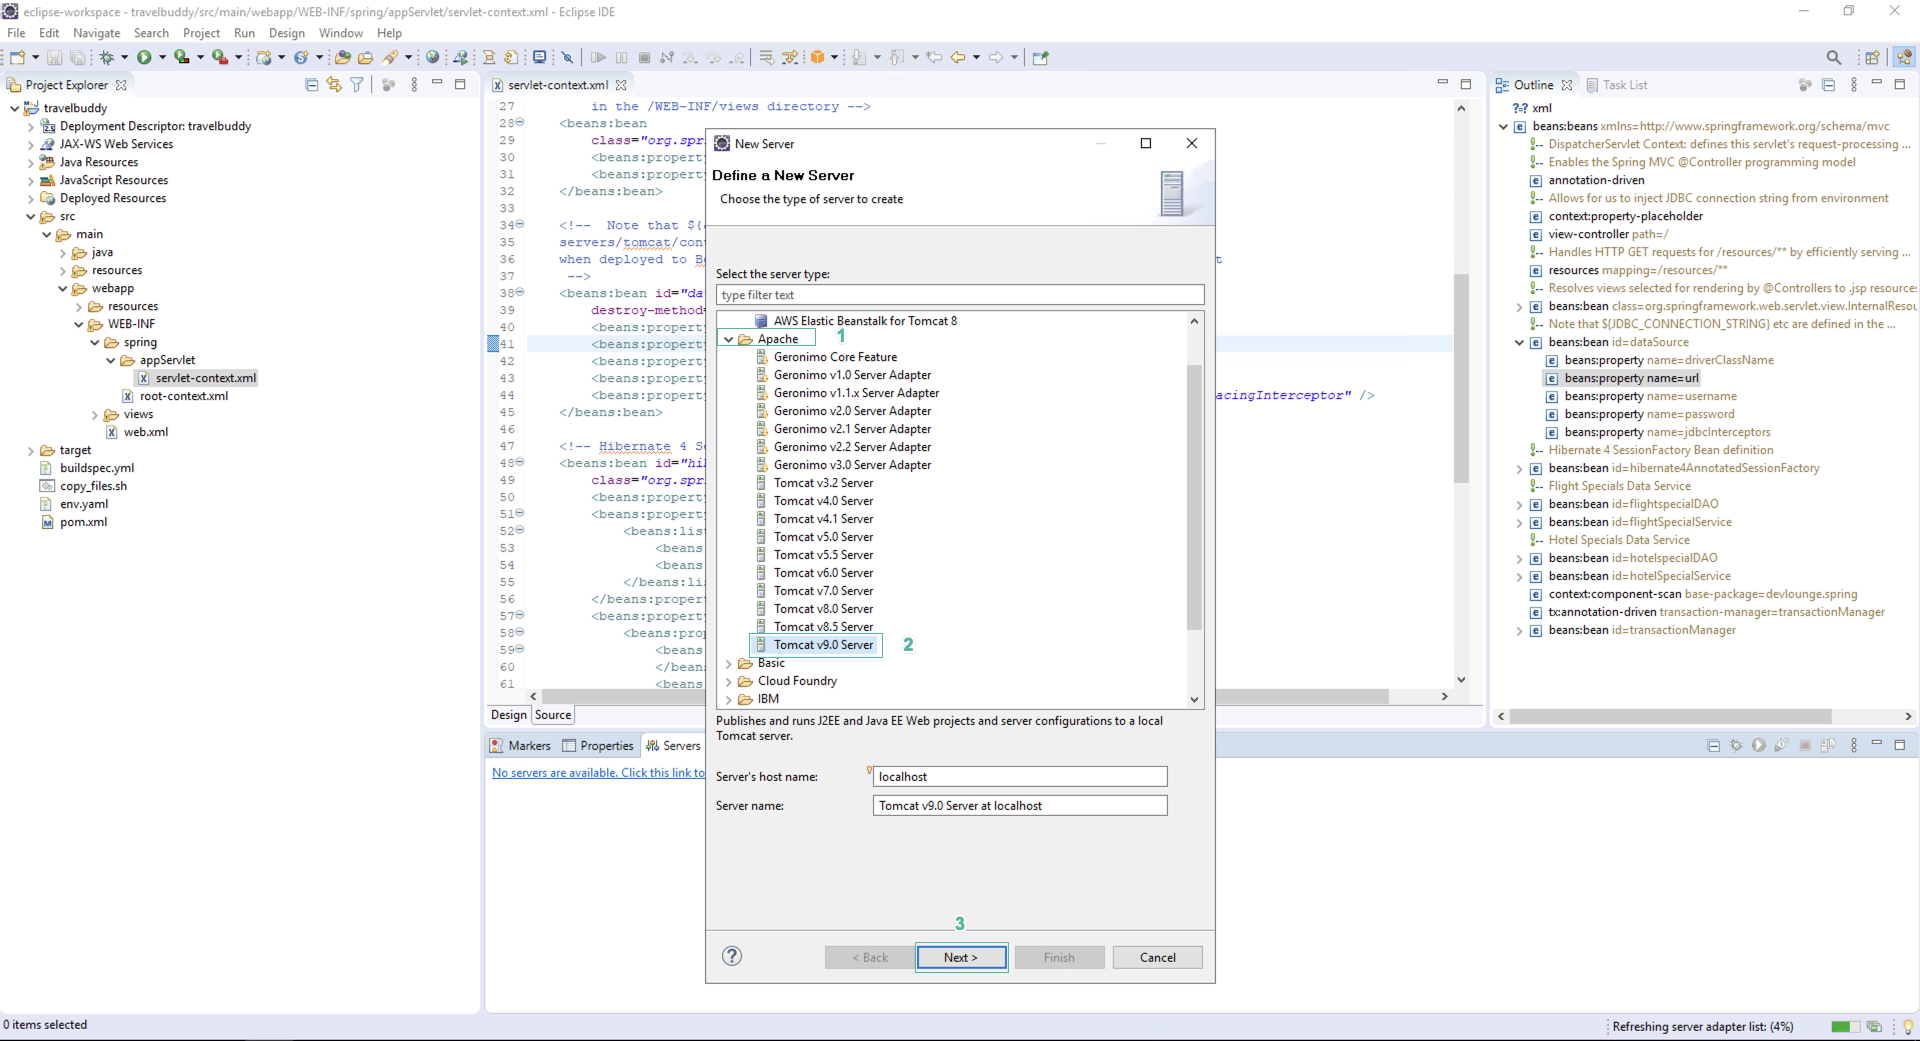
- In the Define a New Server section
- Click Apache
- Click Tomcat v9.x Server
- Click Next
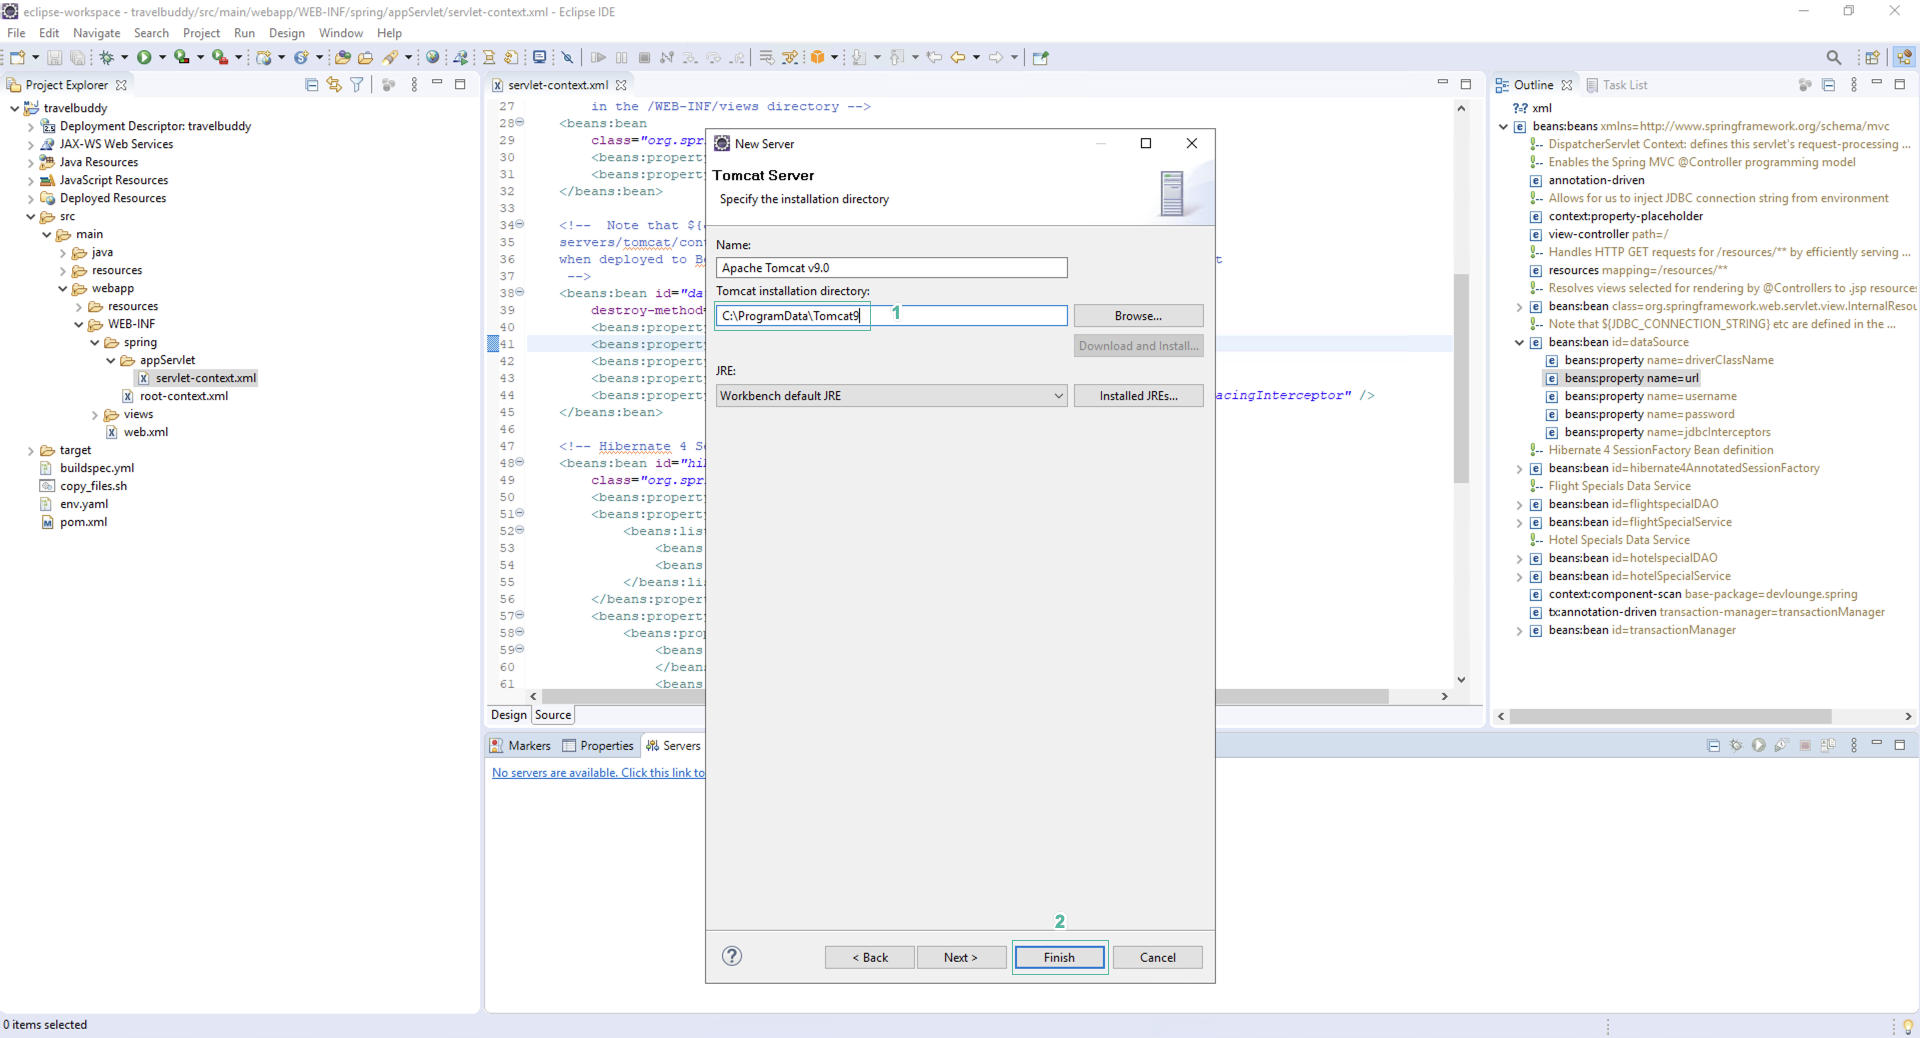
- On the workspace, the Tomcat server is located in a hidden directory so copy and paste the following into the directory address bar
C:\ProgramData\Tomcat9
- Click Finish
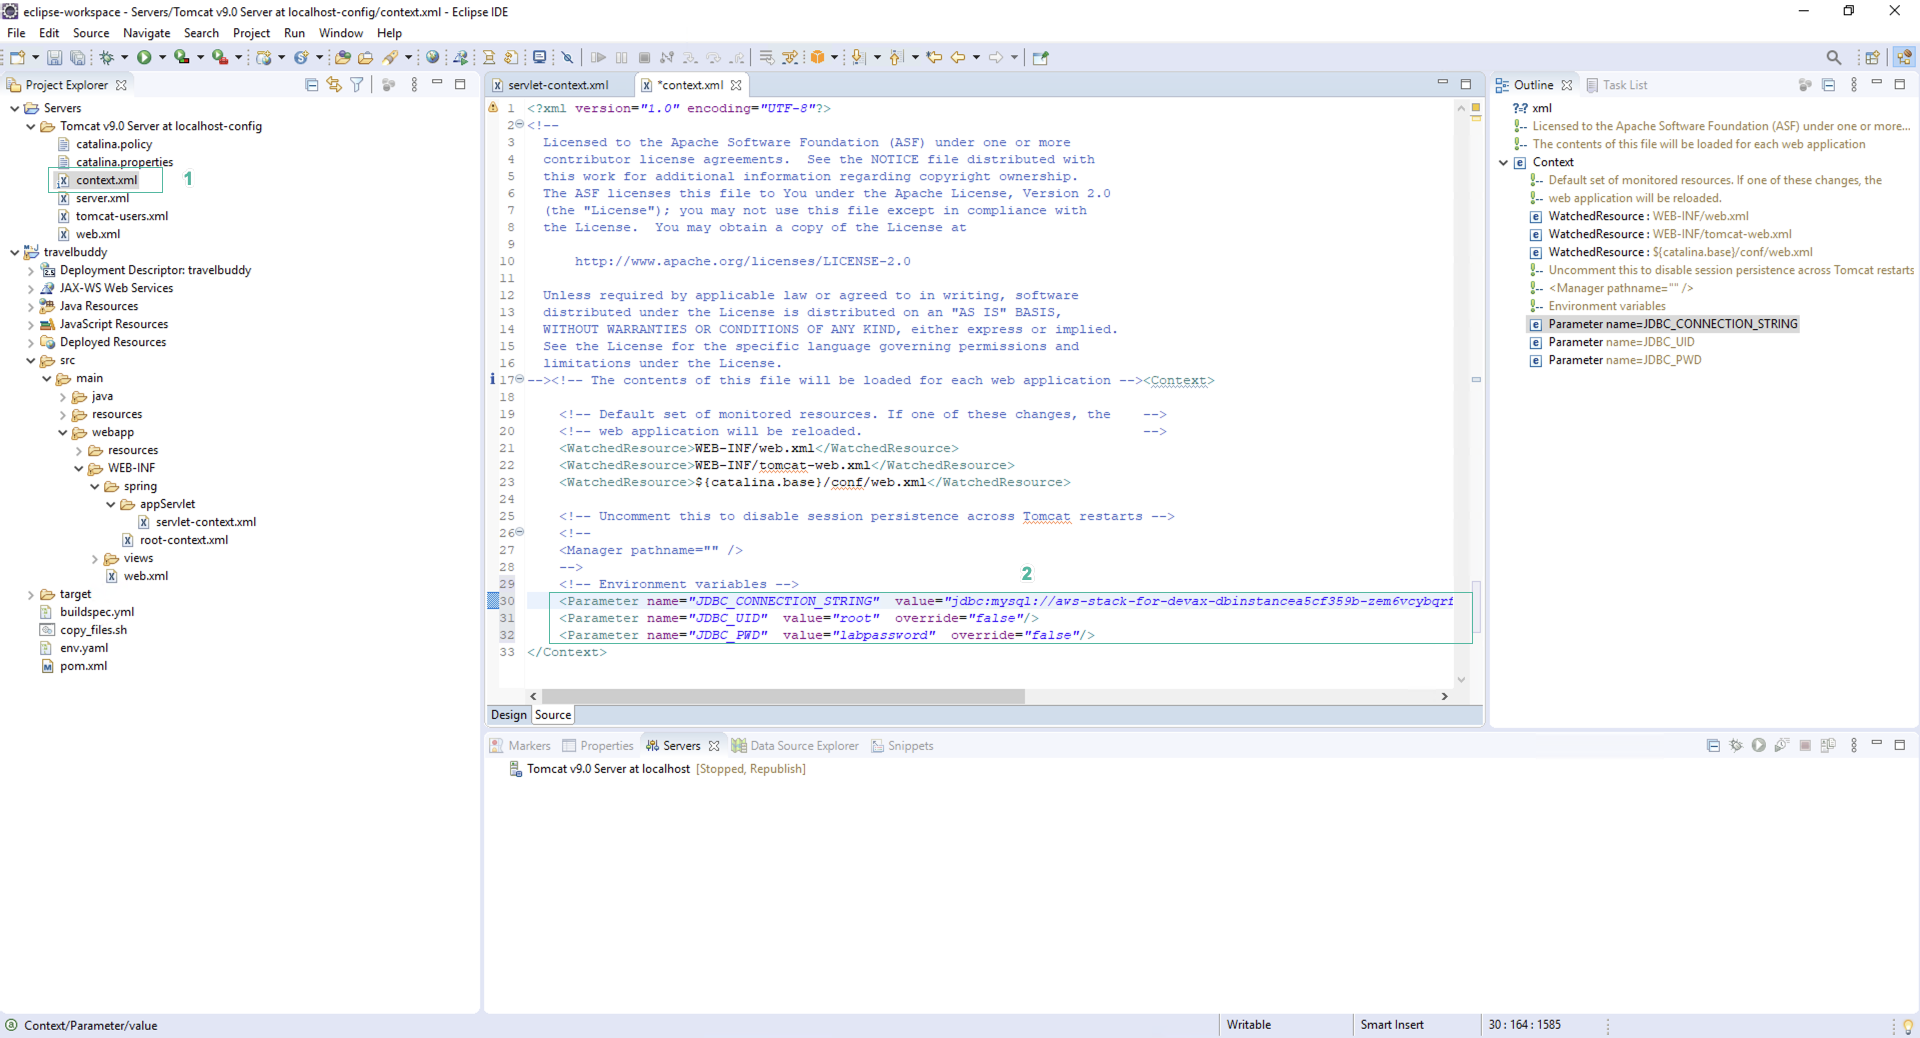
- Open the file whose the path is Servers > Tomcat v9.x Server at localhost-config/context.xml
- Paste the following code above the last line </ Context>
<!-- Environment variables -->
<Parameter name="JDBC_CONNECTION_STRING"  value="jdbc:mysql://<RDSEndpoint>:3306/travelbuddy?useSSL=false"  override="false"/>
<Parameter name="JDBC_UID"  value="root"  override="false"/>
<Parameter name="JDBC_PWD"  value="labpassword"  override="false"/>
Change < RDSEndpoint> by RDS endpoint
- Save file
- Right click on folder project
- Click Run As
- Click Run on Server
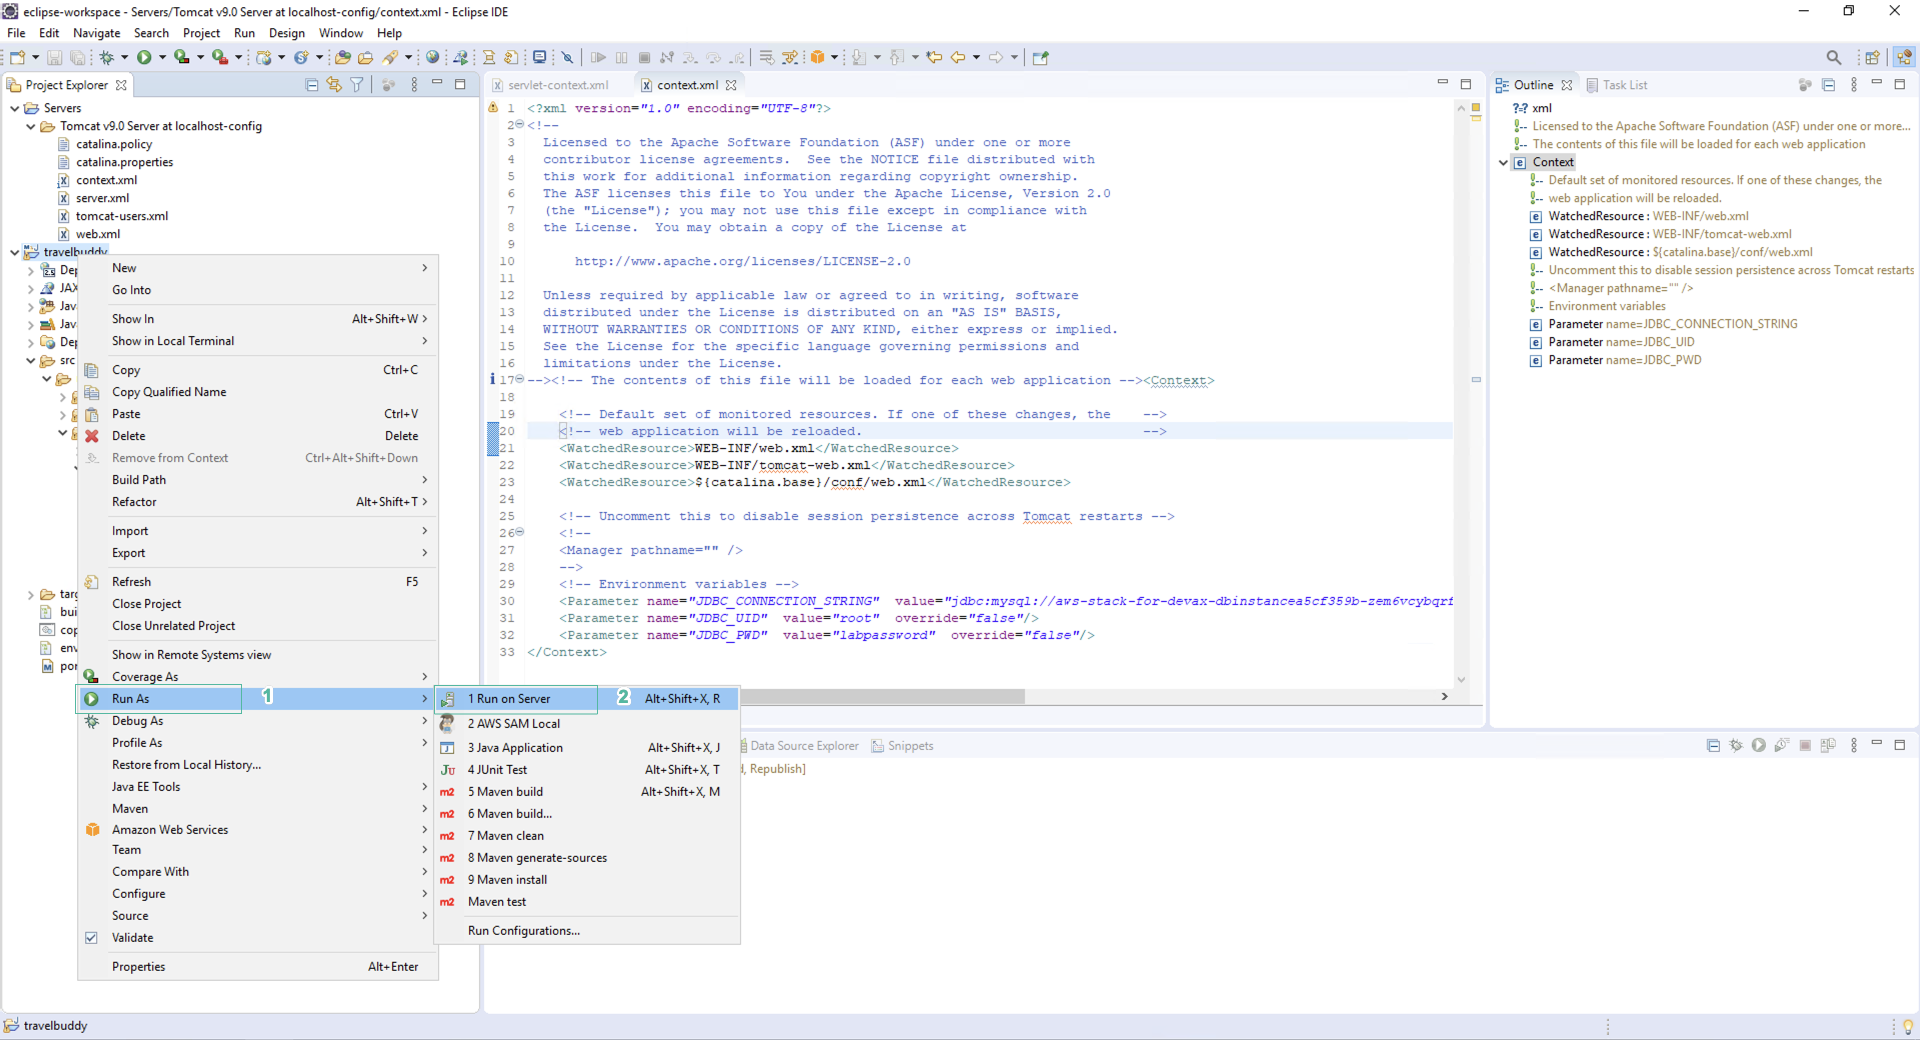
If you don’t see the option of Run on Server, right click on your project folder, click Maven, click Update Project… and click OK.
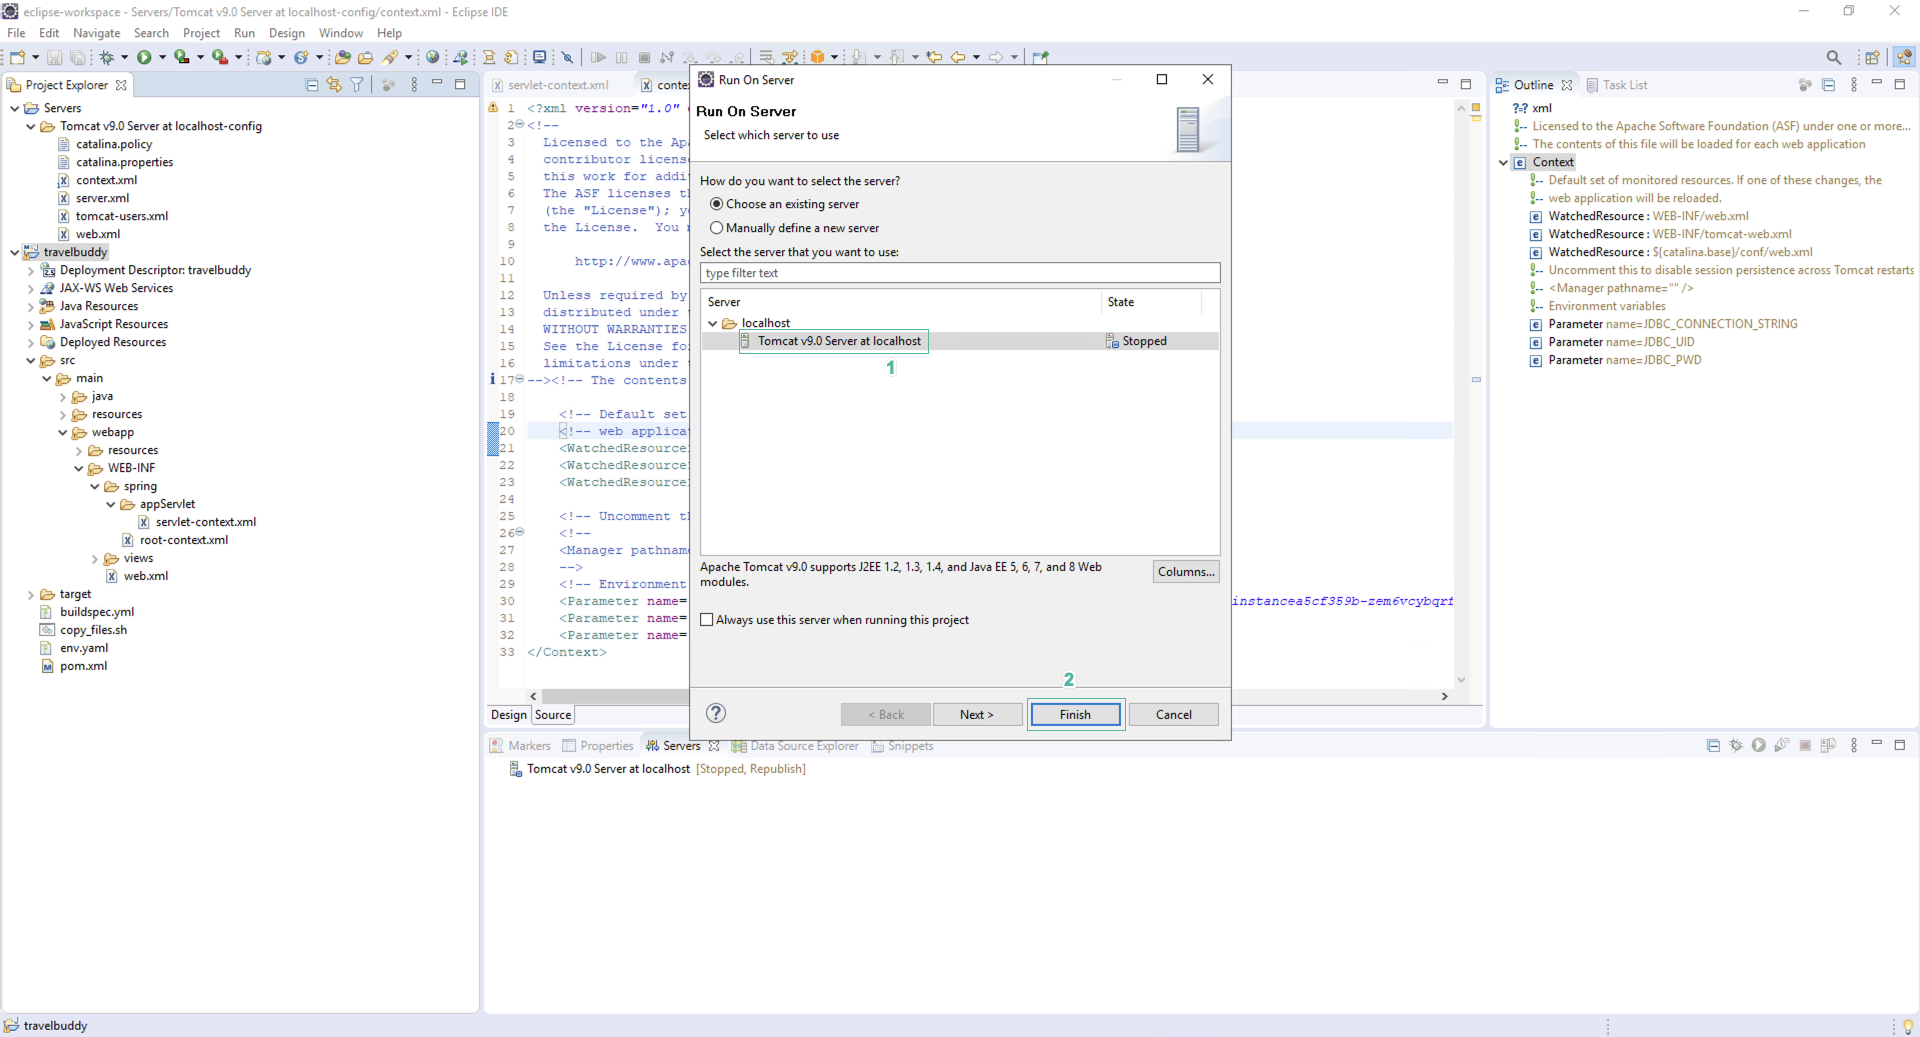
- Select Tomcat v9.0 server at localhost
- Click Finish
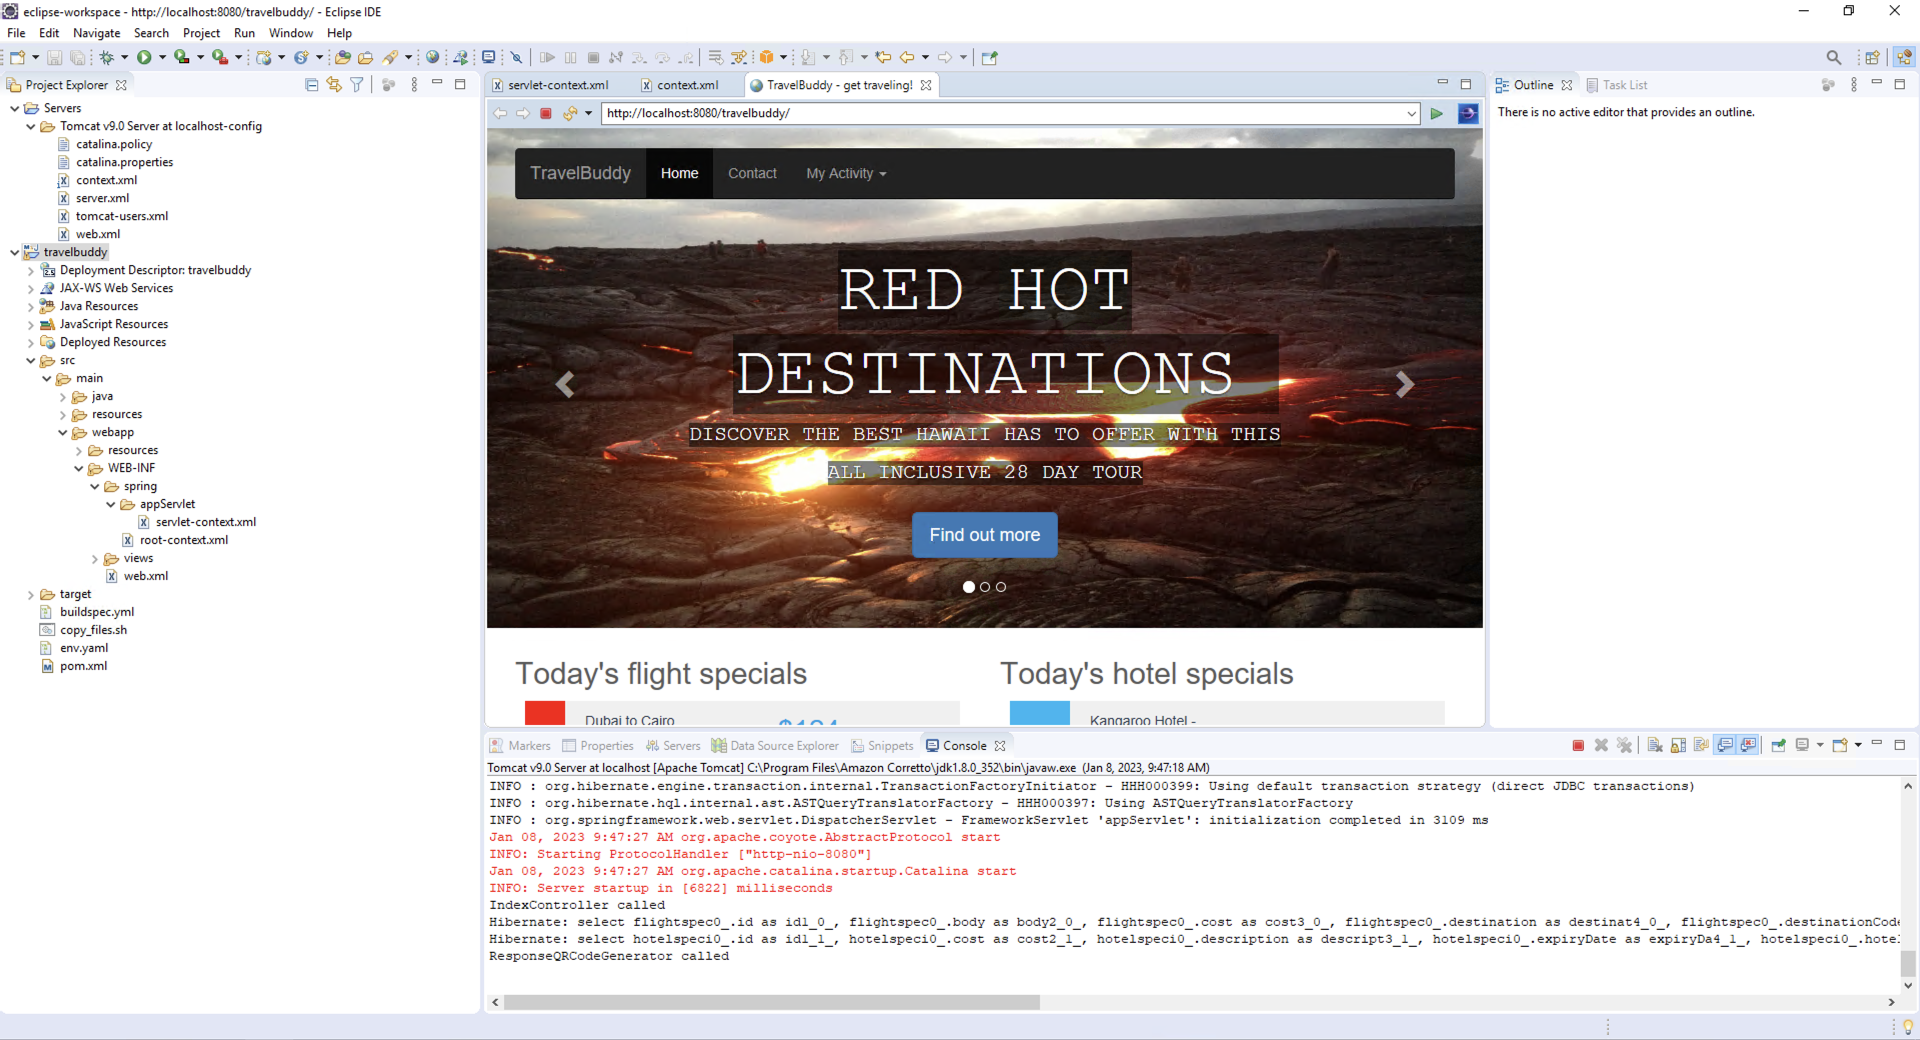
- In a few moments, the IDE-integrated browser should appear, and you will see the TravelBuddy app open. The application will display data that has been retrieved from the RDS instance running in AWS.