Create a CloudFormation stack
Create a CloudFormation stack
- We will use below file template to create CloudFormation stack. The template defines :
- A VPC named CdkStack/DevAxNetworkVPC:
- 2 Public Subnet
- 2 Private Subnet
- 2 NAT gateways
- An EC2 Instance named DevAxWindowsHost
- A RDS named ad12azpxp74wamj
- User awsstudent
- A VPC named CdkStack/DevAxNetworkVPC:
- Download file Module1.yaml.
- Go to Amazon CloudFormation Console.
- Click Stacks
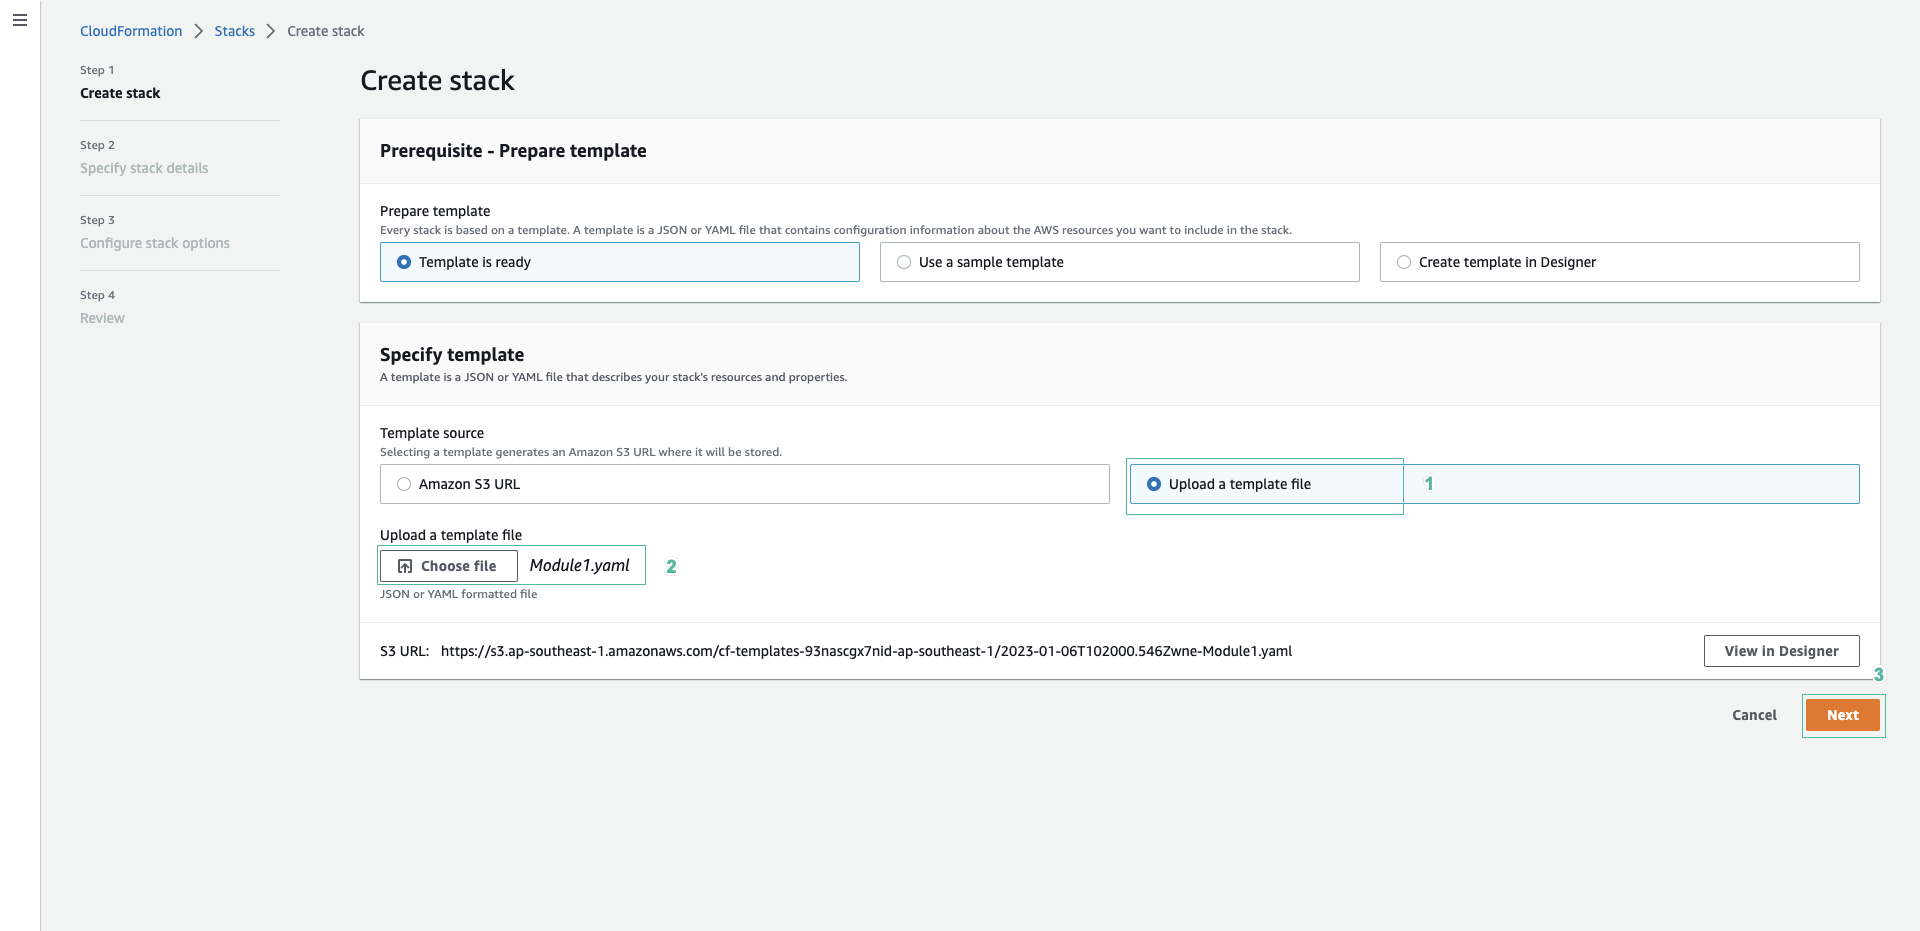
- Click Create stack.

- In the Specify template section.
- Select Upload a template file
- Click Choose file, then select file Module1.yaml we downloaded.
- Click Next.
 4. In the Stack name section, type
 aws-stack-for-Devax.
- In the Stack name section, seclect KPforDevAxInstances.
- Click Next.

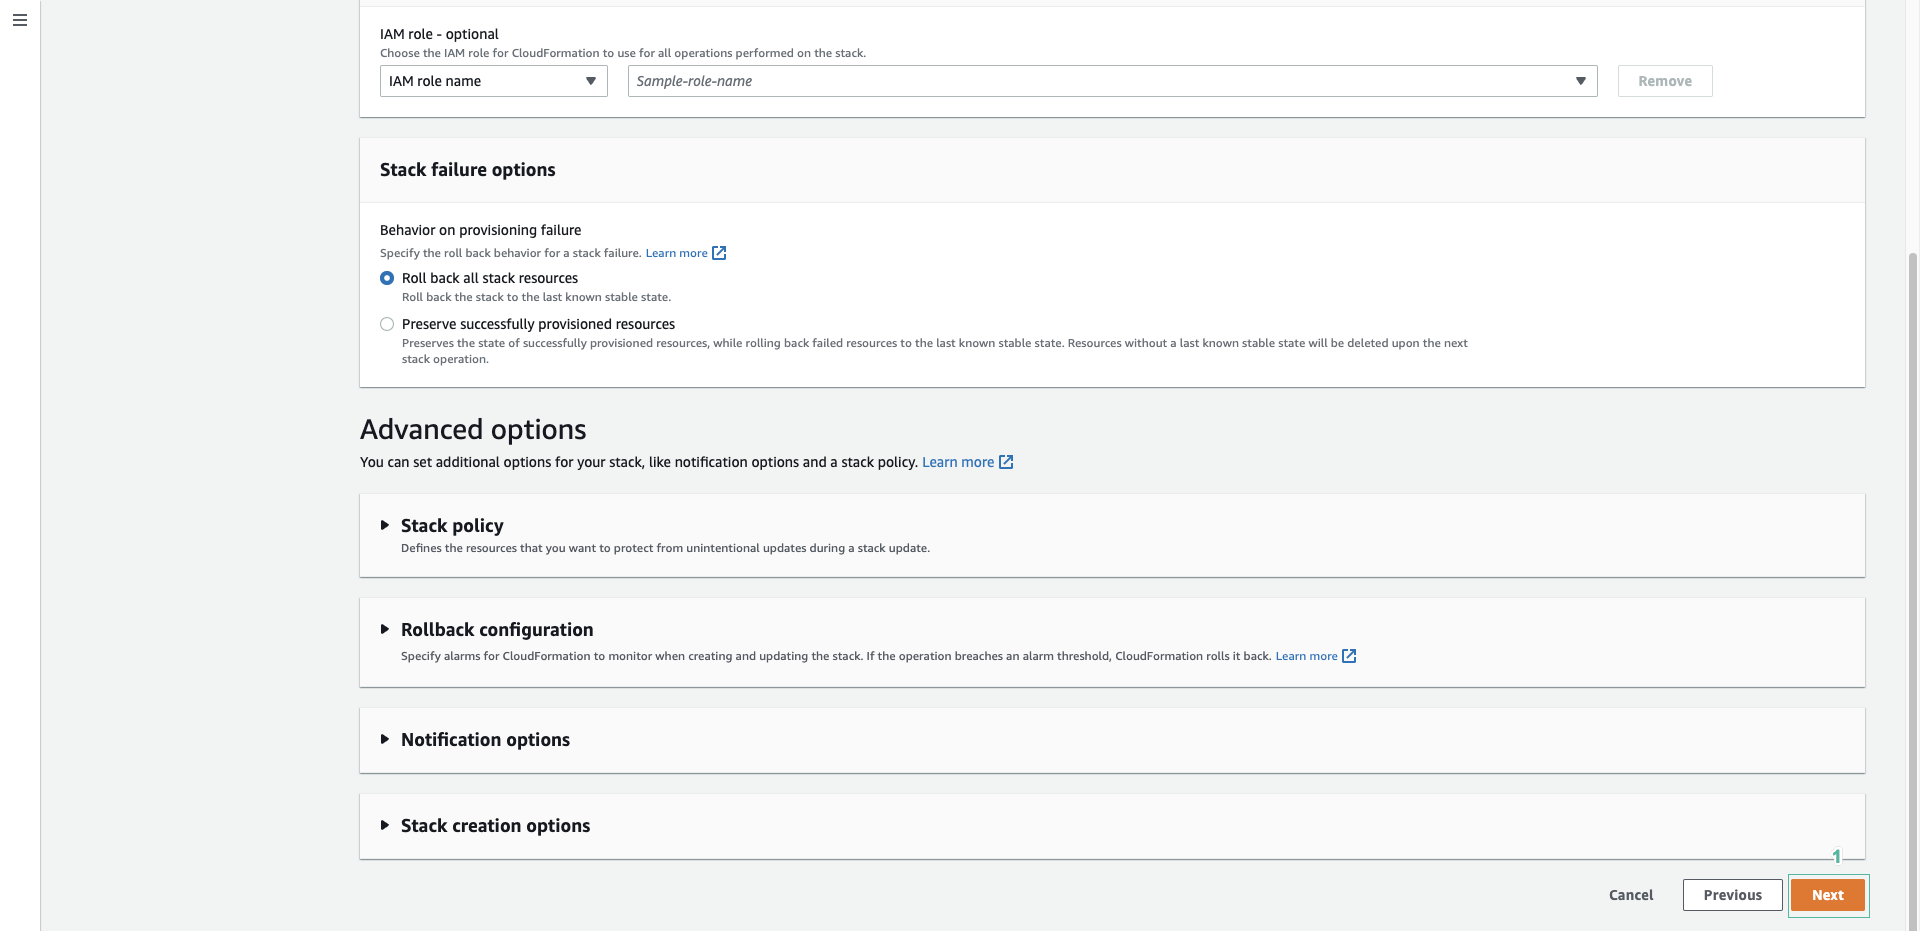
- In the Configure stack options page, Drag the screen down, then Click Next.
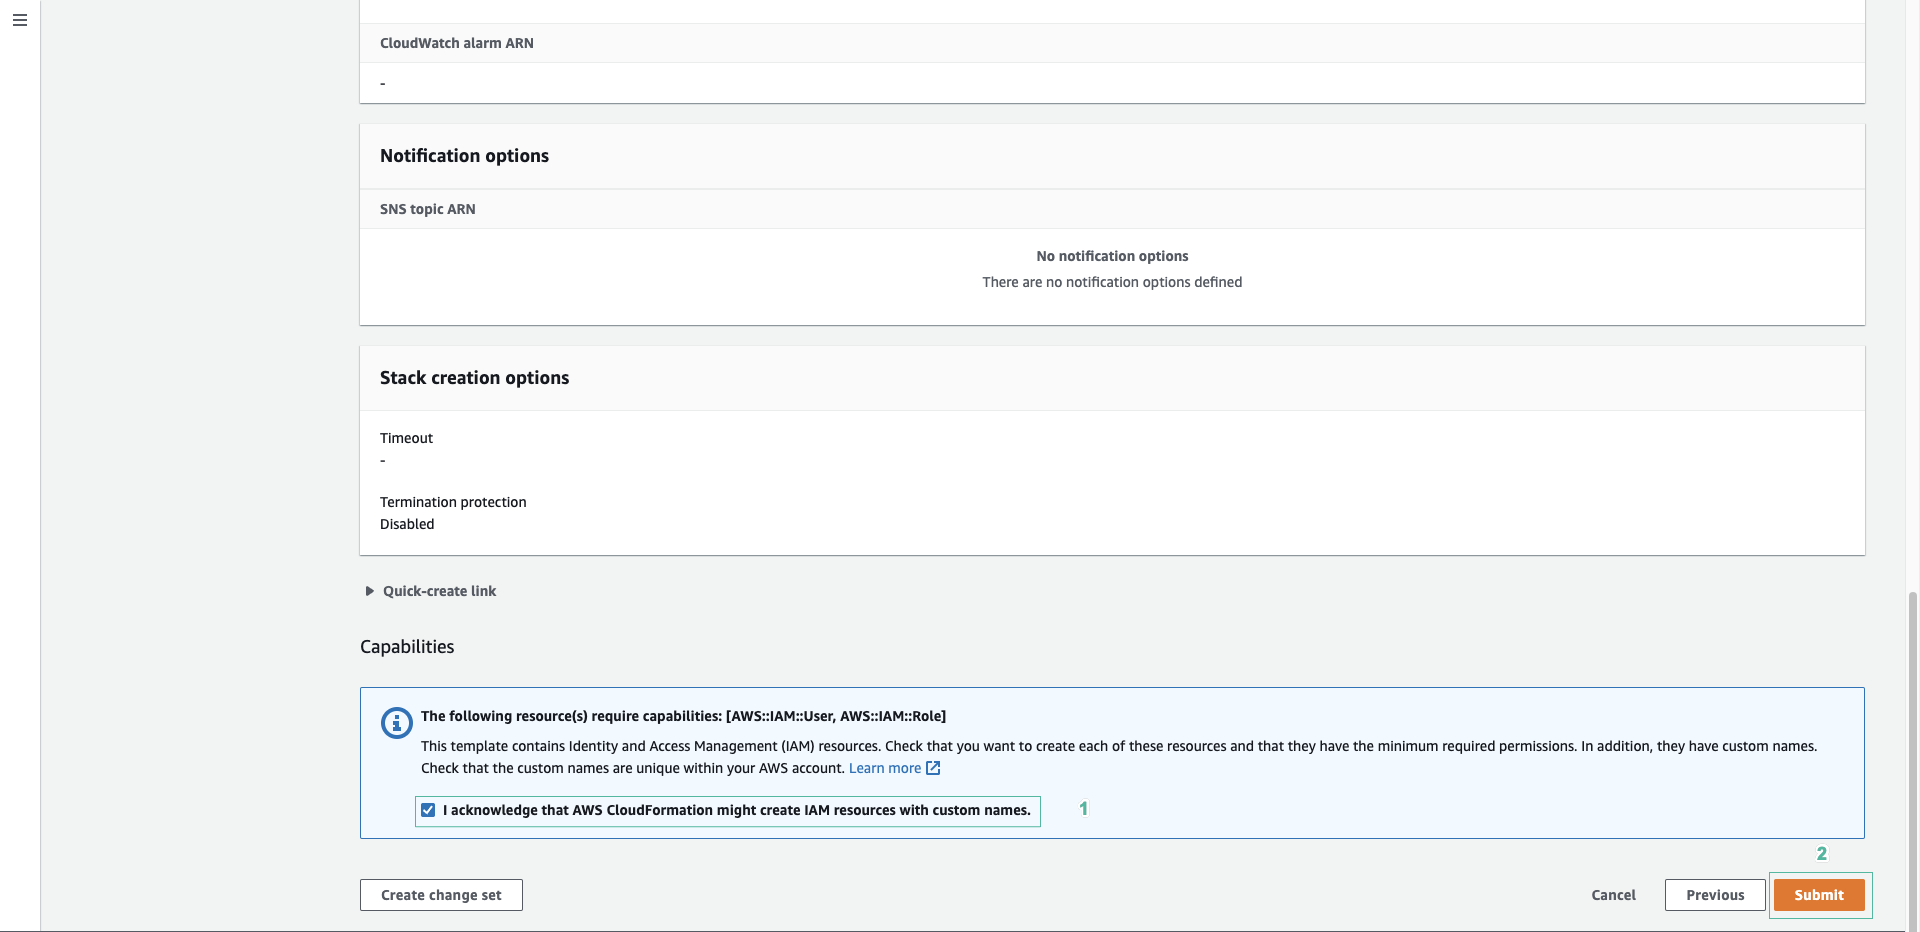
- In the Review aws-stack-for-Devax page.
- Drag the screen down, then Click I acknowledge that AWS CloudFormation might create IAM resources with custom names.
- Click Create stack.
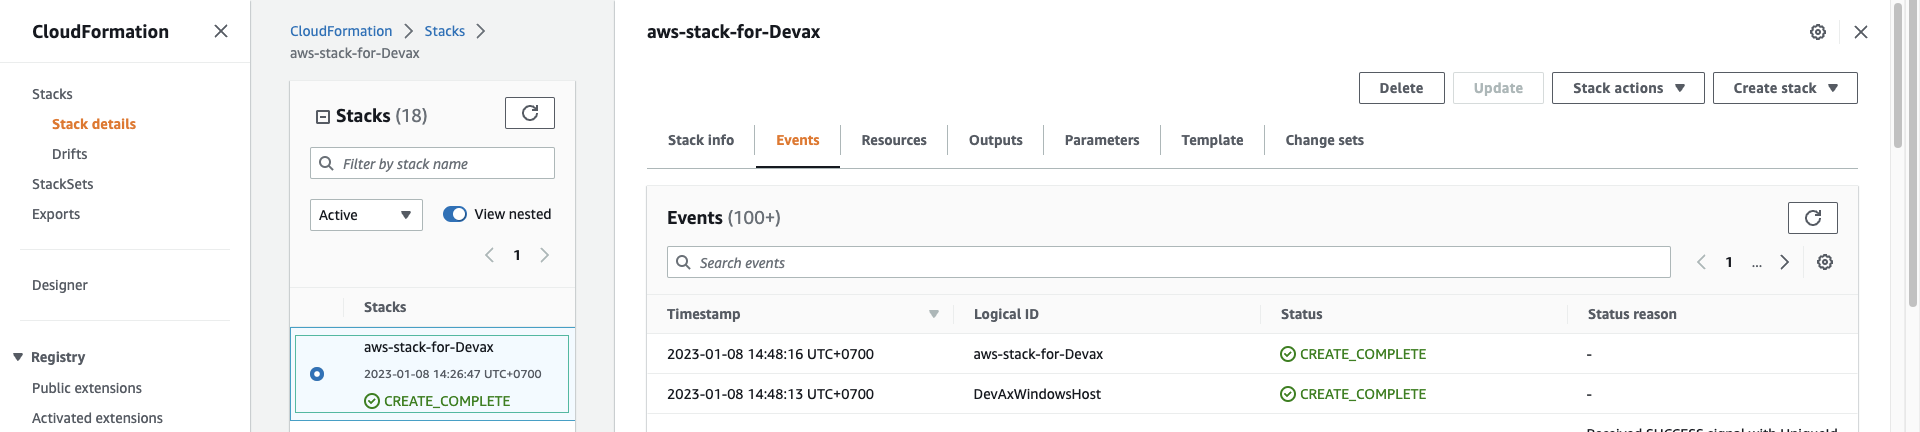
Cloudformation will take 5 minutes to deploy Web App. Wait until all stacks are shown in a CREATE_COMPLETE state.
Check the VPC was created
- Go to Amazon VPC Console.
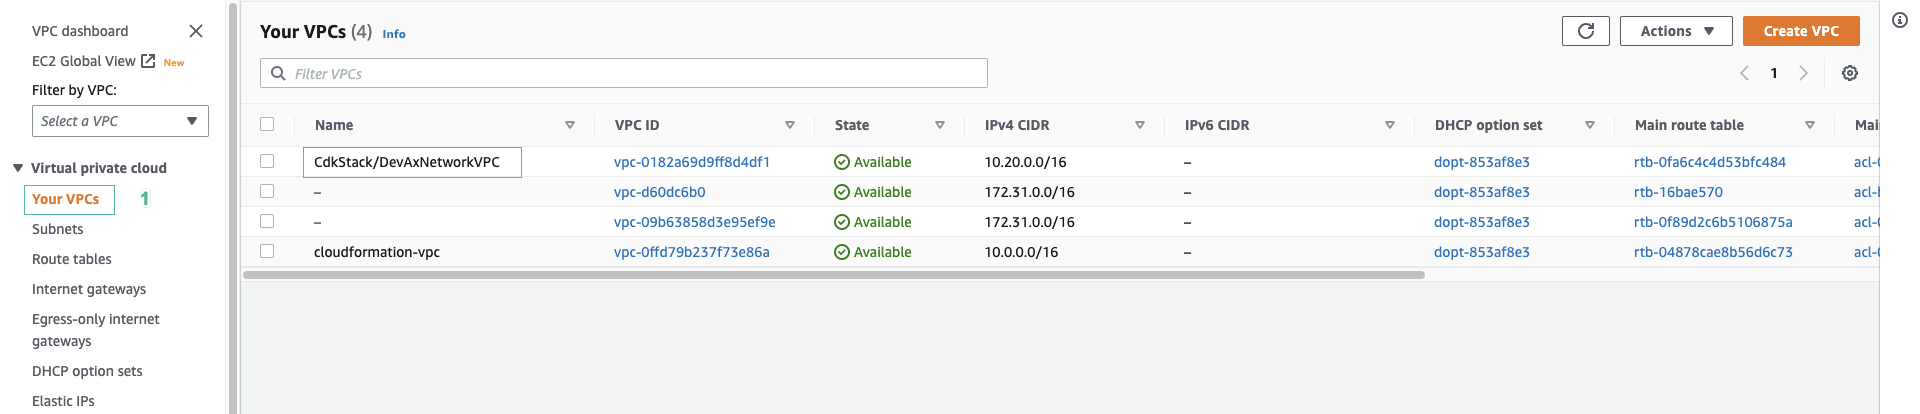
- Click Your VPCs.
- We will see a VPC named CdkStack/DevAxNetworkVPC
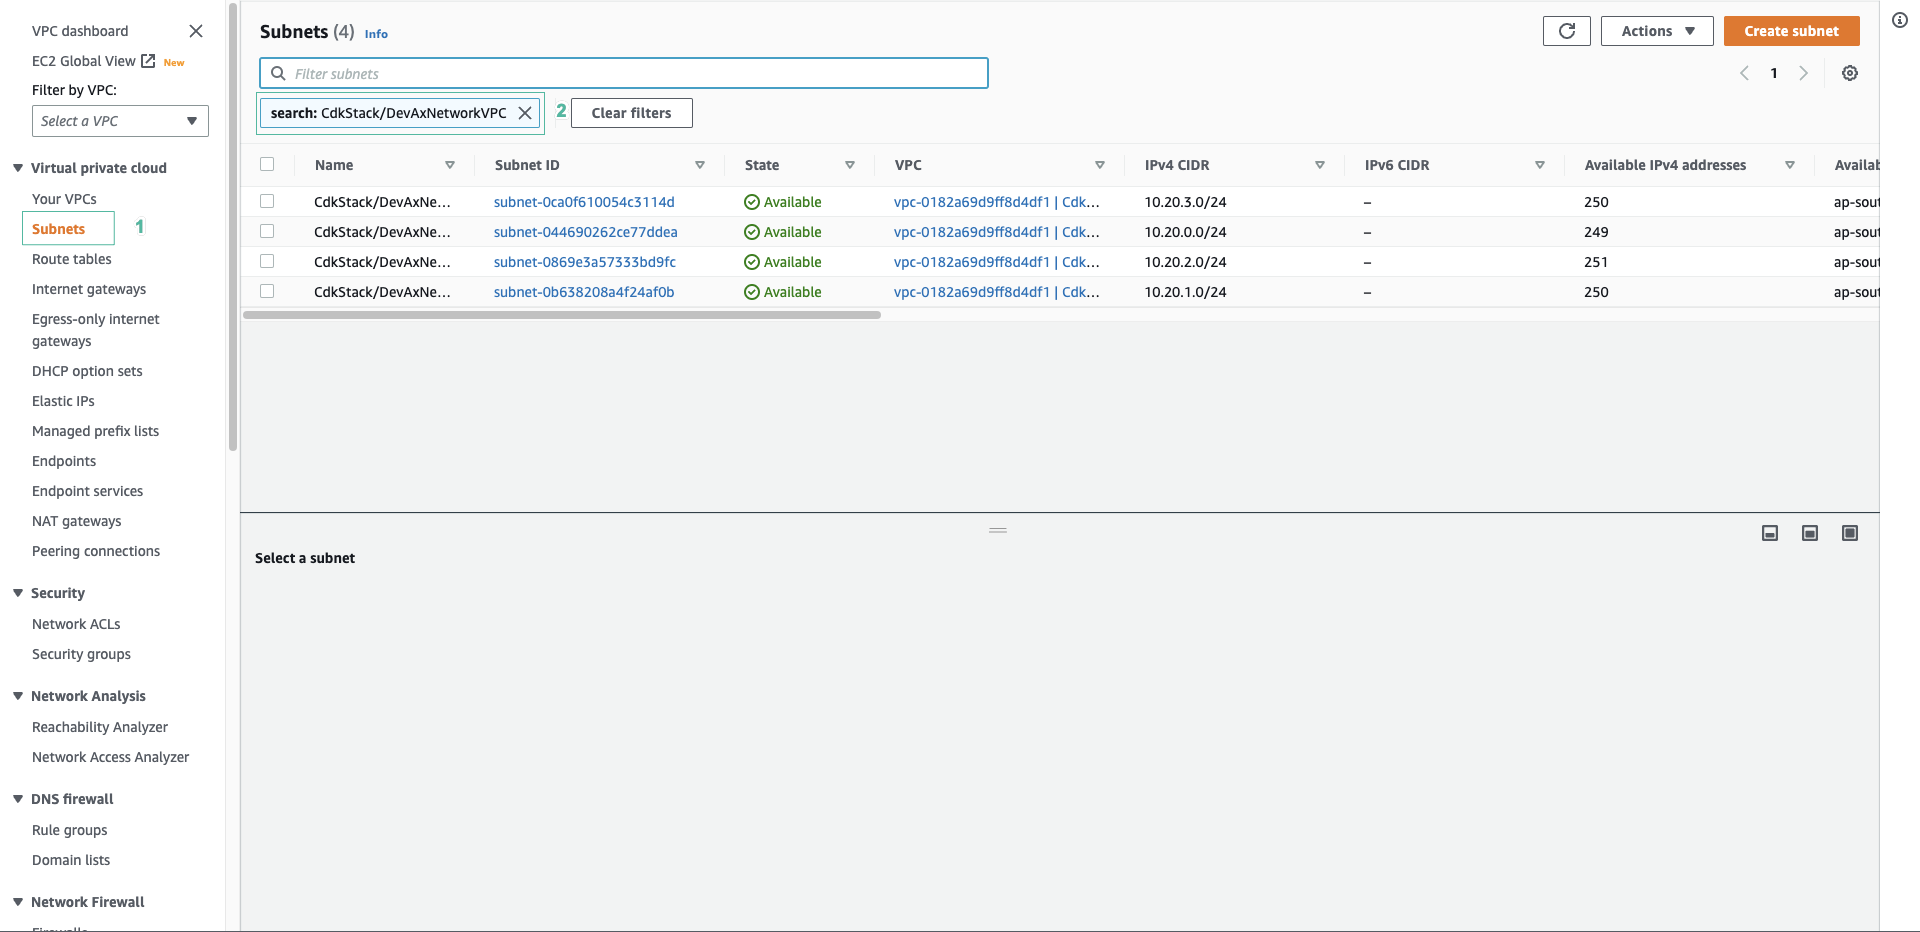
- Click Subnets.
- type
CdkStack/DevAxNetworkVPCinto the search bar. Press Enter - We will see 4 Subnets
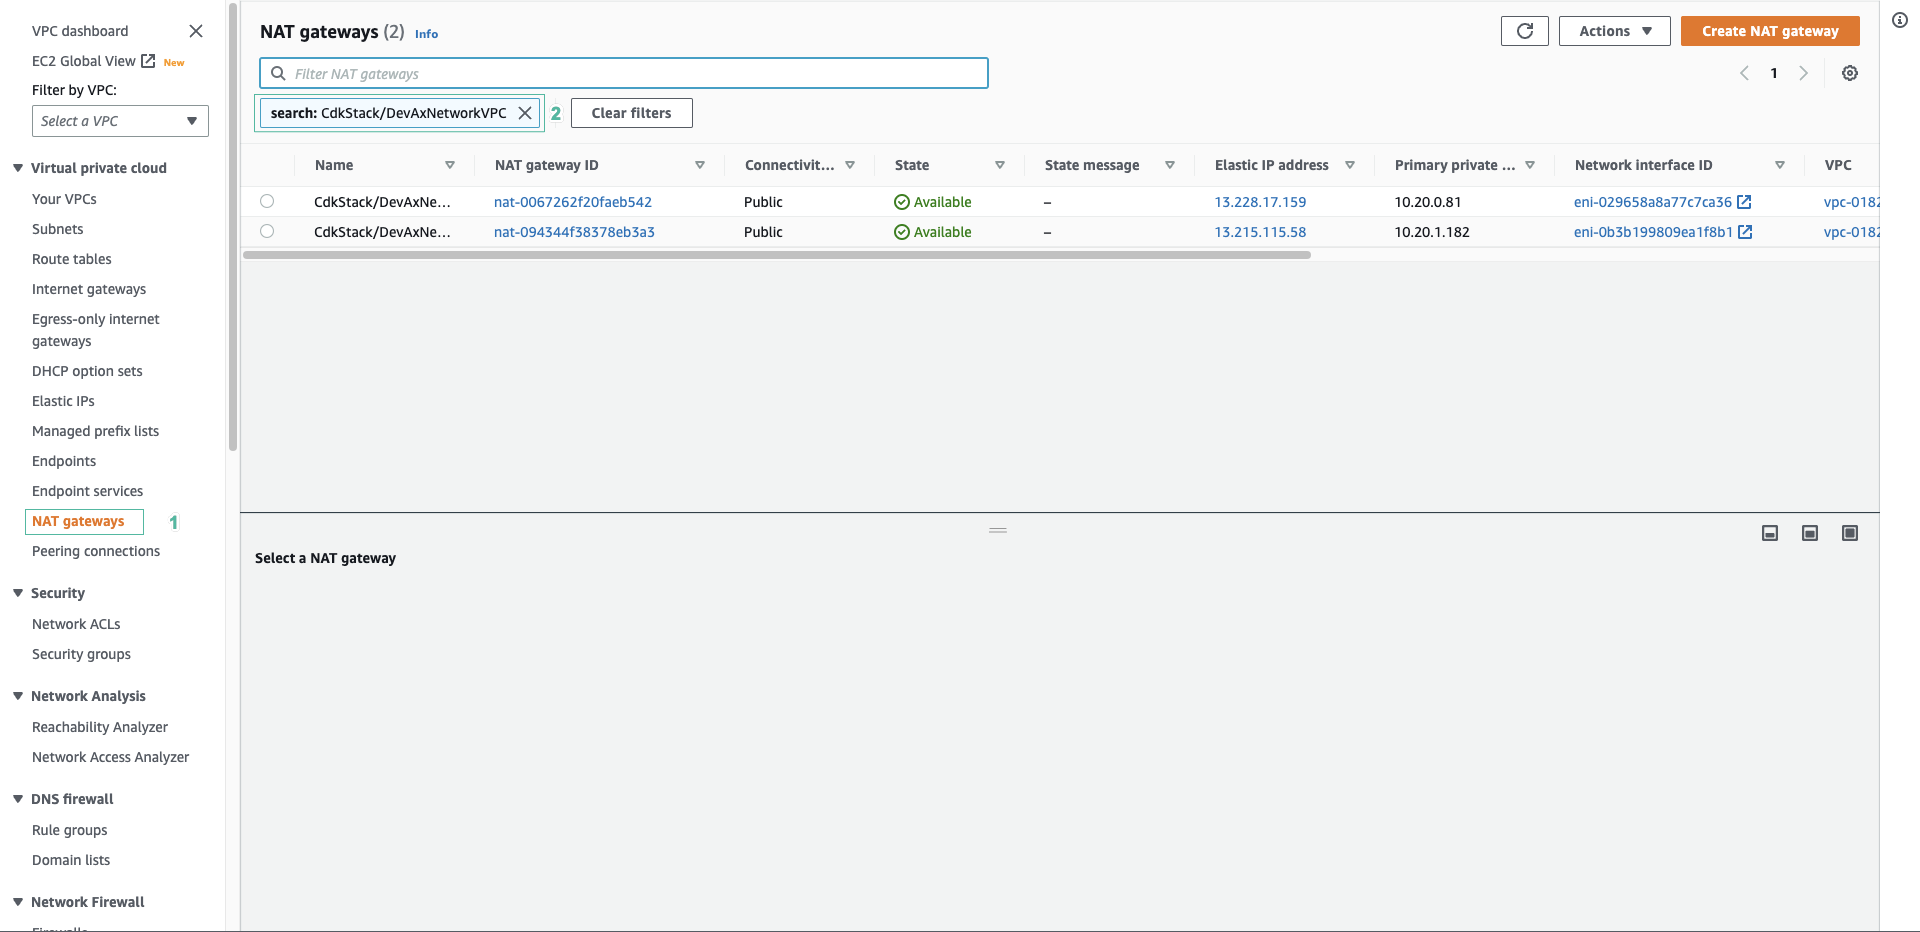
- Click NAT Gateways.
- type
CdkStack/DevAxNetworkVPCinto the search bar. Press Enter - We will see 2 NAT gateways
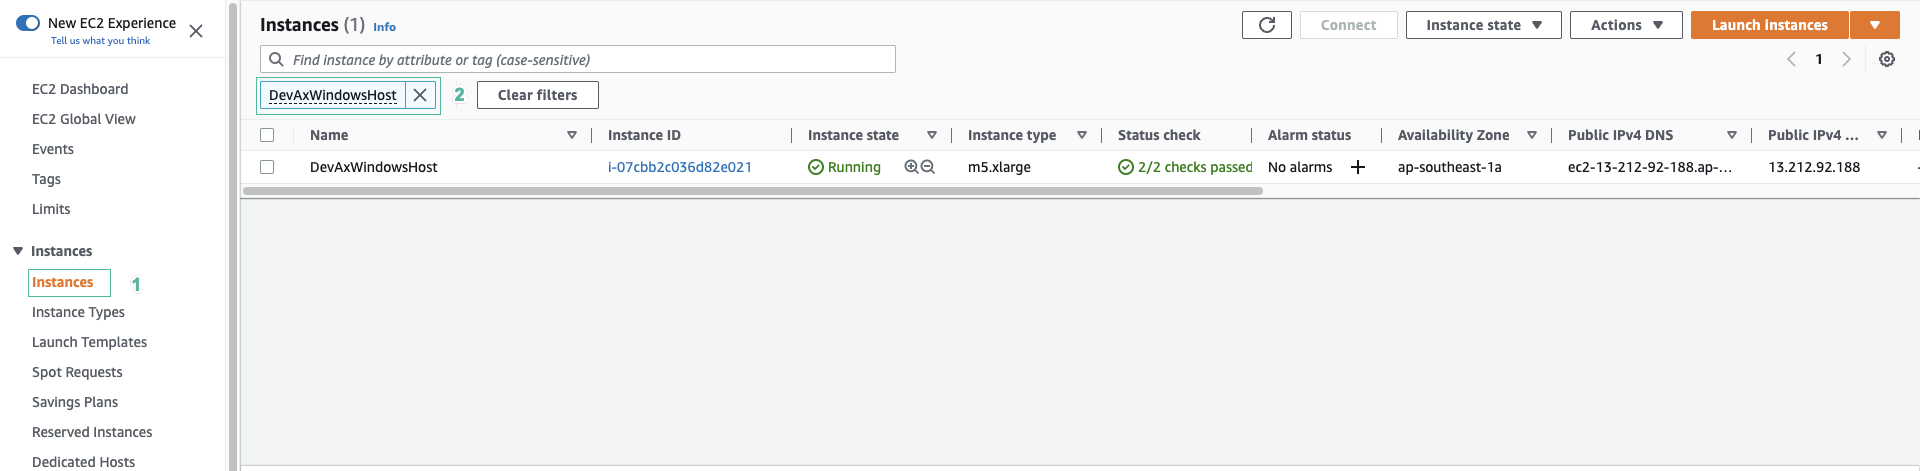
Check EC2 Instance was created
- Go to Amazon EC2 console.
- Click Instances.
- type
DevAxWindowsHostinto the search bar. Press Enter - We will see an EC2 Instance named DevAxWindowsHost
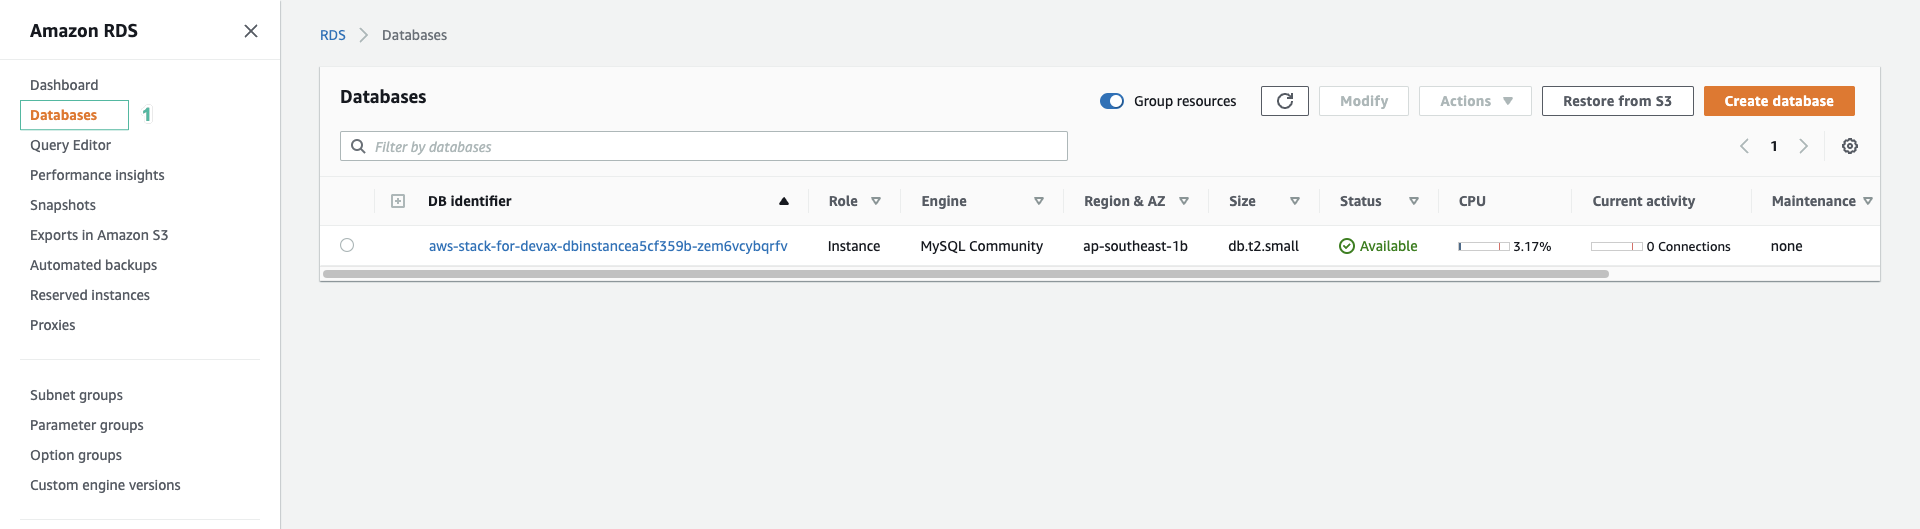
Check AWS RDS was created
- Go to Amazon RDS console.
- Click Databases.
- We will see new Databases